My figures are currently still labelled for Waterloo so I constructed the following scenario:
Waterloo didn't happen
After the battle of Ligny, Wellington has retreated to the coast.
Napoleon and the I Corps, III and IV Cavalry Corps and the Imperial Guard are in pursuit.
Ney, with 27,000 men of the II and VI Corps is stalking Blucher in Flanders.
While von Bulow with most of the IV and III Corps watching Grouchy.
Blucher is left with 25,000 men to match Ney and seize victory from the jaws of defeat.
Next I had to translate or interface Scharnhorst to Napoleon's Battles. This was only really an issue with reinforcements. It was also necessary to keep a tight leash on my creativity as I could see lots of embellishments and additions to make to the mini campaign.
Reconnaissance I kept as per the rules. I really like this concept, but want to do more with it.
A 200 point in Blucher translates to about 400 points in Napoleon's Battles. The actual Blucher points match Napoleon's Battles points fairly closely, although force structures are quiet different with Napoleon's Battles having far more commanders and variable sized units as well as paying points for artillery. 400 points in Napoleon's Battles provides a force of some 25,000 men, enough to make two Corps comprising 17 units in total (infantry, cavalry and artillery, but not counting commanders). Such a structure can easily be formed into four columns, with no more than eight units per column.
Here are the Order of Battles I used
I helped the Prussian set up his columns with one being the I Corps, another the 15th Brigade, a small one being the 7th Brigade and a fourth column being the bulk of the II Corps. Blucher and the recon cavalry would join the battle at commencement.
| Points | |||||
| Army of the Lower Rhine | Blucher/Gneisenau | 20"E(10)+3 | [ 17M ] | 92 | |
| Blucher | 0"E(10)+3 | 0 | |||
| Gneisenau | 20"G(10)+2D | 0 | |||
| I Army Corps | I | von Ziethen | 9"G(6)+1 | [2F] | 28 |
| First Brigade | 1/I | von Steinmetz | 4"A(7)+0 | 13 | |
| 1B/1/I | 12PrLN | [ 6D ] | 10 | ||
| 2B/1/I | 12PrLN | [ 6D ] | 10 | ||
| 0 | |||||
| 1/I | Pr6# | 11 | |||
| Corps Cavalry | C/I | von Roeder | 4"G(6)+2 | 15 | |
| 1B/C/I | 16PrLC | [ 8D ] | 15 | ||
| C/I | Pr6# | 11 | |||
| II Army Corps | II | von Pirch I | 9"G(6)+1 | [ 4F] | 28 |
| Fifth Brigade | 5/II | von Teppelskirch | 3"A(4)+1 | 9 | |
| 1B/5/II | 16PrLN | [ 8D ] | 13 | ||
| 2B/5/II | 16PrLN | [ 8D ] | 13 | ||
| 3B/5/II | 12PrLW | [ 7D ] | 8 | ||
| Sixth Brigade | 6/II | von Krafft | 4"G(6)+1D | 12 | |
| 1B/6/II | 12PrLN | [ 6D ] | 10 | ||
| 2B/6/II | 12PrLN | [ 6D ] | 10 | ||
| 3B/6/II | 12PrLW | [ 7D ] | 8 | ||
| Seventh Brigade | 7/II | von Brause | 4"A(5)+0 | 9 | |
| 1B/7/II | 16PrLW | [ 10D ] | 11 | ||
| Corps Cavalry | C/II | von Sohr | 3"A(5)+0 | 8 | |
| 1B/C/II | 12PrLC | [ 6D ] | 11 | ||
| Corps Artillery | C/II | Pr6# | 11 | ||
| Fifteenth Brigade | 15/IV | Losthin | 3"G(6)+1 | [2F] | 13 |
| 1B/15/IV | 20PrLN | [ 10D ] | 16 | ||
| 2B/15/IV | 16PrSLW | [ 10D ] | 11 | ||
| 3B/15/IV | 16PrSLW | [ 10D ] | 11 | ||
| 17 units | 25,000 men | Total Points | 417 |
| Points | |||||
| Armee du Nord | Ney | 10"E(10)+3 | 49 | ||
| II Corps | II | Reille | 9"G(5)+1D | [ 6F ] | 25 |
| Fifth Division | 5/II | Bachelu | 3"G(7)+1 | 14 | |
| 1B/5/II | 16FrLN | [ 8D ] | 13 | ||
| 2B/5/II | 16FrLN | [ 8D ] | 13 | ||
| Sixth Division | 6/II | Jerome | 3"A(4)+0 | 7 | |
| 1L/6/II | 16FrLT | [ 8D ] | 14 | ||
| 2L/6/II | 20FrLT | [ 10D ] | 18 | ||
| 2B/6/II | 28FrLN | [ 14D ] | 23 | ||
| Ninth Division | 9/II | Foy | 4"G(7)+2 | 16 | |
| 1B/9/II | 20FrLN | [ 10D ] | 17 | ||
| 2B/9/II | 20FrLT | [ 10D ] | 18 | ||
| VI Corps | VI | Lobau | 9"G(6)+1 | [ 5F ] | 28 |
| Nineteenth Division | 19/VI | Simmer | 3"A(5)+0 | 8 | |
| 1B/19/VI | 16FrLN | [ 8D ] | 13 | ||
| 2B/19/VI | 16FrLN | [ 8D ] | 13 | ||
| Twentieth Division | 20/VI | Jeanin | 4"G(6)+1 | 14 | |
| 1B/20/VI | 16FrLN | [ 8D ] | 10 | ||
| 2B/20/VI | 8FrLN | [ 4D ] | 7 | ||
| Third Cavalry Division | 3C/VI | Domon | 3"G(7)+1 | 14 | |
| 1B/3C/VI | 12FrLC | [ 6D ] | 10 | ||
| 3C/VI | Fr6# | 11 | |||
| Fifth Cavalry Division | 5C/VI | Subervie | 3"G(5)+1 | 12 | |
| 1B/5C/VI | 8FrLC | [ 4D ] | 7 | ||
| 2B/5C/VI | 8FrLC | [ 4D ] | 7 | ||
| 5C/VI | Fr6# | 11 | |||
| Corps Artillery | VI | Fr6# | 11 | ||
| 17 units | 27,000 men | Total Points | 403 |
I helped the Prussian set up his columns with one being the I Corps, another the 15th Brigade, a small one being the 7th Brigade and a fourth column being the bulk of the II Corps. Blucher and the recon cavalry would join the battle at commencement.
The French player determined his columns and from memory they were one for the 19th Division, one for the 9th Divison, with the remaining two the II Corps and VI Corps. The 3rd Cavalry Division provided recon.
Unleashing the map movement on players who were totally unfamiliar with it (as well as not have a good feel for their troops and the Napoleon's Battles rules) was going to be interesting. It worked well and was quick. The things that took time were organising columns and subsequently the terrain.

In addition to the four columns per side there was one dummy each. I had made up ten counters so thought they might as well all be used. As it turned out the ones with the 4 and 6 dice on them were the dummies. While the Prussians had intelligence, they weren't ready to declare battle, allowing Ney to seize his chance. The three French columns in a line formed one half of the battlefield with their fourth column arriving on turn five in march columns on the road.
The Prussian column marked with the 1 would arrive on the first turn deployed. The one marked with a 3 on the third turn in march column (as it was it deferred two turns so it could enter deployed). It would be entering via the road on the Prussian's left flank.
This system of reinforcements is quiet different to Blucher and I based it simply on the number of Movement Points it would take the absent columns to get to the battlefield, with the benefit that those adjacent would be entering deployed.

The Prussians at the end of the first turn when their third column has entered. It held the bulk of their forces and so was a very timely arrival. The village of Duifel became the objective. We went with minimal terrain, the hedges were just to show the road.
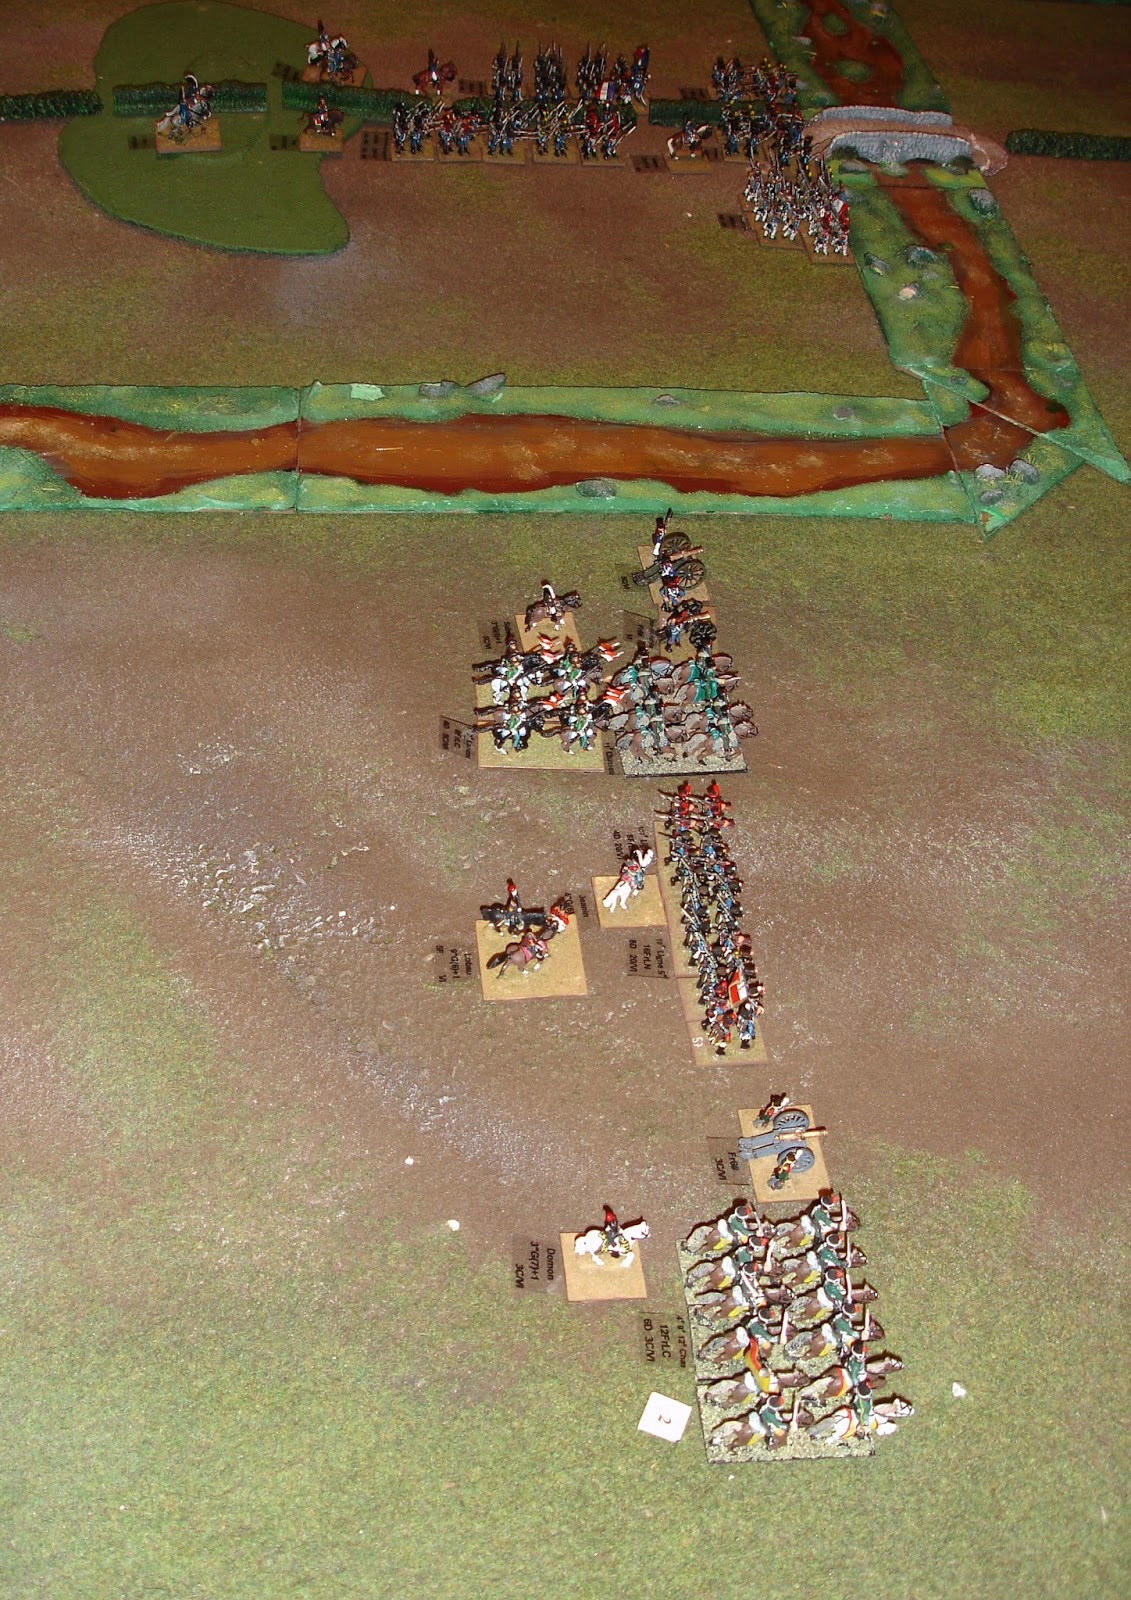
The French made for the bridge, but the stream was fordable. The river however was not and effectively closed off one sixth of the battlefield. The French had deployed cautiously on their right as they knew Prussians were coming.

The French started with their left flank on table but in march column. This meant they quickly came to the centre of things, but needed time and space to deploy.

Everyone likes fighting in lines. It is something I rarely do, providing the flexibility that you get with column movement.
Umpiring and rule explanation meant I missed taking more photos. The Prussians got the better of the French right using Blucher to lead a number of attacks. In the centre in the last turn Ney lead the French to victory in capturing the village.
The Scharnhorst system had set up an interesting battle that played out well.
Olivier lead the French assisted by Matthew, while Dave gained more experience as the Prussian, assisted by Stephen B as Ziethen and Gerry as Losthin.
No comments:
Post a Comment