Friday, January 26, 2018

Quick bit of Napoleonic Naval Action

The planned fleet level game using Darren's ships and the Galleys and Galleons rules had to be postponed till next week, which was just as good, as a simple practice game last night demonstrated that a few barnacles had adhered to my memory of the rules.  They were quickly removed and play commenced.

 The British cut across the French as they head out to see.

Stephen N, as first to arrive was given command of the French who were on a mission to the Americas to retrieve an errant family member of one of the political class.  Utmost discretion was required.

Mark B commanded the blockading Royal Navy.  Interception was a given, but could they put a stop to this French adventure?

 The French got in first, blasting up the lead British ship.

As this was a very simple game to get back into the rules, the Frigates were Q3 C3, the 3rd Rates Q3 C4 and the French Flagship, a 1st Rate at Q5 C5.  They all had chaser guns rated at C1 and either Master Gunner or Trained Gun Crew ability.  

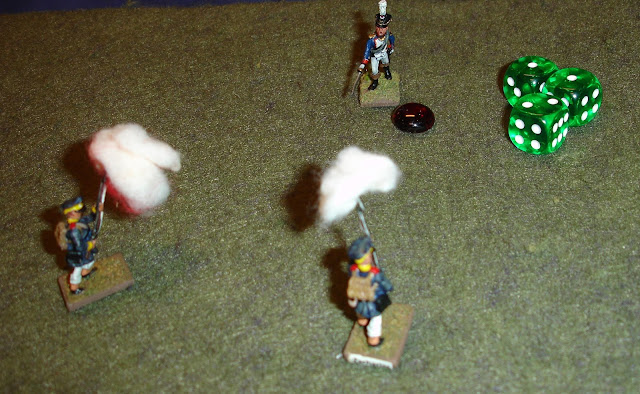
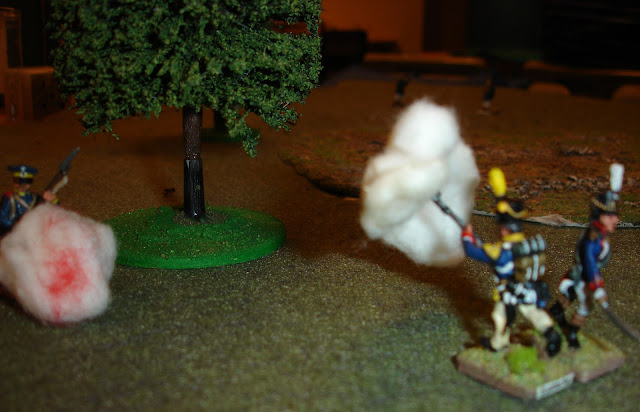
Damage has been marked with cotton wool, as I'd left black dice at home and couldn't find my other markers that I would have used for this purpose.

 As sailing ships keep moving there is little room for maneuver, although the French did try a bit.

The perpetual movement produces lots of opportunities for collisions, but I ruled ships would veer away before crashing into another ship as they are not built for ramming and also really don't take up all the space represented by their model.

I need to give this a bit more thought and I'm tending to have damaged ships to be at risk of collision and/or fouling.

 The French are through.

The British fire had been abysmal.  I had forgotten to bring my dice and we were using Mark B's sea-sickness green dice and they served him abominably.

The French will escape.

Will there be a chase?

Will they encounter other Royal Navy patrols on the High Seas?

What about the return journey?


I did make use of the Sails of Glory counters.  I now think I best actually do an inventory of the counters and their meanings.  This requires more work, but an initial allocation matches well with the Critical Damage table.

 Captain hit

 Grappled

 Magazine explodes

 Fire

 Fouled

 Rigging damaged

 Sinking

 Rudder damage

 Taking on water


Monday, January 22, 2018

Napoleonic Russian Horse Artillery

These painted up with little fuss.  I got the right shade of green on the second attempt and decided not to shade after seeing, or rather not seeing, the effect of it when I had finished the pants.

 What you get in one pack of Old Glory artillery.
Enough for six batteries in Napoleon's Battles plus six spare crew.


Just look at that finger!


I'd thought trying to file the digit down,
but in 15mm it's a tad fiddly.


Reminds me of the Fickle Finger of Fate


As with the recently completed Austrians, the excessive number of photos I took of these chaps indicates how happy I was with how they turned out.


Friday, January 19, 2018

Alexander Empire versus Classical Indian

Wednesday night at the club I had another game with Dave who ran Classical Indians.  How would Alexander fair? 

Well I just went with the standard list for Basic Impetus 2, so no Alexander option.  Maybe that was where I went wrong?

 I was very happy with my deployment and advanced aggressively.

 The Indians didn't move which gave me a chance to envelope their left flank.

 I kept my cavalry in reserve and pushed ahead with the infantry.

 First contact went bad.  Small losses were magnified by seriously failed cohesion tests.

 But we fought on, surely my pikes would skewer those pachyderms real soon now...

 I commit the cavalry and balance is restored.  
Now for the infantry!

 Oh dear!

My cavalry continued to engage the enemy, but couldn't pull off any decisive kills.
Victory to the Indians.

Great game system for a quick (two hour, 3x4 foot table, 100 figure) battle.

Saturday, January 13, 2018

Hinchcliffe Barsoom Miniatures

I currently have a project to go through all my Military Modelling magazines and index them.  There is about fifteen years worth so it is not an impossible task and without an index they are fairly worthless as a reference source.  It is not such a chore as going through them generates waves of nostalgia. 

In going through the March 1975 issue I found this:


I've previously posted on SF13 Plant Man.  I'm just embarrassed that it has taken me so long to progress this project.

Here are SF3 Red Martian Warrior, sword and dagger and SF4 Red Martian Maiden. 

Lovely bendy Hinchcliffe figures. 

Rear view

They featured in the previous post and just took a mere four years to complete.  No progress on the other Hinchcliffe figures or those from TinMan Miniatures that I purchased a year or so back. 

The catalyst for this post was realizing that the new John Carter kickstarter has miniatures that are 32mm. 

Thursday, January 11, 2018

A Chance Meeting

What happens when five foraging Frenchmen meet five foraging Prussians?  Let's see...

 We divided the table into six sectors and then diced for each figure placement.

Mark B went French and his officer popped up in sector 1, he then had one man in each of sectors 4 and 6 and 2 in sector 5.  The Prussians, who were identical in factors to the French, appeared as two in each of Sectors 1 and 6 with their officer in sector 4.  Clearly the officers had gone off to investigate while their mean looked for chickens.


 It looked bad for the French officer, especially after he threw a very bad activation roll.
The Prussians then reloaded, which was a mistake, they should have gone in with the bayonet.

 The French started shooting.

 And congregating.  

The Prussian officer had made an epic run for his life earlier and was trying to get his mean together.

 The French officer had escaped and was getting his men into action.

 At this stage the Prussians are two men down, but now have their act together.

 The French are maintaining the pressure.

 But the Prussians are able to even the score.

But it was not to be.
With another casualty it was time to run away.


Tuesday, January 9, 2018

WBTS via Vassal - The End


Charleston, where the war started and is yet to reach.

Charleston is the last remaining city that is free from siege and connected to the "rest" of the Confederacy.

There are rumours of a Confederacy in the far west, but even if true it is of no consequence.

The three remaining Confederate seaports are heavily blockaded, but a trickle of supplies still gets through Savannah and Charleston (thanks to Northern free trade advocates no doubt).  This provides 10 supply.

Atlanta under siege.

Major City supply from Atlanta collapses due to Union presence although New Orleans still seems to be contributing.  It provides 30 supply.

There remain eight towns and one other city (the aforementioned Charleston) still connected to the Confederacy.  They provide 36 supply.

There is still 10 personnel points coming in with the draft.

The Confederates have lost all their current Departments and so production expected this cycle is lost due to there being no active Departments.  That is 10,000 garrison troops and an ironclad lost.

Beauregard's army.

The Confederates can luckily can relocate one Department this cycle.  That could go to Cheraw, SC, and support the armies in the Carolinas, but the troops at Atlanta and New Orleans have to supply themselves and therefore have only another four weeks before they must surrender.


New Orleans is well and truly isolated.  The additional ironclad which was expected is lost due to lack of widgets (an enterprising Southerner had sold them to a company trading out of New Jersey).

Johnston thinks Grant's terms of unconditional surrender are very generous and accepts, although Forrest wants to fight on.  He escapes by dressing up in a sheet and pretending to be a ghost, riding off into a long dark night.

It gets scarier when you add the pointed hat.

Wheeler thinks Sherman's threats to burn Atlanta to the ground are preposterous and he burns Sherman's letter.  Unfortunately the burning letter falls on a pile of newly printed Confederate banknotes that catch fire quickly engulfing Wheeler's HQ that just happens to be located next to a wood pile, ammunition factory and tinder store.  It had been a very dry summer and fall and there was a strong wind blowing... Atlanta is quickly reduced to ash.  Wheeler blames Sherman as it was his letter that started the fire after all.

Atlanta sometime after the devastating fire.

Beauregard considers coming to the rescue of Atlanta.  He could send Taylor by rail, but that would take two weeks.  It also assumes that the Confederates get to move first.  It seems a futile gesture and would leave the Carolinas at the peril of the Northern aggressor.  He is also conscious that the war started in Charleston, SC, and if it continues the war could well end up there.  He does the unthinkable and surrenders.  He later finds a winning lottery ticket in his pocket.

A very poorly staged recreation of Beauregard finding the winning lottery ticket.

The End

Postscript

War Between the States is a monster game.  It strikes me as an excellent recreation of the strategic course of the American Civil War.  It has been immensely enjoyable to play solo using Vassal.  I am sure I made some mistakes (not identifying the need to match the new generals with the casualty chart was probably the main one - there should have been 2 star generals), but all in all I think it worked out well.

The Confederates came very close to winning, but after the loss of Lee and his army at the point of victory, it was perhaps inevitable that they would lose, although this wasn't a given.  A bit more partisan activity could have delayed the Union efforts substantially, as would more scorched earth retreating.

I'm tempted to go back and see if the Union can make an early capture of New Orleans.  I think not if the Confederates take immediate precautions.

The only part of the game that didn't work for me were sieges.

If it was possible to play with the strengths of the various forces hidden then it would be a whole different game again.  Although I think it would then be necessary for players to keep detailed intelligence reports on enemy troop compositions. It would also be fiddly with the counters based on my previous face to face playing of this game.  I think the uncertainty of getting generals to attack recreates this somewhat, however it was possible for the Union to make sure thing attacks with their navy on rebel held forts once they knew the troops stationed in them.

Donald Johnston's 2016 revisions have made this an even better game.