Wednesday, July 31, 2019

More Byzantine Reinforcements

The first of three new legions I am adding to my Byzantine Army, from a packet of Old Glory spearmen and archers.


The only embuggerance with these figures was that they came without hands cast to receive spears.  The spears I made easy enough from fencing wire, but drilling out the hands was a bit of a challenge (most noticeable on the guys holding their spear vertical).  Mark Woods recommended filing a groove into the fists that are to receive the spear and I did that with a few and it certainly gives a better result (I only got the advice when I was almost finished mucking about with them).

Now to get them to battle!

Monday, July 29, 2019

Markers, Labels, Counters...

James of the ANF brought this wonderful post to my attention:
 http://notjustoldschool.blogspot.com/2018/09/west-country-quatre-bras-wargame.html

It's a wonderful example of wargame as diorama as I hope this image from that posts shows:


But there was one particular aspect that caught my eye: the label trays (look bottom left hand corner).  I was impressed that they blended in so well, but also that they were quiet significant in size and complexity.  I don't know the rules they use, but that was not the issue.

One of the blemishes I have with my prefered Napoleonic rules is that at times the figures and terrain get swamped by counters.  The following image from one of my most recent games shows my current level of evolution of with labels.  I am still mainly using counters from the first edition of the rules, with only the casualty markers having been replaced.


I came to Napoleon's Battles around the same time as Fire and Fury and admired the later for its use of miniatures to represent status etc of units.  So that has always been an objective.  Sadly painting up the casualty figures etc has been secondary to painting up units.  So it goes.

At the time I was also playing WRG Ancients and recall a talk by Phil Barker in which he described positioning the elements of a unit to show its status.  In part that was an aspect of Napoleon's Battles (and probably most if not all Napoleonic rules): moving figures about to show line, column or square formation.  This generally works well, but sometimes has footprint issues and position creep (advancing by change of formation).

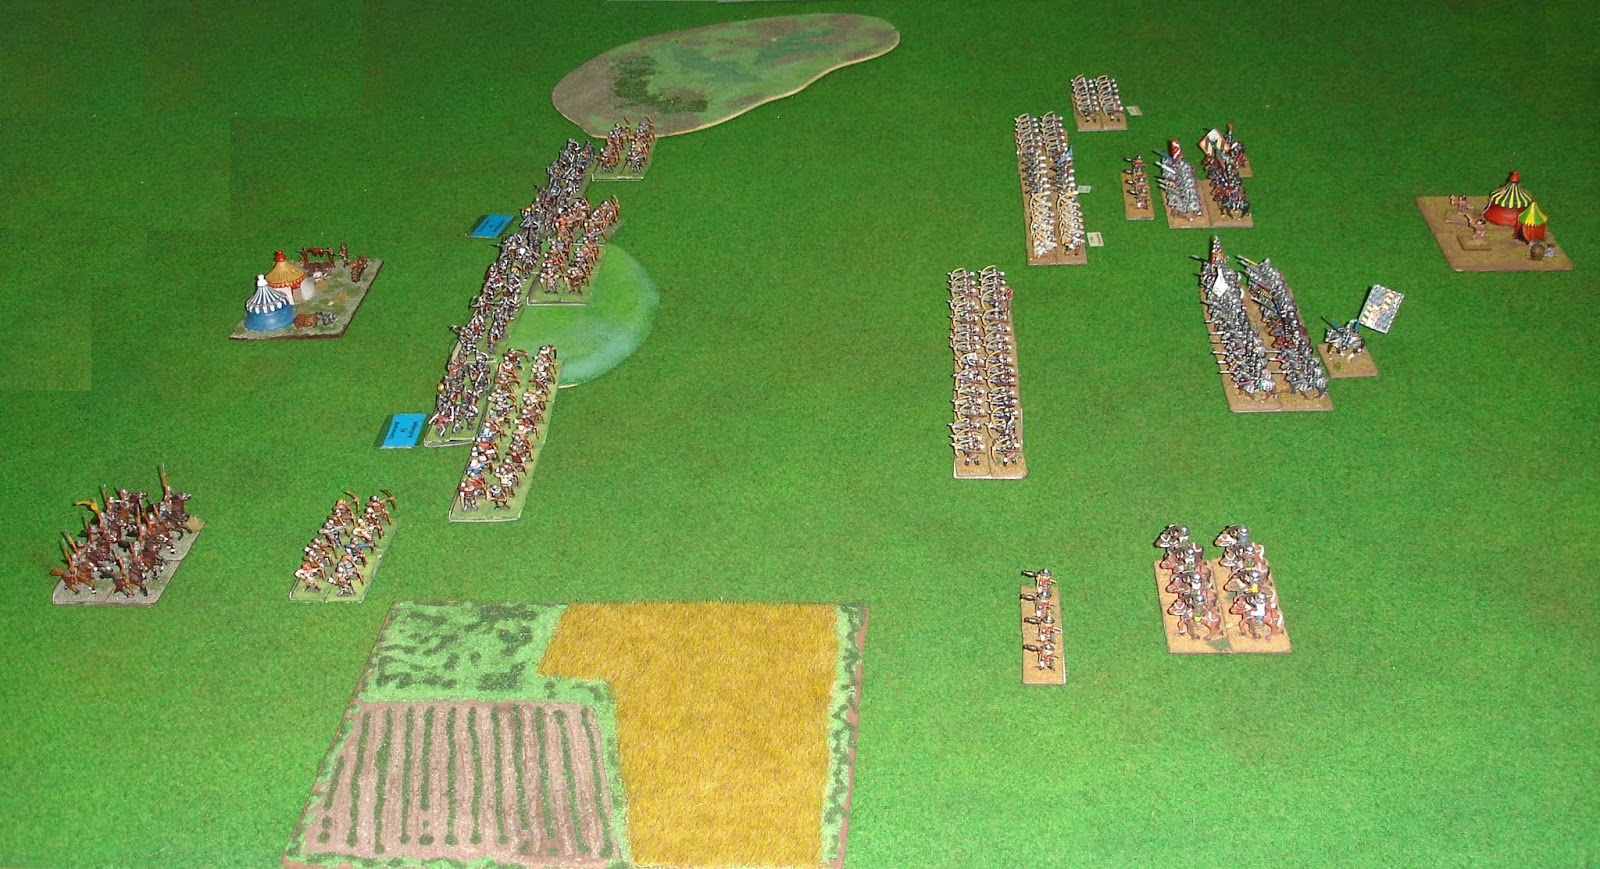
With my adoption of Impetus and now Rommel, unit labels and associated casualty chits entered a new phase.  I also had a laminator!

So, colour ink permitting, I have and can produce a variety of chits.  Of course glossy reflective surfaces can produce some interesting photographic experiences.

However, the ultimate goal remains using figures to represent status.  A benefit of which is if they are left cluttering up the table they should at least blend in: the challenge of practical/functional versus attractive.

For Napoleon's Battles the following is required:
- unit id and stats
- status
- casualties

Status includes routed/disorder and no move/half move; specific to artillery limbered and possibly "moved" (if using 4th Edition optional rule); and specific to cavalry react.

Here is my first attempt at a disorder marker:

The blue saddle cloth was the inspiration as blue is the historic colour of the disorder marker. 

Getting back to James, the above figure, after a bit of modification to remove the rider who had lost an arm, was a gift from James.  Better still, at the club recently I picked twenty old Minifig horses that will do nicely for markers.  They are being mounted on 20mm washers and that has me thinking I can use different shaped bases (round, square, triangle and rectangle spring to mind) and possibly different colours on the edges to help further distinguish the role of the marker.

To finish up here is my response to James:

Not sure about the game aids.  I agonize over labels and fret over counters.  I have to say how you do it with Shako looks good (as is also the case with Fire and Fury, although the later has labels and I think Shako needs them too for big games when all the players don't know the units).

I have a project to make FnF type markers for Napoleon's Battles.  I need to give some thought to more appropriate markers for Impetus as well.  At least I've made some progress with Rommel.

The problem is always making sure to move any counters with the unit and to still allow units to form up when they do have counters/labels.

Then there is the problem of getting the other player(s) to follow suit...

Thursday, July 25, 2019

Nikephorian Byzantine versus 100 Years War English

This was a special practice game for Dave and I to acquaint ourselves with the Basic Impetus 2.0 rules for the our club's league tournament (Hint: we both made it to the semifinals).

After my last game facing 100 Years War English, this was going to be an interesting game.

 Deployment.  
Despite Dave winning the roll, the Basic Impetus deployment sequence with favoured my army.

 Starting with Turn 1, Dave continually gets the initiative.
Both armies start advancing.

 Turn 2 and my legion had to stop to rally after taking fire.

 Turn 3 and it looks like my cavalry has the English knights at a distinct disadvantage.

 Turn 4 and my cavalry are starting to delivery a steady stream of arrows into the English knights.
The English Men-at-Arms have passed through their archers.

 Turn 5 and it was on!
My legion suffers, but the Varangians and the Kataphraktoi (on the grey horses) do good.

 Dave decided he needed to go first and played his Ace in the Hole - Decisive Initiative.
He got to roll three dice to my two.
It didn't turn out as he expected.

 Turn 6 and the English knights and their commander are dead.
The Byzantine legion has perished,
but the Varangians and the Kataphraktoi fight on.
The initiative has finally switched to me.

 Turn 7
I just need to rout one more unit to break the English.

 Turn 8
It is getting close.
My cavalry are having trouble getting into effective bow/charge range.

Turn 9
Victory for the Byzantines!

Even though the two rulesets are similar, there are significant differences in play.  We were frequently checking to see if we could do something, only to find we couldn't, which is not unexpected as Impetus Second Edition is a much richer ruleset.  The most striking outcome for me was that much more of an army needs to be routed before victory can be achieved.  In that last image there are only three enemy units left on the table.

Friday, July 19, 2019

Burgundian Ordonnance versus 100 Years War English

This was the longbow battle.  As it turned out, almost exclusively so.

Yesterday, my Burgundians took on Mark Wood's English (but perhaps of a distinct Scottish extraction) in a 400 point game using Impetus Second Edition.

 Deployment.
The English sat on that hill the whole game.

 Turn 1.
On the far left flank of the English is a bombard.
It proceeded to make a mess of the Burgundians.

 Turn 2.
The bombard seems to be hitting with every shot.

 The English bombard commander gets promoted as a result.

 Turn 3.
My crossbowmen eliminated the bombard, but I fear it has wrecked my army.
It fired four times (which includes returning fire on the crossbowmen) and hit every time.
I was lucky my crossbowmen hit it first time.

 Turn 4.
Now I have my vengeance, with my longbowmen picking off the opposition at long range.

 Turn 5.
Units that were previously weakened by the bombard are targeted by the enemy.

 Doh!

 Turn 6.
The attrition is taking a toll, especially on my weakened right hand command.

 The general of which somehow locks in his claim to be an expert.
After this his command breaks...
Duh!

 Turn 7.
We fight on, but it is hopeless.

Turn 8.
All over.

Totally different game to normal.  Commands break when they have lost a third and so it can happen quickly.  Perhaps units breaking due to missile fire should only count half points to the break number?

EDIT

Now I have a 2nd Edition Army Builder spreadsheet (see here: http://impetus.darkbb.com/t1315-i2-gaming-aids#10046) it turns out my Longbow units should have only counted 1 point towards my armies morale, not 2.

SECOND EDIT 

Hmmm, Excel must have been playing tricks on me.  On looking again, Longbow units still count as 2 points.  Only thing that would have helped in the game was to go to 50% before the command fully breaks.  So, I'm back to liking the idea of half points for units routed by shooting.

Thursday, July 18, 2019

Nikephorian Byzantine versus Late Imperial Roman East

My new generals took my army to face Dave's Romans in yet another tense game Impetus.

 Deployment.

 End of the first turn and my army got in the first shot.

By the end of the second turn my army's archery appeared unstoppable.

 But turn three brought this upset.
I had almost double the dice, but could only get one hit.
In the subsequent cohesion tests Dave pulled out all the tricky tactical cards he could.
Result was a major loss to my command.

 Turn three did see a more positive outcome when some of 
my light cavalry ran down all the Roman skirmishers on their right wing.  
They died in the process however, so it was a bit of a Pyrrhic victory.

 Turn four and I had to throw in everything I had to rout this Roman unit.
I did it, but had to use all the rules in the book, plus some Tactical Cards as well.
My cavalry unit, the Byzantine Greys, took two casualties making them exhausted,
but were able to get the one hit on the Roman legion 
that was all that was needed to get an accumulated loss
and their subsequent demise.

The rout of that unit broke the Roman Army's morale,
but it was damn close thing.

Tuesday, July 16, 2019

Finally some Byzantine generals for my Byzantine Army

Thanks to Graham I can now field some proper generals for my Impetus Second Edition Byzantine armies.  I've gone with round bases, donated by Mark B, as they really just have a notional presence on the table top.

 Three generals, although I will normally only require two for a 400 point army.

 Conveniently colour coded red, gold and purple.

The rear view, how I normally see them on the table top.

They have a planned encounter on Wednesday night.  It will be a test for sure.

Thursday, July 11, 2019

Nikephorian Byzantine versus Fatimid Egyptians

Today my Nikephorians took on Mark Wood's Fatimids in a 400 point Impetus Second Edition game.

 Deployment.  
We both had split our armies into two commands, 
one cavalry, one foot.
The seem to be facing each other off.

 Downgraded again!  
 This will be the last battle in which I use my Burgundian generals to command my Byzantines.

 End of Turn One.
My light cavalry have already scored a hit on the enemy.

 Mark's figures are so well turned out, it seems a shame to shoot them up.

 End of Turn Two.
Lots of archery is underway.

 End of Turn Three.
Still more shooting.

 End of Turn Four.
The Fatimids charge.  
One Byzantine cavalry unit is routed.  
It starts to look grim...

 Desperate fighting by the Burgundian Commander in Chief.
He's been downgraded, but he's still reliable, if a bit out of touch with his troops.

 On my left flank, my new skirmishers are doing really well.
This is a rarity for new troops.

 End of Turn Five.
The initial cavalry clash is over.
The Fatimids still have plenty of fight left in them.

 The Fatimid subgeneral is feeling the love.

End of Turn Six.
Phew!
That was a really close run thing.

Narrow victory to the Byzantines.  Both sides lost a command, but some additional casualties just tipped the Fatimids over their break point.

The Fatimid infantry had made a promising charge, but just couldn't budge the Byzantine foot.

A second cavalry charge, while causing carnage, left the Fatimids exposed to some deadly fire from the Byzantine light cavalry, which clinched the game for the Nikephorians.

Next time Mark and I plan to run medieval armies and see just how deadly the longbow can be.