Tuesday, November 27, 2018

Konstantinian Byzantines versus Seljuk Turks

An historical match up for my Byzantines, now evolved into Konstantinians, against Mark Woods' Seljuk Turks.

First up an extended GIF which is constructed using pictures after each players' initiative, rather than each game turn as previously done.  Should make it easier to follow.


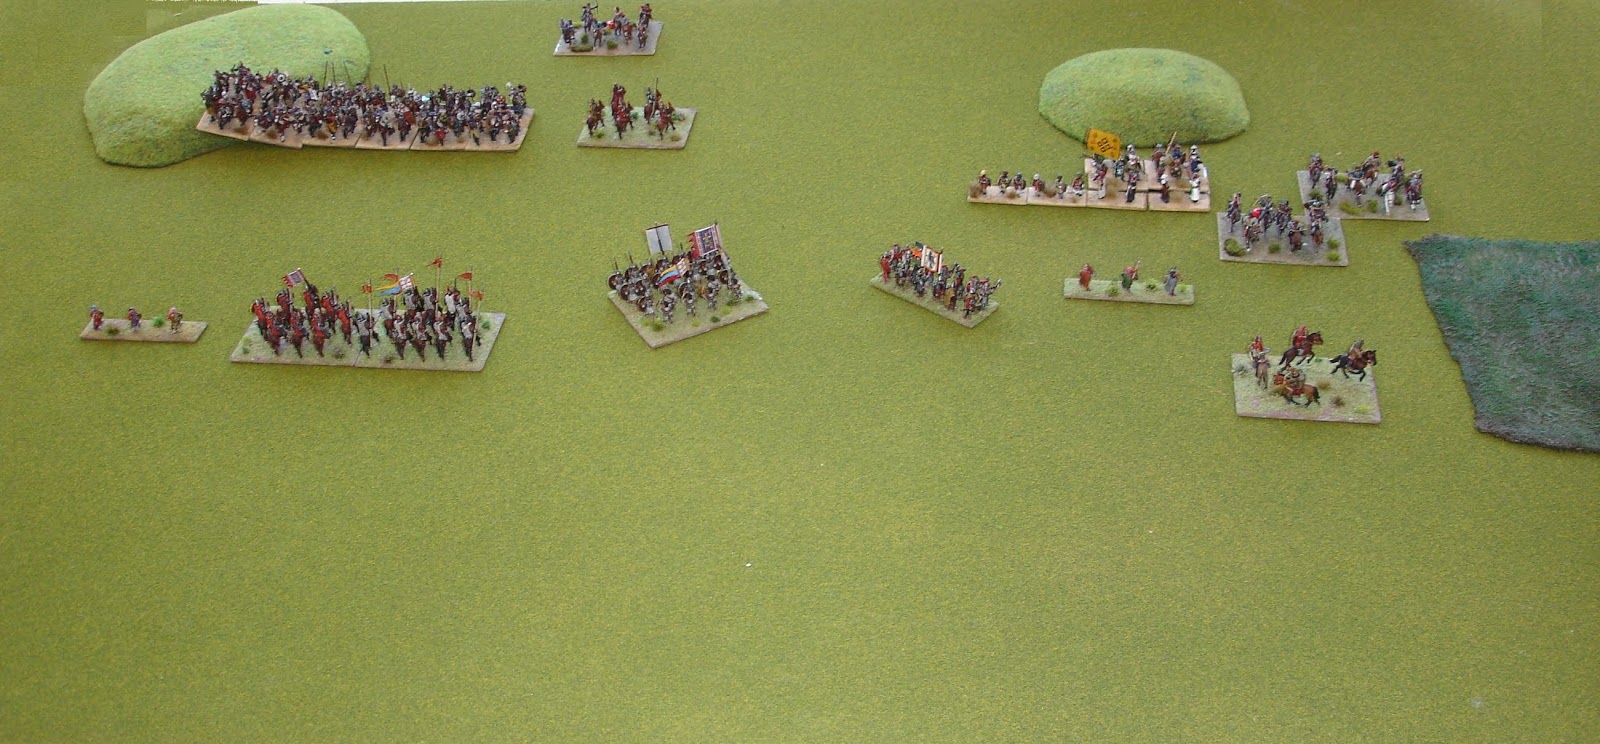
 I had the advantage with deployment, 
but I'm not sure it did me any good.

 I went first.

 The Turks cautiously advance.

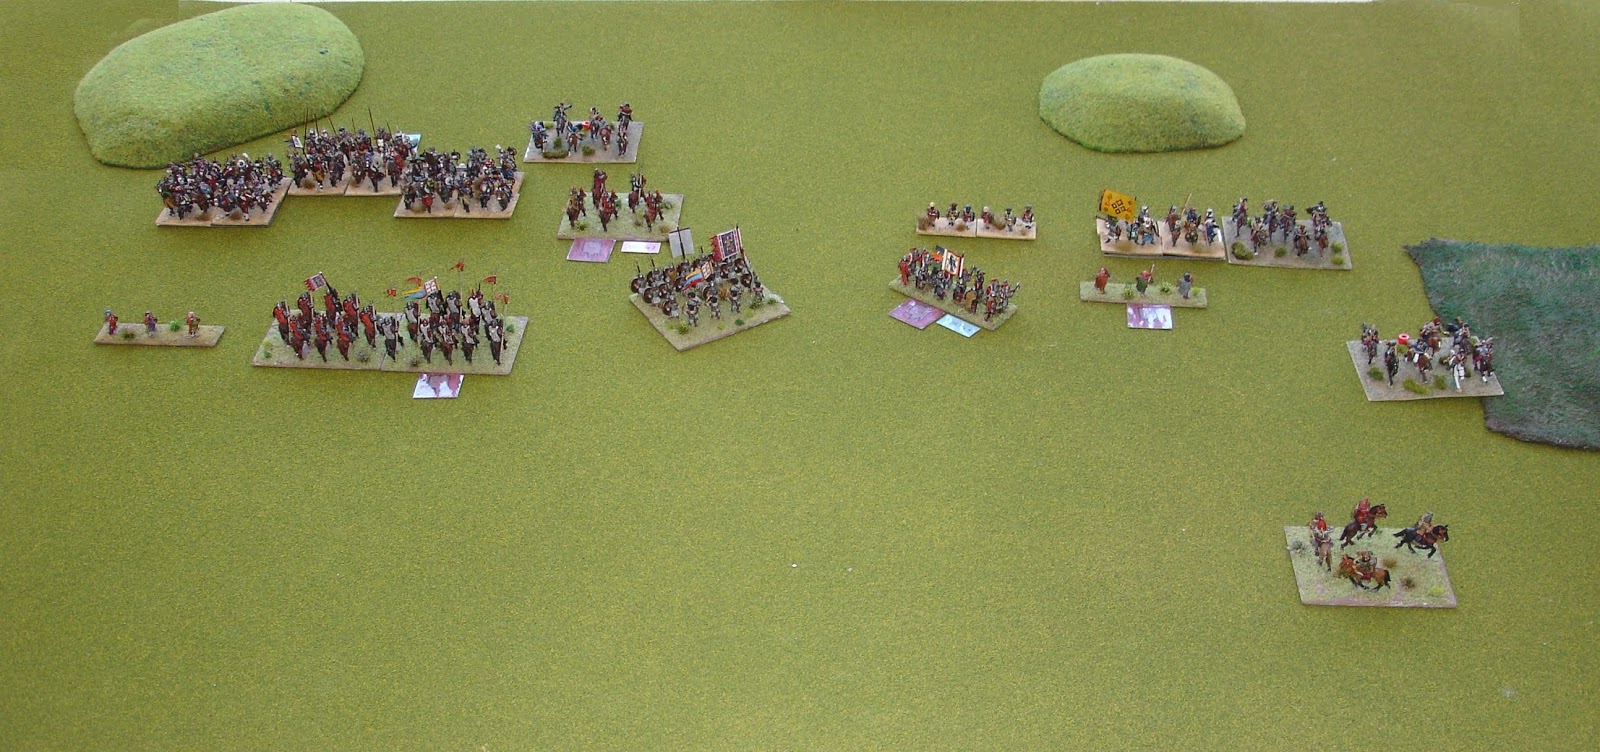
 Start of Turn 2 and the Turks move first this time.

 Then it's my turn and I start to engage the enemy with some long range fire.

 Turn 3 and I go first which enables me to keep up the missile fire.

 It has been surprisingly effective.
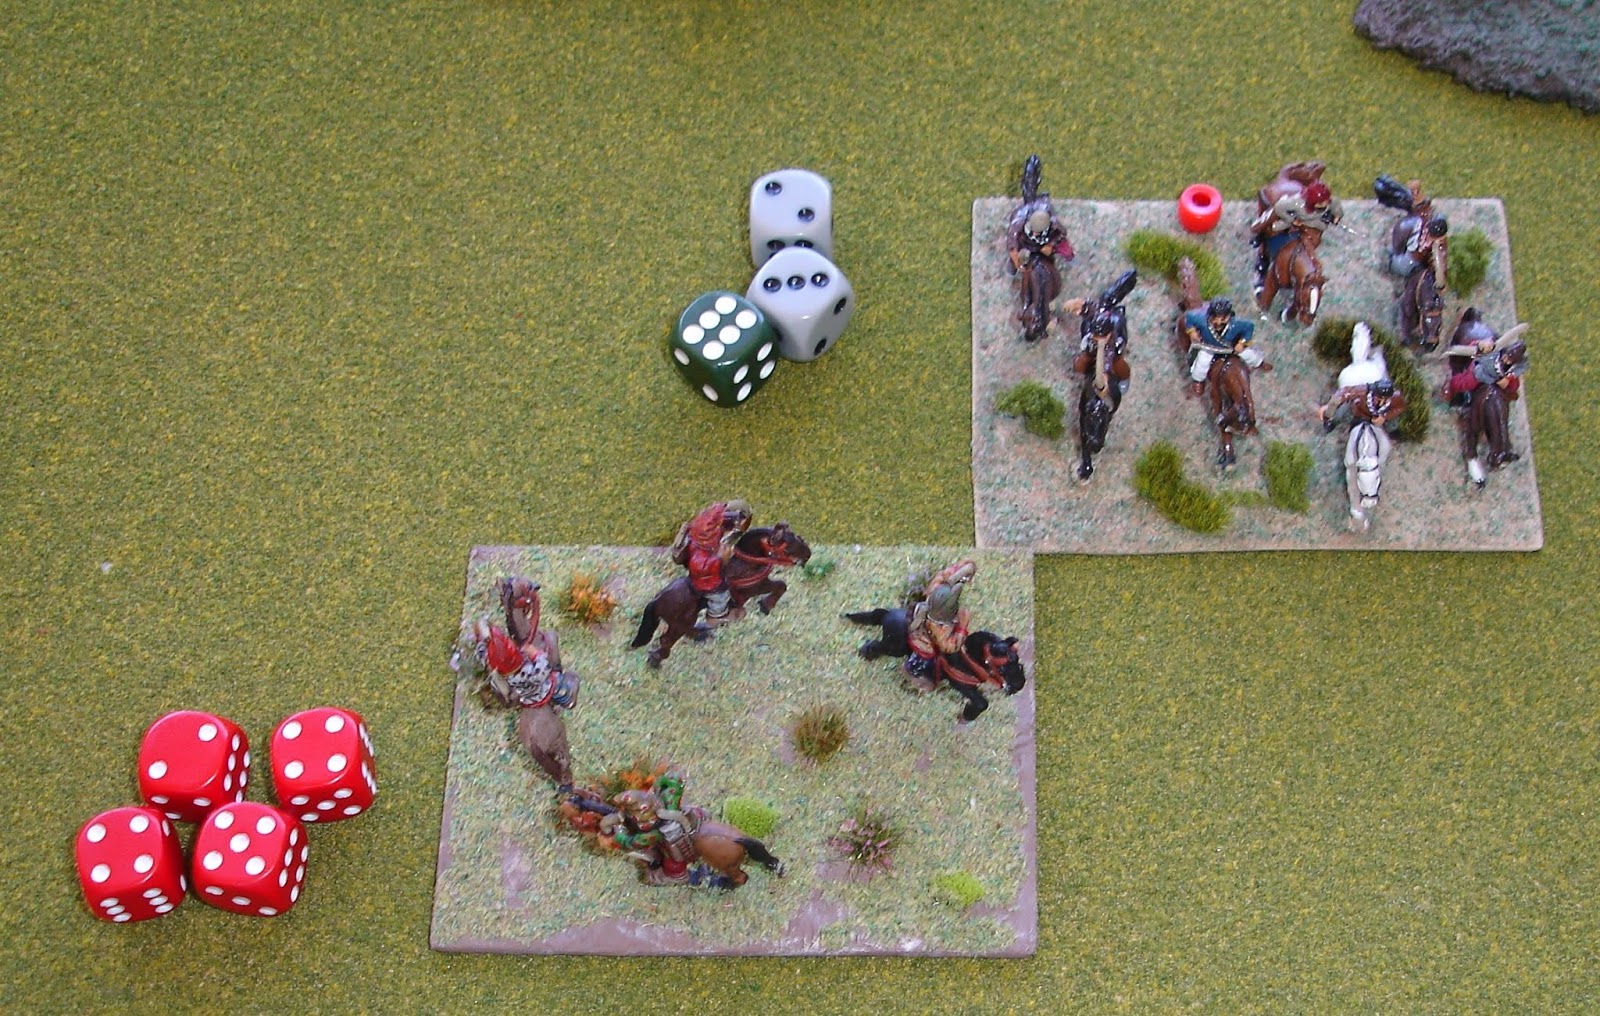
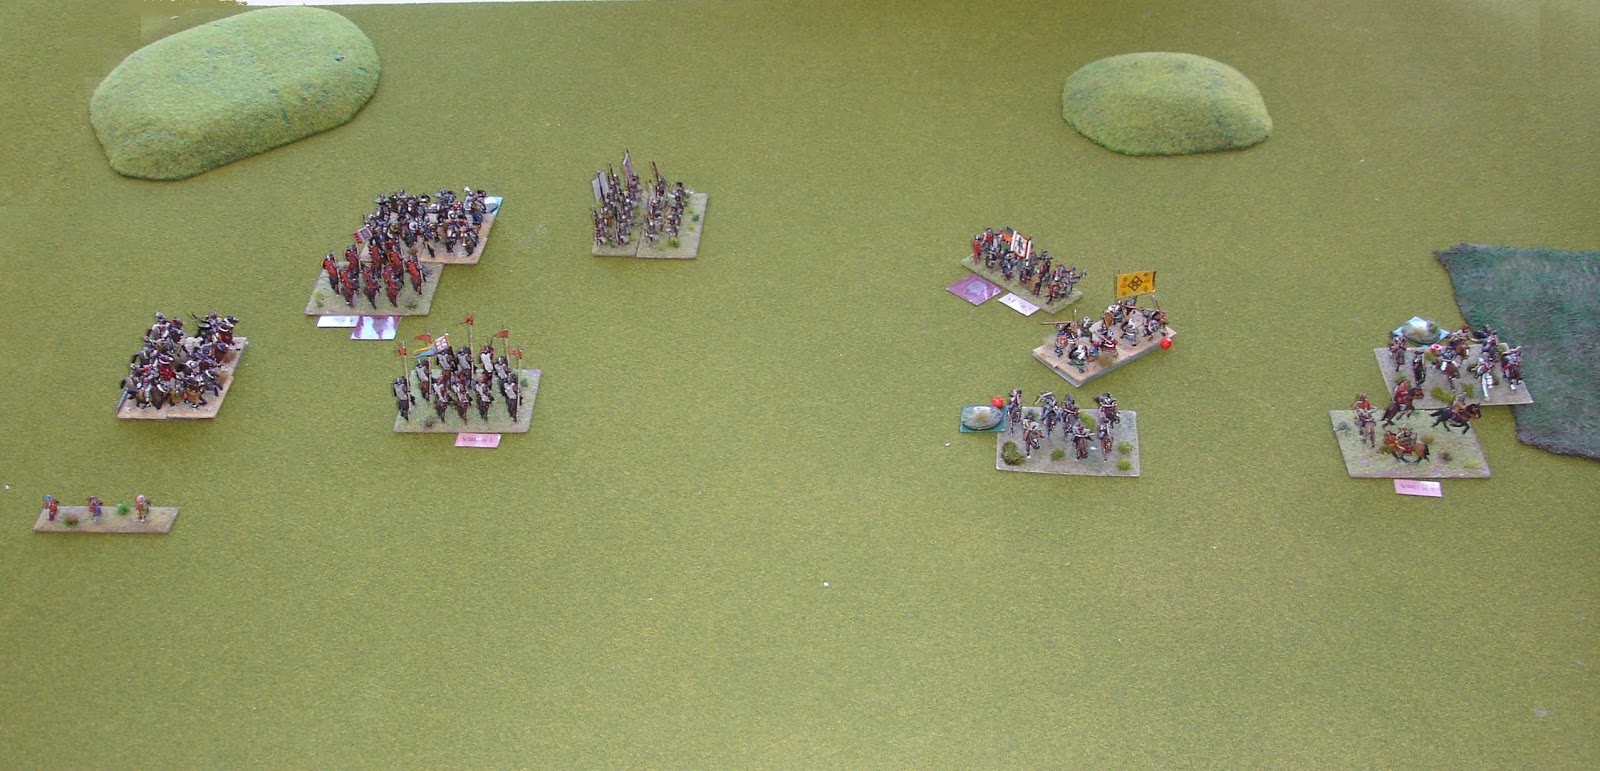
(red dots on the Turks indicate disorder)

 In my initiative phase my elite light cavalry had charged and driven off the Turks.
However in their initiative they charged and even though I had the advantage in number of dice,
the result was bad.

 End of Turn 3 and my infantry are blocked on the centre left,
and worse on the centre right the Varangians are suffering badly.

 My right flank light cavalry do no better than their companions on the left.

 Turn 4 and the Turks went first.
There was a mighty cavalry clash on the left flank.

 But by the end of my initiative it had stabilized somewhat.

 The Varangians are proving to be hopeless.

 Turn 5 I went first which gave me the double move.
I'm thin on the right,
but the left is where the action is.

 After the Turks turn the Varangians are feeling very unhappy,
but the cavalry fight is slowly going my way.

 Turns 6 and I get to go first.
The Varangians come good clearing the pesky skirmishers away this time.
On the left we start to close in on the enemy general.
The generals' units on both sides were reduced to critical by this stage.

 My general in now threatened, but it looks bad for the Turks.
It looks bad for the Varangians as well...

 Turns 7 and luckily I get to go first.
The Varangians escape and the enemy general flees.

 However my general succumbs to his wounds.

 Turn 8 and the Turks are close to breaking.

And in their final initiative phase, the Turk light horse is eliminated.
Game over.

It is interesting how the Turks ended up in the centre, given their initial bifurcated deployment.

Excellent game, probably lasted two hours.

Sunday, November 25, 2018

Auerstedt with the ANF

Saturday Stephen N, Mark B, Olivier and myself travelled out to the wilds of the Avon valley to join the ANF in a game of Shako recreating the 1806 battle of Auerstedt in 1/72nd scale.

My bias for the Napoleon's Battles rules should be well known and will of course colour my one sided commentary on this game.

I was Davout.

 A faceless man of the ANF completing the setup of the game.

James and Mark were Friant and Gudin (and later Morand) respectively.  Julian was Blucher.  The other NWS chaps were assorted Prussian commanders.

 Gudin is deployed in squares ready to face the Prussian cavalry that is about to appear.

 But there are a lot of Prussian infantry headed Gudin's way.

 There's Blucher leading his first cavalry charge.
This went in against the French cavalry.

 Friant has arrived.
Although his lead battalion has formed square just in case.

 Blucher's charge has been repulsed, 
but he has more from where that came from 
(the table edge)

 Blucher is busy looking for his next target
(as his previous one has withdrawn blown)

 Blucher charges one of Gudin's squares.

 Friant is a bit hemmed in by the table edge...
But Morand has just arrived
(must be around Turn 4 - possibly 10:30 - the battle started at 9:00).

 That's the town of Spielberg that Friant is fighting Blucher for.
Note the proximity of the table edge...

 Congestion at Spielberg.
Actually the French have just smashed some Prussians
and are about to hit the flank of some more.
That will teach them to use the table edge to deploy too close to the enemy.

 Things are looking good for the French.

 But the Prussians prove to have a bit more fight left in them...

 Gudin is still holding and Morand is moving up to his support.
The French cavalry is in reserve ready for any opportunities.

 The Prussians break!
?

 Non!
It is Gudin who suddenly abandons the field.
WTF?
This would never happen in Napoleon's Battles.  
Gudin would have just gone fatigued 
(basically held in place, not going closer to the enemy).

 Time for desperate French cavalry charges.

 All of which failed miserably as the Prussians, 
despite being staggered and in line, 
managed to form square.

Friant is holding Spielberg, but the Prussians hold Hassenhausen.

And at this crucial stage I had to take my fellow NWS players home and leave the game to the ANF to finish.  What will be the outcome?

Italian Infantry for North Africa

I couldn't continue to play Rommel using Fallschirmjager and US troops to represent Italians so I implemented a rapid paint of a few Peter Pig Italians I had purchased years ago (to serve as Greeks in my (eventual) Crete campaign) and some Battlefront Bersagliere I purchased last week.


First up Italian infantry by Peter Pig.  
The chaps in the greatcoats are pack 302 Range 8
 and the guys in side caps are Pack 577 Range 8
(and turn out to be British Home Guard - whoops).


Bersagliere, say no more.


 This is a command stand from the Italian Objective set.
The general is busy readying the  Rommel rule book.

They will also do nicely for Crossfire.

Paints used were:

Infantry

Undercoat Tamiya Matt Black XF1
Uniform VJ 979 German Camo Dark Green
Dry brush VJ 976 Buff
Flesh VJ 860 Medium Flesh
Flesh Wash Citadel Shade Reikland Fleshshade
Rifle Tamiya Flat Brown XF10
Rifle barrel VJ 863 Gunmetal Grey (that hadn't been properly stirred)
Base Tamiya Flat Earth XF52
Base finished with the colours of my desert mat plus VY Stone Grey and Buff highlights

Bersagliere

Undercoat Tamiya Matt Flat Brown XF10
Uniform VJ 977 Desert Yellow
Bags VJ 884 Stone Grey
Leggings and ammo pouches VJ 979 German Camo Dark Green
Helmet had a slight dry brush of VY 976 Buff
Uniform Wash Citadel Chaos Black
Flesh VJ 860 Medium Flesh
Flesh Wash Citadel Shade Reikland Fleshshade
Rifle Tamiya Flat Brown XF10
Rifle barrel VJ 863 Gunmetal Grey (properly stirred this time)
Base Tamiya Flat Earth XF52
Base finished with the colours of my desert mat plus VY Stone Grey and Buff highlights

Next will be some Italian armour.

Friday, November 16, 2018

Nikephorian Byzantines versus Later Andalusians - Again

A revenge match, this time my Byzantines returning with extra cavalry to take on Simon's Andalusians in what was to prove to be another bloody encounter.

This time I'll put the GIF first, so the outcome will not be a surprise.


 I had the advantage of deploying second this time.
I've matched my infantry against his infantry and my cavalry against his cavalry.

 End of Turn 1 and both sides have advanced,
although the Andalusians are a bit more cautious.

 I'm using my skirmishers to shield my cavalry,
however my light cavalry on the far left came off the worse for an early encounter.

 By the end of Turn 3 I had lost the forces covering my flanks!
But just watch the Varangians in the centre.

 Turn 4 and the Varangians are chewing up the enemy centre.
However my right is in trouble.

 Turn 5 saw a massive mutual annihilation of our cavalry.
It included the Andalusian general.
My general is off running down the enemy light cavalry on my left flank.

By Turn 6 my army had sadly broken.
It was very much in the balance up until then and could have gone either way 
(each side being one unit short of breaking).