Thursday, March 29, 2018

Late Seleucids versus Early Sassanids

Not an historical match, but the best I could do with my available figures. 

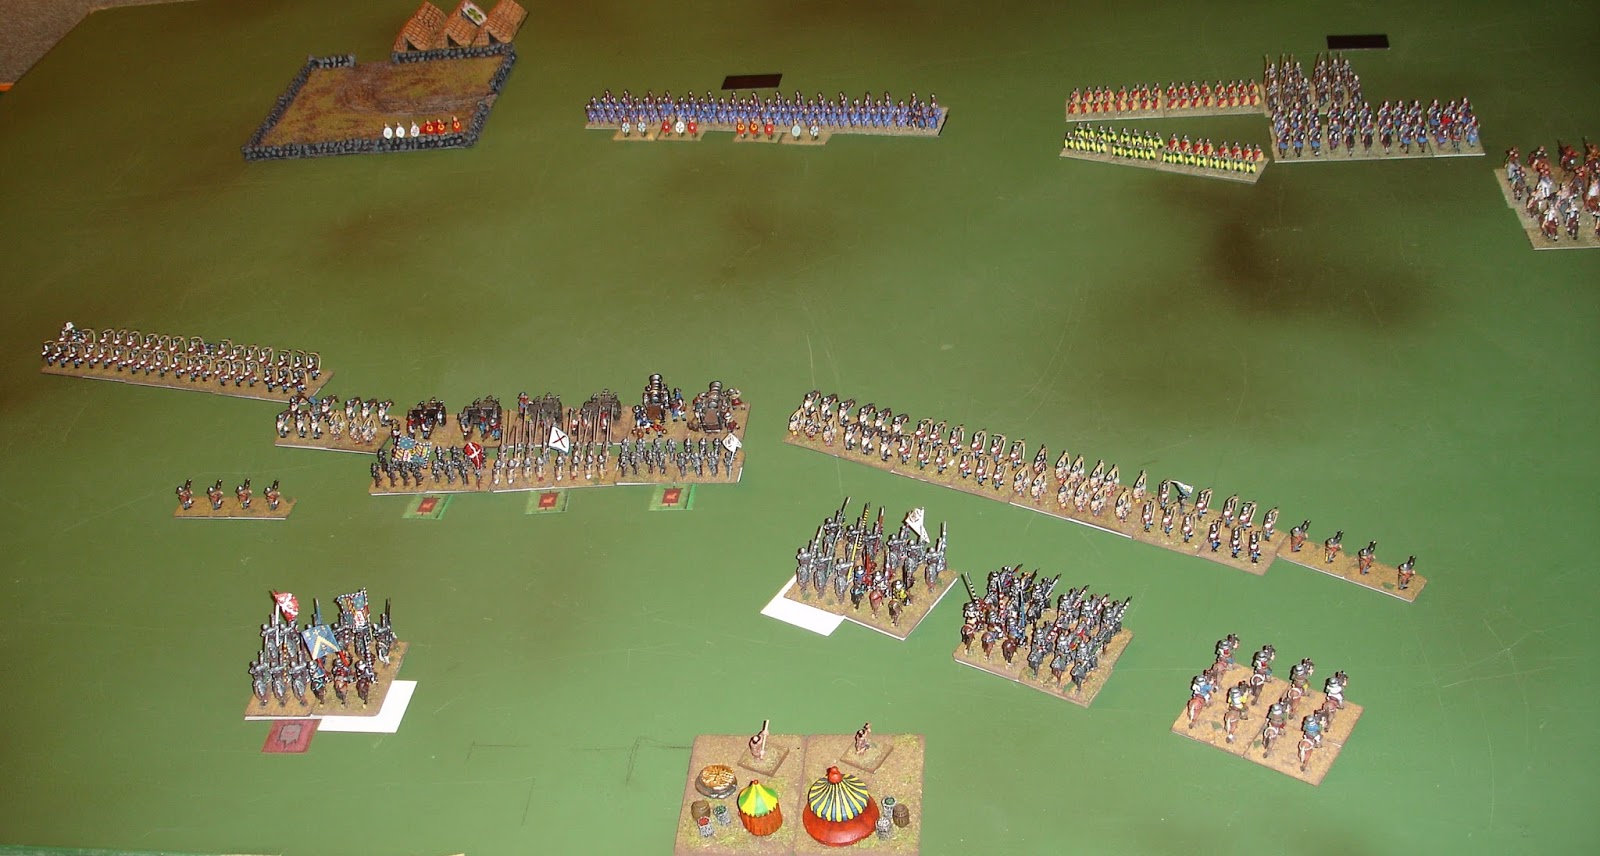
Simon, in his first game of Basic Impetus 2, with a borrowed army, put the late into my Later Seleucids in what was a very fun game.

 The Seleucids were the defenders and the terrain was certainly in their favour.

 The Sassanids held back, but scored some lucky early hits on the advancing Seleucids.

 Both sides fielded elephants.  Would they come tusk to tusk?

 Casualties start to mount on the Seleucids who are also slowed by the need to pause to recover order.
Still they are getting closer...

 The Seleucid horse archers have retired from the fight, 
but at least the Sassanids slingers have been routed.

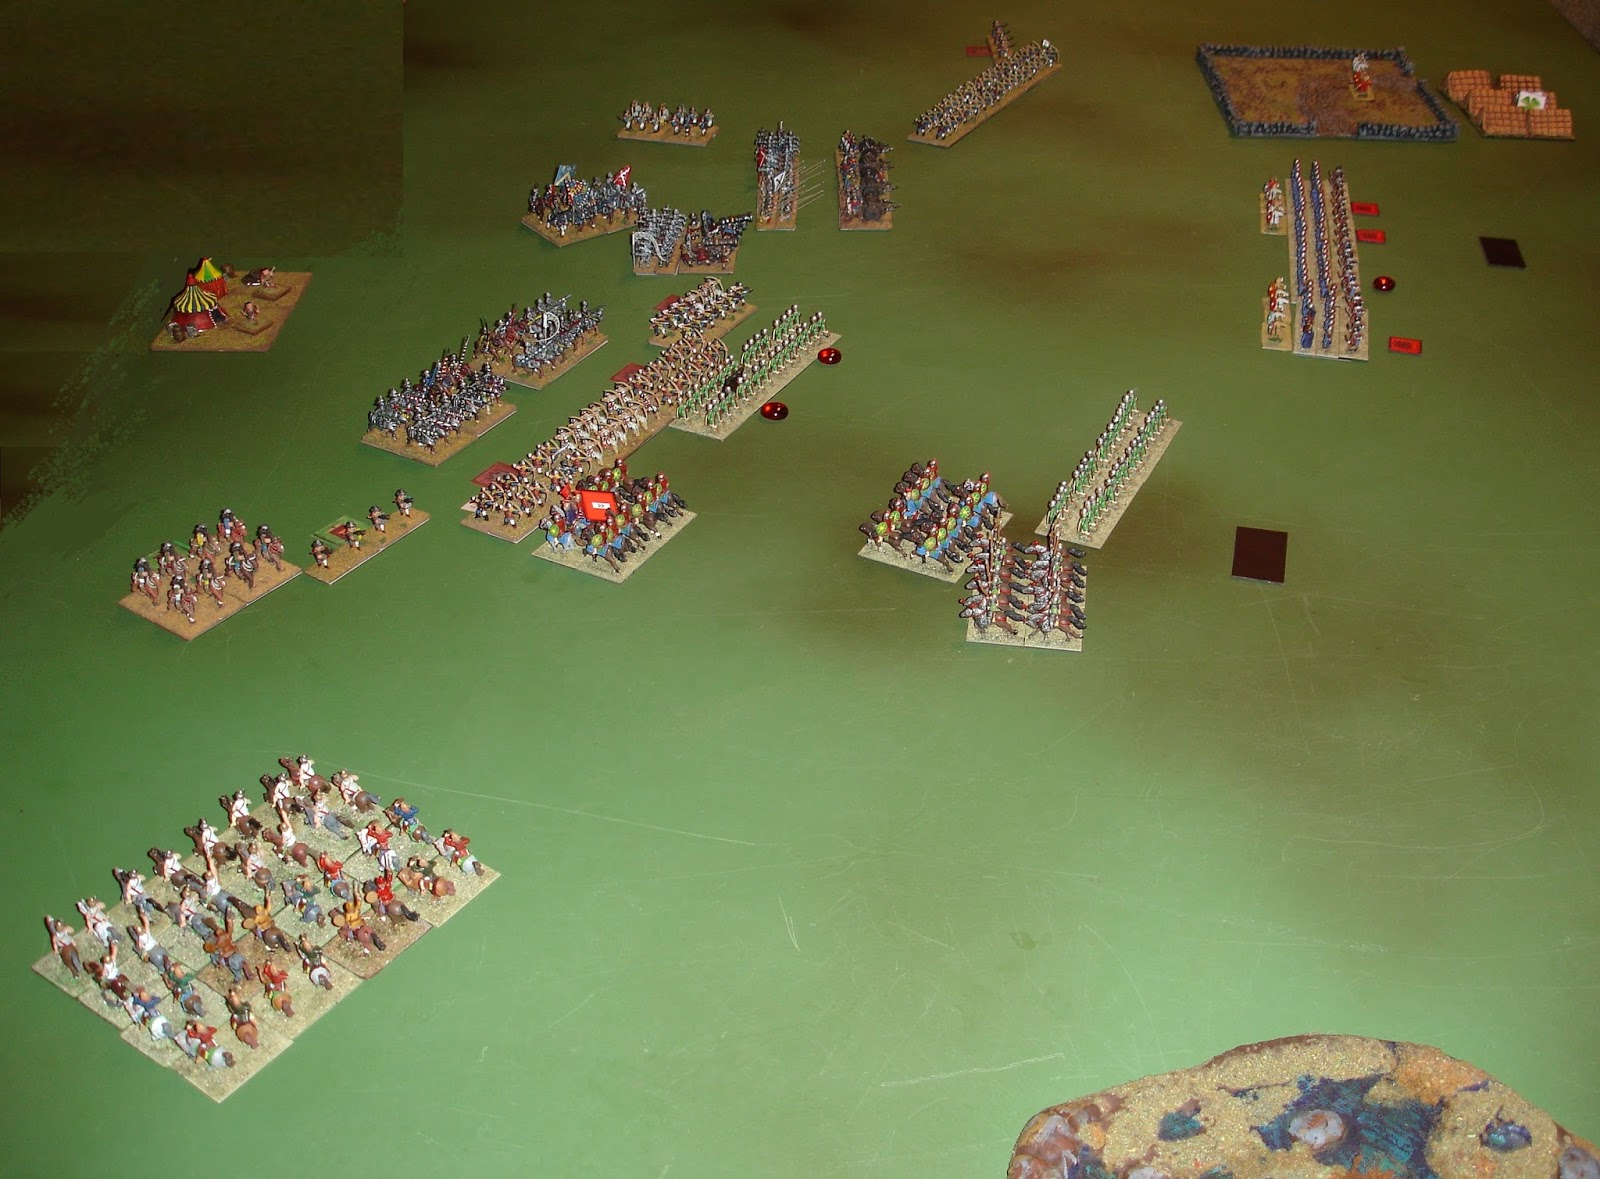
 End of the sixth turn and things have really developed.
On the Seleucid right their Thracians fled after tackling some Sassanid cavalry.
That in turn was destroyed by a very successful charge by the Seleucid cavalry.
The Seleucid centre is closing on the enemy, but on the left things are maybe not going so well.

 Another eventful turn.
Seleucid cavalry has been pushed back.
Elephants have come out to play.
And at the top of the picture, 
the Sassanid archers have seen off an attack by the Seleucid City Militia. 

 The Sassanid cavalry destroys the Seleucid right flank.
The elephants keep fighting as do the Sassanid archers.

 The Sassanids win.
Their horse archers move forward and finish off the Seleucid horse archers.
The Seleucids did wipe out the Sassanid heavy cavalry 
and significantly reduce their elephant population.

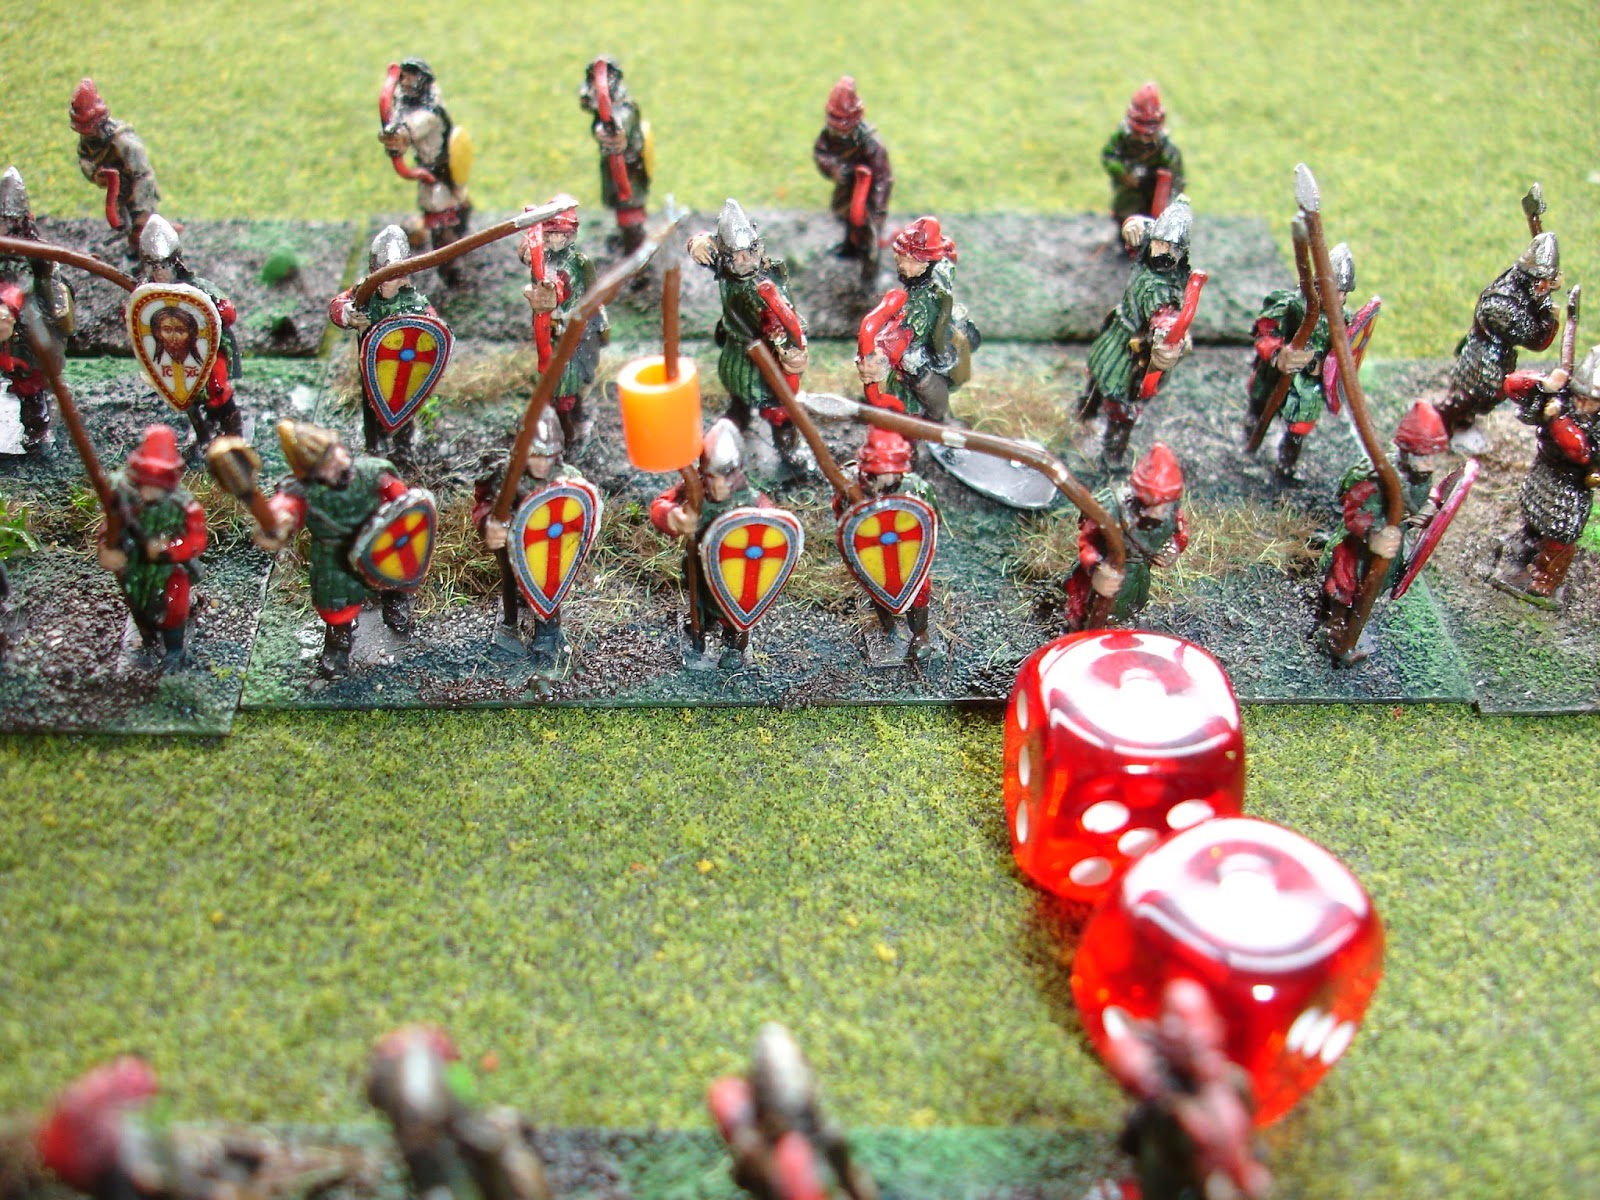
The Sassanid archers did well with their defensive fire, pity about their basing...

Monday, March 26, 2018

Burgundian Ordonnance versus Nikephorian Byzantine

Today my Burgundians took on Gerry's Byzantines in a club Impetus League game.  We played at my house and being on home turf gave my Burgundians a winning edge.

 Burgundians on the left, Byzantines on the right.
550 points gives a lot of troops.

 End of Turn One and there has been little movement.

 End of Turn Two and the Byzantines have started to slowly advance.

 The Burgundian genius commander is locked in.
This effectively gave the Burgundians the choice of when they were moving for the rest of the game.

 End of Turn Three.
The Burgundians are sitting still on opportunity.

 First blood is scored by the Burgundians on the enemy horse archers.

 End of Turn Four and the Burgundians are yet to move.

 The other Burgundian commander is confirmed as Expert.

 End of Turn Five and there is still a way for the Byzantines to go.

 Unlike in the Burgundian army, the Byzantine centre commander finds himself downgraded to poor.

 End of Turn Six.
Waiting, waiting, waiting...

 End of Turn Seven and skirmishing is happening on the Burgundian left.
The Byzantines are definitely getting the worse of it.

 End of Turn Eight and the Byzantines are now in range of the Burgundian right flank.
Some brave handgunners have gone out to meet some Varangians on the Byzantine's far left.
On the Burgundian left they have made a slight advance and a rain of arrows.

 End of Turn Nine.  
A charge by the Byzantine cavalry has been repulsed.

The Byzantine right is in trouble.

 Things just keep getting worse for the Byzantines.
Their left wing commander is downgraded.

 End of Turn Ten.
The Byzantine right flank is shattered and starts to withdraw to avoid being broken.

 End of Turn Eleven.
The Burgundians are now advancing on their left.
The Byzantines are bravely advancing against the Burgundian right and getting shot to bits.

End of Turn Twelve and the Byzantine right has broken.

 The break of the right command, coupled with losses sustained by the rest of the army,
sees the Byzantine army collapse and the Burgundians score a magnificent victory.

My die rolling was excellent, or rather I was rolling so many the chances I had produced results.  Less so for the Byzantines who were not having much luck at all.

Thursday, March 22, 2018

Early Sassanids versus the Empire of Nicea

Last night at the club I umpired a game between Mark B's Sassanids and Olivier's Empire of Nicea.

 The Set-Up.  Both sides have two commands, with their CinCs being Geniuses.

 And The Empire get off to a great start when their CinC is locked in as a genius.
This is quite the opposite of their previous, aborted game.

 End of Turn One as seen from the Sassanid side.
The Empire's right flank is held back on opportunity.

 End of Turn Two from The Empire's side.
The Empire scored first blood on the Sassanid horse archers who are rapidly approaching.

 End of Turn Three.
The Empire had some lucky shots and cleared off two units of Sassanid horse archers.
In the centre their cavalry has become mired with the Sassanid foot archers.
Perhaps a Hand of Fate should have been used,
 to force the Sassanid foot to reroll their Cohesion Test die 
(they had suffered 4 losses, but threw a 1).

 End of Turn Four.
Another Sassanid horse archer unit has perished on the right flank.
However The Empire's centre has crumbled.
and their rightmost command is taking heavy losses.

End of Turn Five.
The Empire's right flank breaks and coupled with the losses in the centre,
their army breaks.

The Sassanids first win!

They deserve to have their basing completed.

Tuesday, March 20, 2018

Thirty Mahdists

Another project finished.  The figures have been in my possession since December 2014 when I received them as part of the post NWS Kris Kringle shuffle.

I started work on them in December last year, The Mahdists are Coming, so it has taken me just under three months to complete them.

Flags came from http://www.warflag.com/flags/colonial/dervish.shtml

 A bit of over exposure.

Now corrected, but I liked the previous bright glare of the hot Sudan sun, 
so kept that photo in the mix.

 When I say complete...  Well, this base...

 Is different to this one.  In the previous base the figures are resting on an extra washer that gives then just that bit of extra height so their base sits better with the movement tray.

 For what is a simple uniform, the flesh tones took me the most time, then I put in some double work on the white tunics.  But the coloured patches were easy.  
It helped that I was working on other projects while doing these.

The flags, as noted, were images sourced from the Internet and printed, folded, crushed and glued.
Also, note on this figure that I have him sitting on a second washer which would be the next task if I decide to raise them all so they sit flusher with the sabot.

 It took me a few brain cycles to finally settle on how I was going to base the figures.  I am very happy with what I came up with as it was relatively easy to do, versatile and provides other opportunities. 


I had these 25mm slotted magnetic bases I was going to use and I figured doing a sabot that would then be affixed to a metal base was the way to go.  This failed as the base size for Sands of the Sudan would have only accommodated four figures (as it is the recommended basing is 7 to 10), but worse my 25mm bit meant it was all too tight to reliable drill out four holes (as can be seen above).  Plus the 25mm bases would have been a snug fit.  I then switched to 20mm plastic bases and a 20mm bit but that would also have been a tight fit as well and still left me with the magnetisation to do.  But then I found the miracle ingredient:


These washers were perfect, coming in at 18mm made for a decent fit.  I glued the drilled out MDF base to a backing of magnetic paper (actually one of those fridge magnets that are now prevalent in mailbox drop advertising material).  I painted the MDF first which made life easy.

Terrain


 And here we have the thirty Mahdists swarming over my latest bits of desert terrain.

 I wanted ridges and cliffs.

 But more importantly I just need a bit more to supplement my previous production.


Thursday, March 8, 2018

Burgundian Ordonnance versus (soon to be) Late Eastern Imperial Romans

In a club Impetus League game my Burgundians fought Brendan's Romans in what proved to be a very exciting game.

 Both sides deployed with their strength on their left flanks.
I was expecting more Romans, but what you see is what you get for 550 points.

 My bombard has a spectacularly unsuccessful first shot...1...1...1

 End of Turn One and both sides are advancing their left most commands.

 The Roman commander of the right flank goes up from Fear to Expert.
After a bit of banter I worked out he was Fair to start with, and that I had misheard.
As it was, his command would do very little in the battle except be used for target practice.

 End of Turn Two from the Roman perspective.

End of Turn Three.
Burgundian longbows have inflicted the first casualties.

 The Romans charge.
The longbow suffer, but hold, momentarily...

The charge by the genius commander of the Roman CinC and commander of the left most command was stopped with serious losses.  He would attempt to get away...

 End of Turn Four, from the flank where all the action has been.
The mass of Roman light cavalry is yet to get into action.  

 End of Turn Five.

A lot has happened.  The Burgundian knights have magnificently charged to the rescue after the line of longbow has collapsed.  The Roman genius commander has been lost along with his unit and another.  The light cavalry is trying hard to wipe out their opponents.

 Critical turn.  The Burgundians needed to win the command role.  The Romans, minus their genius general, rolled first and threw an 11.  The Burgundians came back with a 12, which also meant the Expert general was really a genius too.  Nice one!  (Sadly you can only have one genius in any army and the Burgundian CinC was a genius).

End of the game.

The Burgundian knights finish routing enough Romans break their big command which in turn breaks their army.  The Burgundian right hand command was just one unit short of breaking, but the Roman light cavalry couldn't quite do it.  Even if it had broken, being the smallest of the Burgundian commands, they still would have fought on.

Please note that a few of the above photos have been patched to cover up table litter, or extraneous background and unfashionable player body parts.  Such a great victory deserves the best in my presentation skills.

Interestingly for my games, only half of the units were engaged.