Thursday, May 30, 2019

A Walk in the Dead Woods again.

This was basically a repeat of the previous game, details of which can be found here.  Stephen took on the role of the denizens of the Dead Woods, while I thought I could do better as the goblins.  I had a cunning plan.

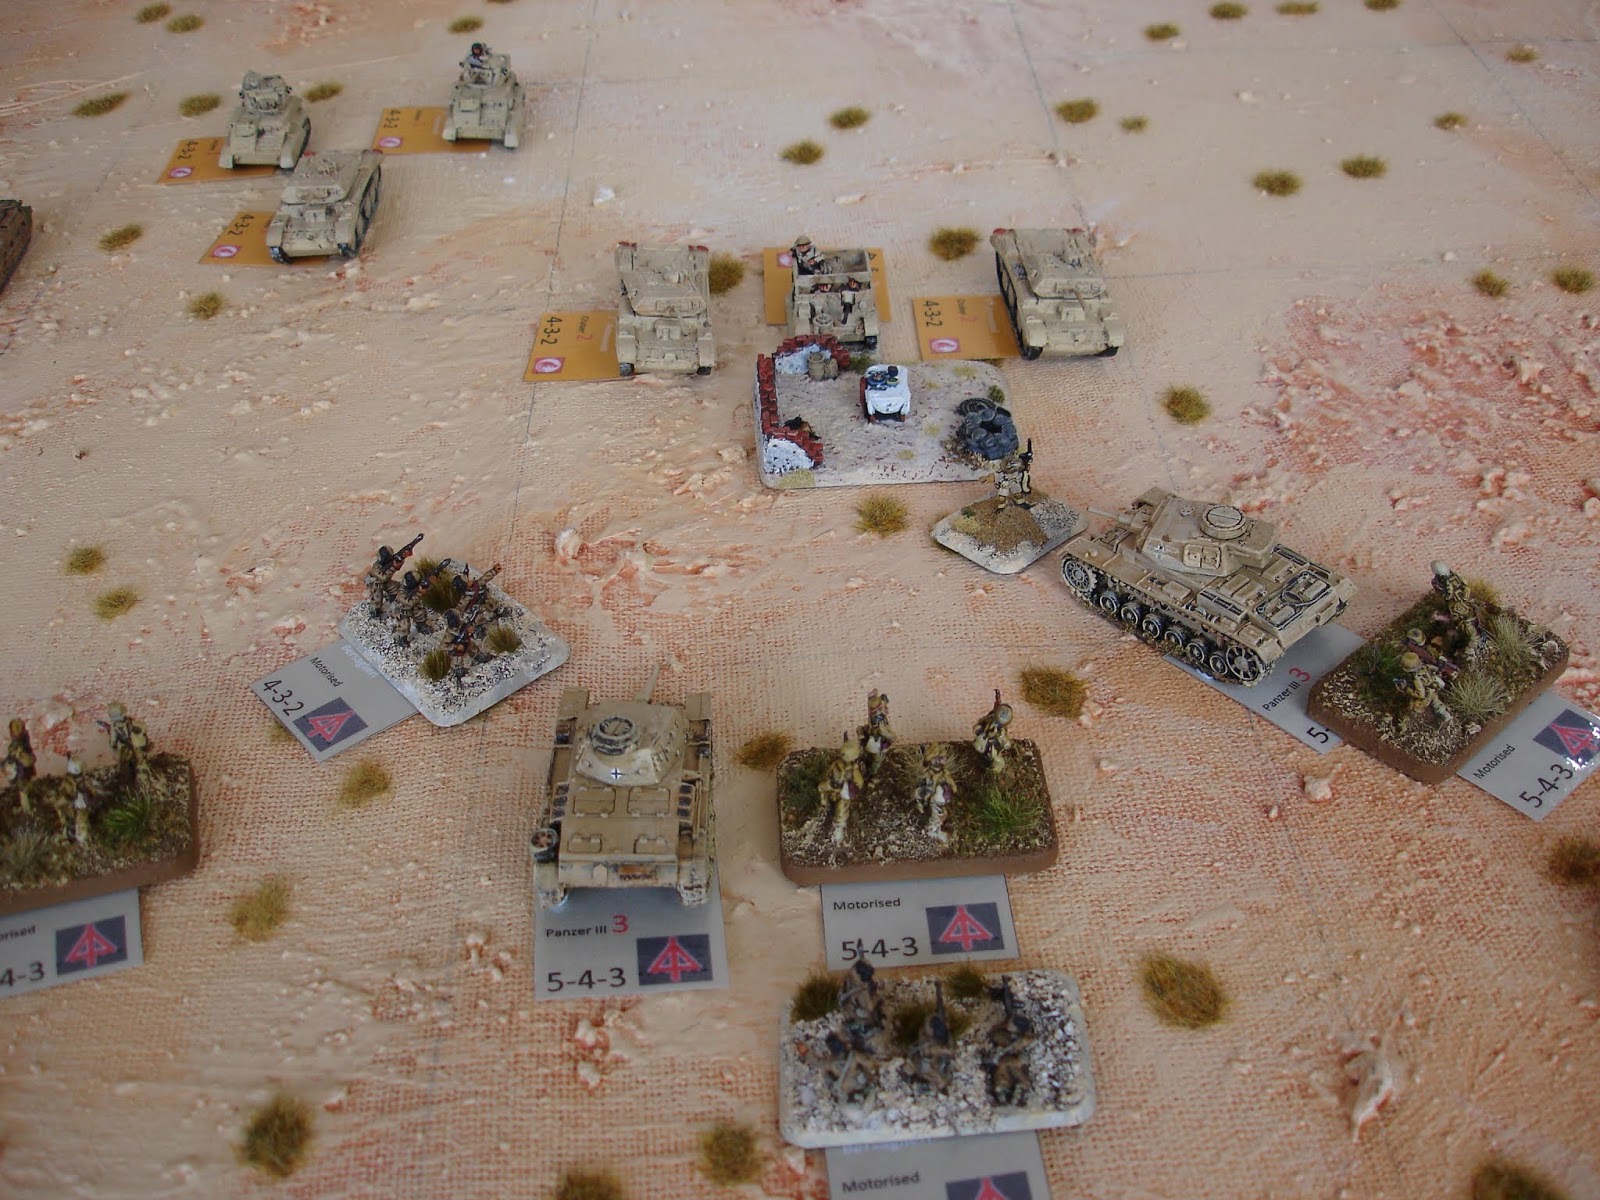
The aim is for the goblins to scout the wood, visiting each of the six patches of trees, while pretending to take their dog for a walk. If the dog wanders into a patch of trees it will dig up bones which can turn into skellies who will attack the goblins.  If the dog gets straight 1s for its activation, the dryad will appear randomly in a patch of trees.

 Things were going well until the dog fouled the environment, 
awakening the dryad, protector of the forest.  
However her charms failed to stir the goblins and she was not bothered again.

 The dog ran hither and thither and failed to dig up any bones.
So I thought that it would be okay to have the goblins activate skellies 
when they reached a patch of trees.

 Just one skellie appeared and it was easily dispatched.

 Next patch of trees revealed two skellies.
My plan was to keep the goblins together, 
so two are rushing forward to help.

 Goblin down!
His mates failed to get to him in time.

 Vengeance!

 But then the dog goes and digs up four skellies.

 The goblin reaction is slow and they are feeling a bit overwhelmed.

 Another goblin falls in combat.

 More skellies appear and another goblin dies.

 The remaining goblins flees.

 More skellies appear, intent on blocking the goblins' escape.

The goblins fail again in their attempt to scout the Dead Woods.

Having the goblins activate skellies was a bad move, but the dog wasn't doing much to start with and I was feeling sorry for my opponent who consequently had nothing to do.  The dog was moving very erratically as it was changing direction with each success, having just a single direction and then making a number of moves based on the number of successes is a better way to produce results (i.e. random generation of skellies).

This time the dryad had the Transfix ability, that if successful would have lured the poor goblin to its potential doom.

Having the skellies Q3 while the goblins are Q4 is probably not the best.  Perhaps if they had a leader?  But would anyone want the job?

Maybe...

Wednesday, May 29, 2019

15mm German WW2 Infantry - Allsorts

These figures came from Bill's gift plus some spare figures that Simon passed on.  They are a mix of manufacturers and I've based them up for use with Rommel, Crossfire and Blitzkrieg Commander, but I imagine they would work for most WW2 rule sets.  I went a bit overboard with the mix of tufts, but I'm very happy with the finished result.

The paint scheme was VJ Field Grey over a Tamiya Flat Black.  Some of the equipment I then detailed, the flesh and weapons obviously, but the big secret was a dry brush of VJ Buff that really brought out the detail.

 The whole lot.

 Mainly PSC figures in the above image.

 Mortars!
Medium and little.

 Rear area troops.
Perhaps the table needs a map, 
but they are just about to go into action and so it has been folded away.

 Some singles to act as commanders for Crossfire.
The guys in great coats with the machine gun demanded their own base,
but I now see I could have tried to get the ammo belt to match up better,
it is not so obvious on the table top.

 More machine guns.

Anti Tank rifle lying in wait.

Hiding behind a hedge, calling in a strike. 

 More spotters, although the binocular guys went to the MG crews as we'll see...

 MGs on tripods.

 Infantry attacking.

Infantry advancing.
In this image you can see extra detail that went into these figures, 
but it is the dry brush that has really enhanced them.

Some of these figures are from Command Decision.

Monday, May 27, 2019

Kasserine Pass 1943

Two games of Rommel in one week - how good is that!

Today's game was from a scenario on the Hexes and Miniatures blog.

More importantly for me, it was the first use of much of my WW2 15mm forces for the purpose of which it had been purchased and subsequently expanded, in fact the Italian units I specifically made for this battle, along with the Lee and Stuart tanks. It was the first time for some of these units to appear on the table top.

Simon went US and I went Axis based on a die roll.  It was daunting to be faced with attacking, but once things started rolling...

 Deployment.  The US are dugin holding the passes.

 It's a war of attrition for the main pass.

 Which the Axis are winning.
They have also scaled the heights.

 A US ops roll.  Anything but one's are good.

By Turn nine, or just around midday, US forces collapse.
The Axis have taken a lot of casualties, but CCB of the 1st Armoured has been wiped out.

A tricky scenario this one.  Normally you have to watch for counterattacks, but the weak US attack ratings and the large number of Axis forces, make that close to impossible.

I would suggest making the mountains impassable to armour and possibly extend that to all motorised/armoured troops (they would have to debus and advance as leg infantry). That should extend moving between the terrain and diagonally adjacent enemy units as well, as in the game the Axis were able to get round behind the US troops and into their rear area with ease.

After the first flurry of events and tactics, I settled in to a lethal combination of double impulses.

This is the description of the battle from Wikipedia:

Djebel el Hamra

The Afrika Korps Assault Group began moving along the Hatab River valley towards Haidra and Tebessa in the early afternoon of February 21 and advanced until they met defenders consisting of the U.S. 16th Infantry Regiment, 1st Infantry Division and Combat Command B of the U.S. 1st Armored Division at Djebel el Hamra. The German–Italian force was halted and despite heavy pressure, including air attacks, failed to dislodge the American defenders.[33] Having brought the Axis drive towards Tebessa to a halt, General Paul Robinett and General Terry Allen now turned their attention to planning a counterattack that was to take place the next day, February 22. Plans made by both sides were upset by the battle, and the Axis forces (5 Bersaglieri, a Semovente group from Centauro and 15 Panzer) launched another assault on the U.S. position on the morning of the 22 February. Although the American defenders were pressed hard, the line held and by mid-afternoon, the U.S. infantry and tanks launched a counterattack that broke the combined German and Italian force. More than 400 Axis prisoners were taken as the counterattack was pressed into the Afrika Korps position.[34]

What I would really like to do is play the campaign for Tunisia out as a series of battles.  I just need to collect my sources and not sweat the detail.

Saturday, May 25, 2019

Rommel - Adjacent, Outflanking and Retreating

From the last game I played, I thought a few images explaining the adjacent, outflanking and retreating definitions/mechanics would help (me at any rate).

Adjacent


 As per the definition on page 8, the Italian unit is adjacent to the surrounding eight squares.

Outflanking


 The two British units can make a flanking attack as they are not adjacent, 
and at least one unit is attacking from a square with only one enemy ZoC.
(Page 37 in the rules)

 This is not an outflanking attack (although it looks like one)
as the two squares the British are coming from are technically adjacent.

 This is not an outflanking attack
 as both attacking units are coming from squares that are in the ZoC of more than one enemy unit.

Retreat


 The British are about to move and contest the square held by the three Italian units.

 The Matilda squadron has moved to the right flank before entering the Italian's position.
This makes it an outflanking attack (and gives the Italians some tank shock).

However the Italians hold on and the British have to retreat.
The Matilda cannot use a second retreat move back to its starting position
 as that position is adjacent to the square where the combat took place
 and represents a second square of movement. (Page 55)
(Note: the black tufts represent that the unit is tipped)

This was something I was doing wrong in my last game.

Friday, May 24, 2019

Operation Brevity 15 May 1941

Simon and I got together for another game of Rommel.  Operation Brevity is an introductory scenario and I've played it once before, but not with Simon (relevant post is here).  I went Axis and Simon went Commonwealth.  All the terrain and models/figures are mine, better still they are close to matching the units/equipment engaged

 The Commonwealth used road movement to grab the centre objective 
(which having looked at the Wikipedia entry for this battle, might represent Fort Capuzzo).

 The first of many attacks on the Italians at Sollum is repulsed.
(Note: the model explosions are used to denote "tipped" units.)

 Kampfgruppe von Herff attacks Fort Capuzzo.

 Again the Commonwealth attacks on Sollum are driven off.
Sterling work was done by the Italian artillery aiding the brave defenders.
Note the escarpment and the cool blue of the Mediterranean waters lapping the coast.

 Another attack driven off,
this time with the view from the Commonwealth's side.

The battle keeps raging (seen from the Commonwealth's side again).
I have to say I found this game very picturesque.
The labels could be a bit better hidden, 
but the lighting adds a special touch (and purely accidental I should add).

The Commonwealth send a unit of Vickers Light Tanks out to threaten Point 208 on the Hafid Ridge (that's my guess of the location).  
German panzers can't decide whether to give chase or complete surrounding Fort Capuzzo.

The Italian Border Force at Sollum are getting a bit thin...

After giving chase the panzers are bloodily repulsed in their attempt to surround Fort Capuzzo.

But Sollum holds and German Panzergrenadiers have arrived to make sure it continues to do so.

At this point we ended the game.  There was one more turn to go, but it wouldn't have seen any objectives change hands.  A victory for the Italians!

Having looked at the Wikipedia entry again and noting the game scale, one square is 1 km across, then my estimate of the centre of objective being Fort Capuzzo is a bit off.  More likely it is Sollum Barracks and the other objective Musaid (not Point 208), but then again with a bit of wargamers' artistic licence...

Rommel gives a great game with plenty of command decisions and not too much fighting the rules or relying on lucky dice rolls.  The only thing that I am not happy with is the outflanking rule, and having reread the rule I think this is more my problem with interpretation.  However I have found I was making a mistake with retreats which, if they go two squares, cannot end adjacent to the square in which the combat took place.  I might do a seperate post on this.


Thursday, May 23, 2019

Nikephorian Byzantines versus Later Sassanids

Time to give Impetus Second Edition another go, this time getting Mark B to field his Sassanids and letting Stephen have command of my Byzantine foot (I kept the cavalry under my command).

400 points should work well for a club night, although the chatter isn't always conducive to experiencing new rules, especially if accompanied by crappy die rolling.

Stephen is charged with defending the sheep.  
That is impassable terrain on his left.

Stephen gets off to an excellent start, his expert rating being locked in.
He is sporting armour that will later become fashionable in far off Burgundy.

On turn one I was able to bring overwhelming bow fire to bear 
on a Sassanid light cavalry unit that had advanced on my right.

Turn two and the Sassanids are pushing forward.
I'm advancing too.

Turn three sees a messy melee develop on the right,
At the same time the Sassanid elephants start to lose their skirmisher screen.

Turn four and the Sassanids collapse.
One of their elephants panicked under sustained bow fire and recoiled into the unit behind it.
But the real damage was to their light cavalry, skirmishers 
and their unit of kataphraktoi that I had been able to rout with my superior numbers. 

I feel I am starting to get a handle on these rules now.  They offer some subtle tactical challenges.  It is such a pity that Basic Impetus 2.0 and Impetus Second Edition are such good rules, but while very similar they are also very different.  This makes playing both sets a challenge.  Damn!