Sunday, December 9, 2018

The Boy's Book of Airfix


This book was lent to me by Julian of the ANF and filled the gap in my knowledge about what happened to Airfix, at least up to 2009 when it was published.  It also had me wallowing in nostalgia.

Now I have just found out that my local hobby shop, Stanbridges, is closing down its brick and mortar site.  So sad.

But reality is that I have not made a 1/72nd scale construction kit in a long while.  Certainly done lots of modelling, just not the traditional kits of my youth (and of which I still have a significant stockpile - something I thought I'd be doing in my retirement, but I seem to have been wrong, mostly).

The book is more about the changes in ownership (and there have been a lot) rather than the thought processes behind the various Airfix kits and figure ranges (although there is a bit about that).  There is also a bit of coverage of the production process, although it is an area that could possibly have been expanded on as it did seem to restrict what could be done (chiefly thickness of parts).

Airfix faded in my wargaming hobby pursuits due to first Matchbox, who produced some real quality kits and sets of figures, and then my move into 15mm Ancients, Napoleonics and ACW and most recently WW2.  I was still planning to do some 1/72nd scale WW2 stuff, but that is looking remote now (eg).  Pity, as I'd started to collect some rather good kit.  I also have my 1/72nd Airfix Roman and Ancient Briton DBA armies and then there are all my 1/72nd scale Napoleonic units.  Umm.

The problems of being a hoarder who can't let go.


Friday, December 7, 2018

Somewhere in Stalingrad

Around this time of year I always like to put on a Stalingrad game.  This year I coopted James and Mark B as the bad guys and Brendan as Uncle Joe's representative.  It turned out Brendan knew how to play and this gave the Soviets the winning edge.  Mark B was sent home after a series of appalling  dice rolls and so James was left defending the indefensible or rather attacking the unattackable.

 Blurry eyed Germans spot some Russians across the rubble.

 The veteran German platoon close assault the pinned and suppressed Russians.
This attack ended in abject failure.

 Elsewhere the Germans got some enemy submachine gunners pinned down.

 While nearby two heavy machine guns went mano-mano.

For one of the players it was their first taste of Stalingrad and they were so enthused they sent me some of the photos they had taken.  I understand he thought it a fantastic game with all the feel of close quarter squad level combat as he imagined it was.  More so I believe he said it was very playable and above all fun!

Other players criticised me for the poor set up and I was annoyed at my poor memory of the rules.  Grrr.  Can't please everyone.

Additional, submitted photos by a new fan of the game.  I am sure he would be really interested if there was a Napoleonic version of the rules.  I would just be amazed.

 This was just before the attack by the German veterans.

 The attack goes in.

 They start to clear the building after their initial success.

But the Russian company commander and his trusty NKVD assistant are too much for them.

As mentioned I was a tad rusty on the rules (my fault as I didn't bother reading the rule summary I had made previously) and in a bad move used a previous set up that turned out to be a bit hard to follow.  Hidden set-up is the best part of this scenario, but I need to make it easier for players to visualise their deployment.  With the recent success of white board markers and laminated labels I'm thinking of a laminated map for each player to write on as an aid to set-up.

Annoyingly I since found that I had made a better roster, just failed to print it out.  It's been a long year.

Tuesday, November 27, 2018

Konstantinian Byzantines versus Seljuk Turks

An historical match up for my Byzantines, now evolved into Konstantinians, against Mark Woods' Seljuk Turks.

First up an extended GIF which is constructed using pictures after each players' initiative, rather than each game turn as previously done.  Should make it easier to follow.


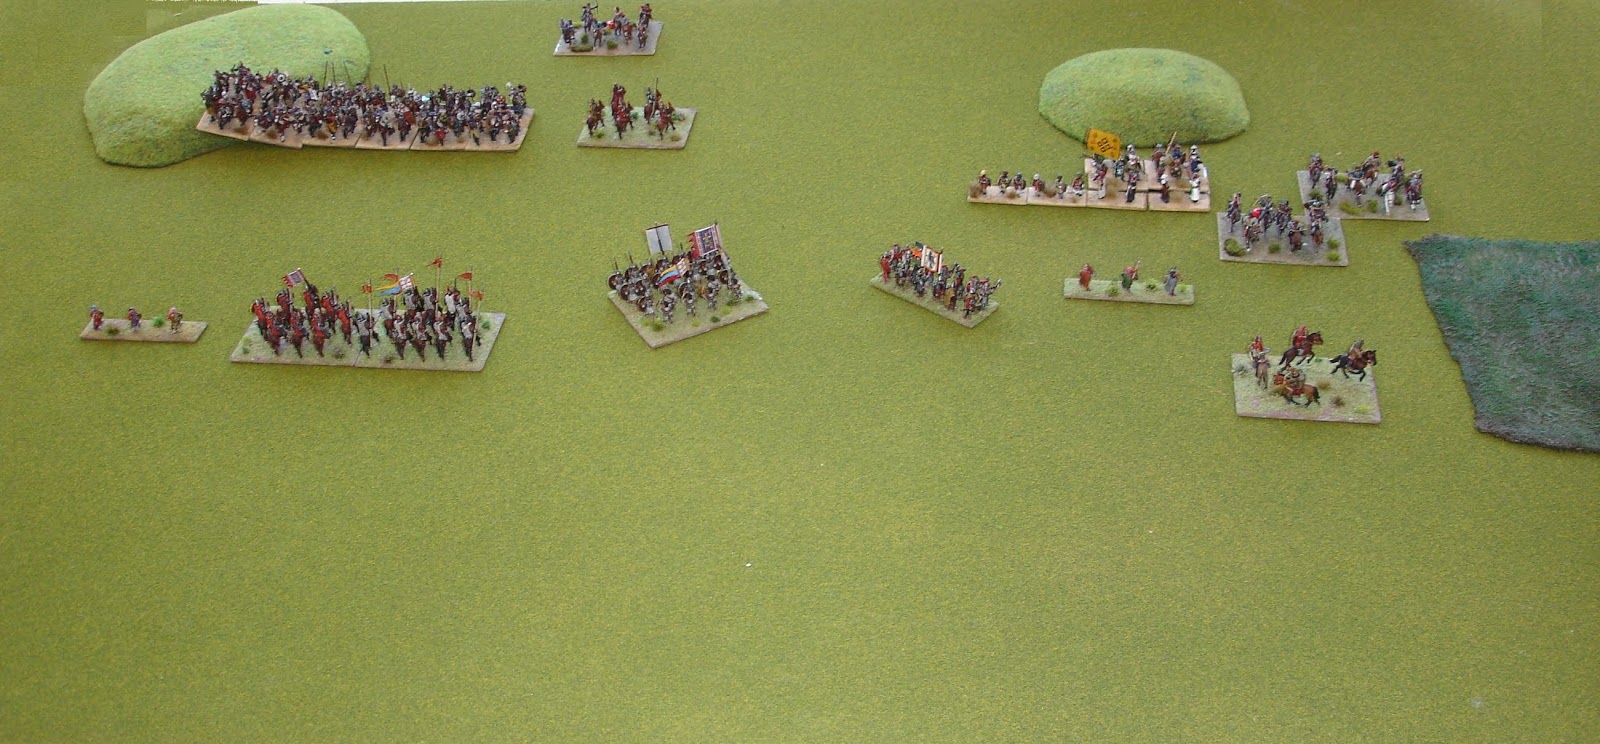
 I had the advantage with deployment, 
but I'm not sure it did me any good.

 I went first.

 The Turks cautiously advance.

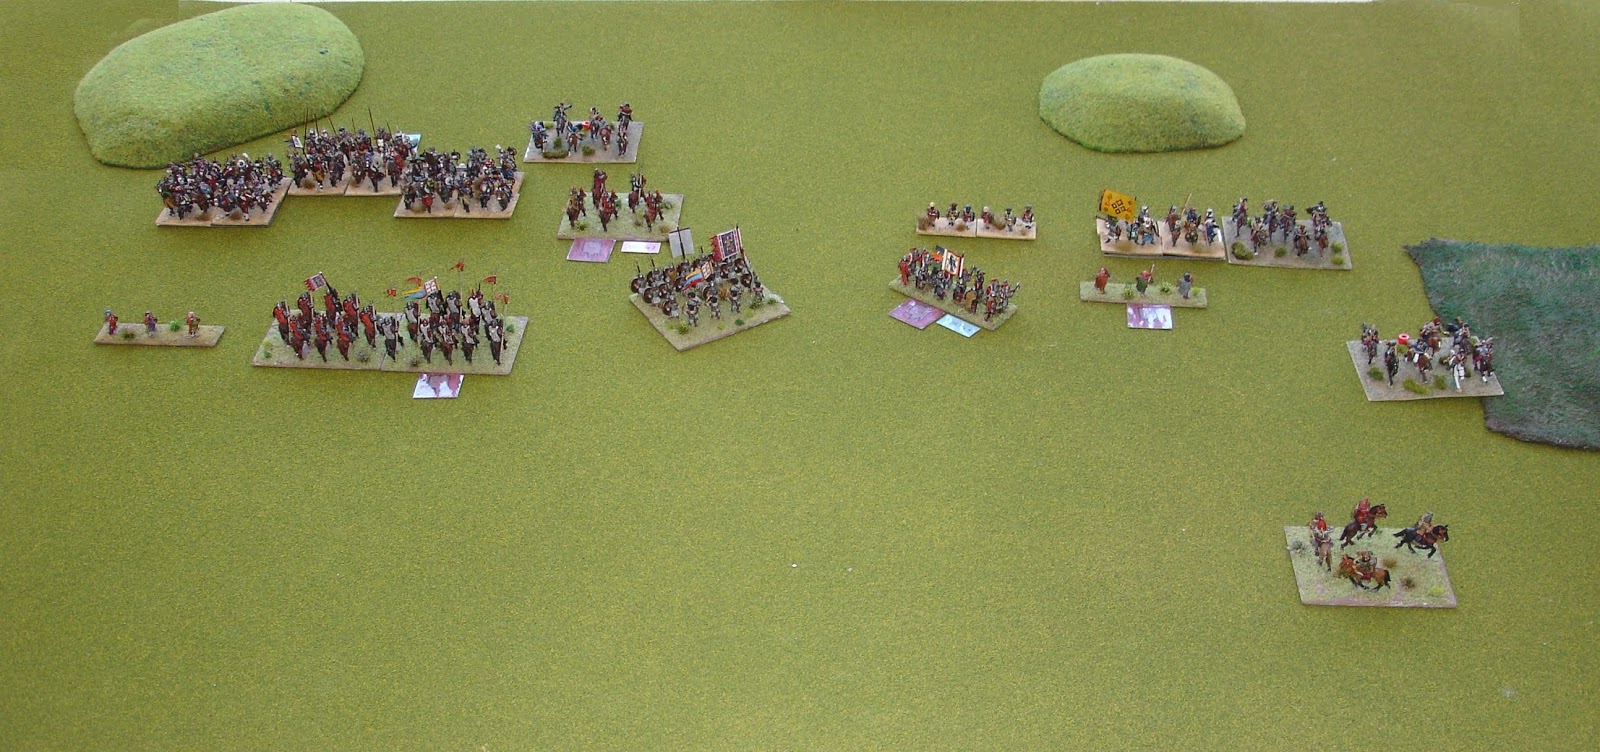
 Start of Turn 2 and the Turks move first this time.

 Then it's my turn and I start to engage the enemy with some long range fire.

 Turn 3 and I go first which enables me to keep up the missile fire.

 It has been surprisingly effective.
(red dots on the Turks indicate disorder)

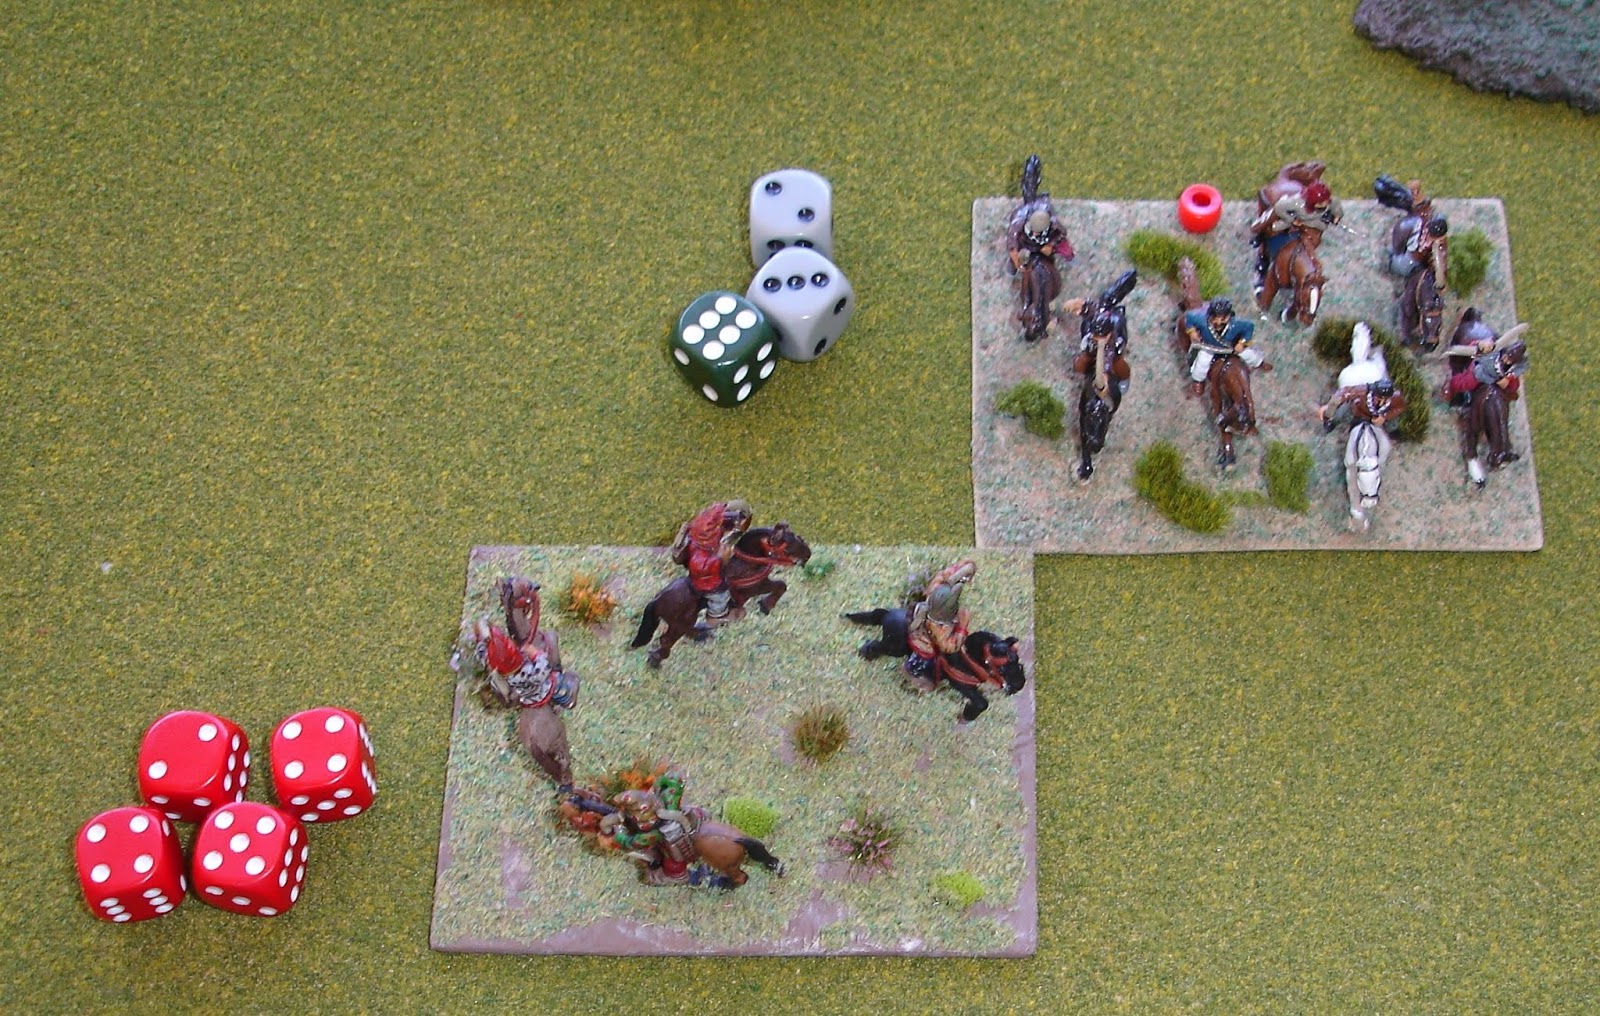
 In my initiative phase my elite light cavalry had charged and driven off the Turks.
However in their initiative they charged and even though I had the advantage in number of dice,
the result was bad.

 End of Turn 3 and my infantry are blocked on the centre left,
and worse on the centre right the Varangians are suffering badly.

 My right flank light cavalry do no better than their companions on the left.

 Turn 4 and the Turks went first.
There was a mighty cavalry clash on the left flank.

 But by the end of my initiative it had stabilized somewhat.

 The Varangians are proving to be hopeless.

 Turn 5 I went first which gave me the double move.
I'm thin on the right,
but the left is where the action is.

 After the Turks turn the Varangians are feeling very unhappy,
but the cavalry fight is slowly going my way.

 Turns 6 and I get to go first.
The Varangians come good clearing the pesky skirmishers away this time.
On the left we start to close in on the enemy general.
The generals' units on both sides were reduced to critical by this stage.

 My general in now threatened, but it looks bad for the Turks.
It looks bad for the Varangians as well...

 Turns 7 and luckily I get to go first.
The Varangians escape and the enemy general flees.

 However my general succumbs to his wounds.

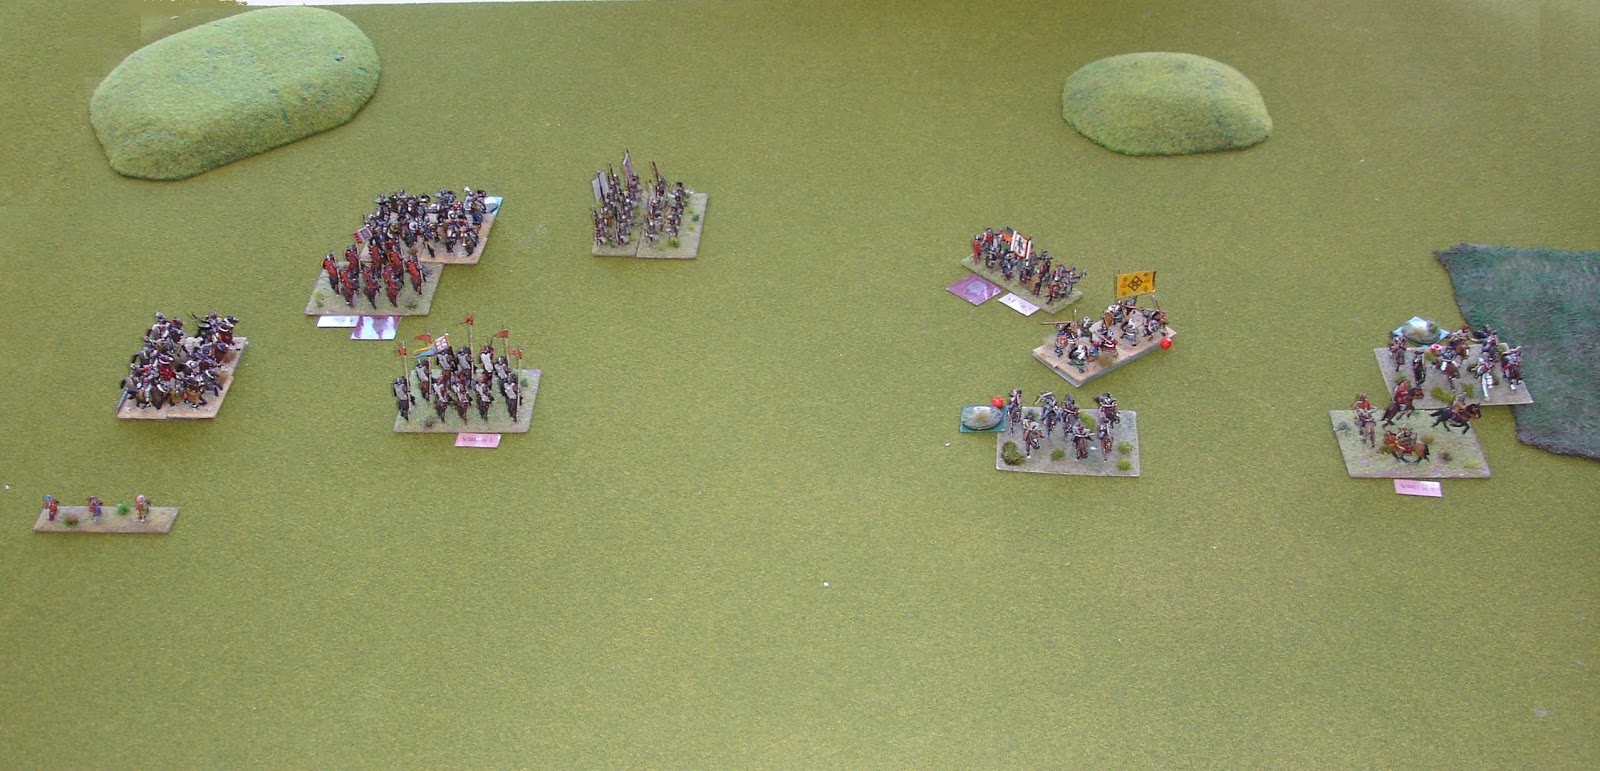
 Turn 8 and the Turks are close to breaking.

And in their final initiative phase, the Turk light horse is eliminated.
Game over.

It is interesting how the Turks ended up in the centre, given their initial bifurcated deployment.

Excellent game, probably lasted two hours.

Sunday, November 25, 2018

Auerstedt with the ANF

Saturday Stephen N, Mark B, Olivier and myself travelled out to the wilds of the Avon valley to join the ANF in a game of Shako recreating the 1806 battle of Auerstedt in 1/72nd scale.

My bias for the Napoleon's Battles rules should be well known and will of course colour my one sided commentary on this game.

I was Davout.

 A faceless man of the ANF completing the setup of the game.

James and Mark were Friant and Gudin (and later Morand) respectively.  Julian was Blucher.  The other NWS chaps were assorted Prussian commanders.

 Gudin is deployed in squares ready to face the Prussian cavalry that is about to appear.

 But there are a lot of Prussian infantry headed Gudin's way.

 There's Blucher leading his first cavalry charge.
This went in against the French cavalry.

 Friant has arrived.
Although his lead battalion has formed square just in case.

 Blucher's charge has been repulsed, 
but he has more from where that came from 
(the table edge)

 Blucher is busy looking for his next target
(as his previous one has withdrawn blown)

 Blucher charges one of Gudin's squares.

 Friant is a bit hemmed in by the table edge...
But Morand has just arrived
(must be around Turn 4 - possibly 10:30 - the battle started at 9:00).

 That's the town of Spielberg that Friant is fighting Blucher for.
Note the proximity of the table edge...

 Congestion at Spielberg.
Actually the French have just smashed some Prussians
and are about to hit the flank of some more.
That will teach them to use the table edge to deploy too close to the enemy.

 Things are looking good for the French.

 But the Prussians prove to have a bit more fight left in them...

 Gudin is still holding and Morand is moving up to his support.
The French cavalry is in reserve ready for any opportunities.

 The Prussians break!
?

 Non!
It is Gudin who suddenly abandons the field.
WTF?
This would never happen in Napoleon's Battles.  
Gudin would have just gone fatigued 
(basically held in place, not going closer to the enemy).

 Time for desperate French cavalry charges.

 All of which failed miserably as the Prussians, 
despite being staggered and in line, 
managed to form square.

Friant is holding Spielberg, but the Prussians hold Hassenhausen.

And at this crucial stage I had to take my fellow NWS players home and leave the game to the ANF to finish.  What will be the outcome?