Thursday, August 9, 2018

Vikings versus 100 Years War English Again

After last week's fun game we played again.  This time I tried using the Viking Huscarls and Hird in large units.

For something different here is the game in a single image: 
Just look at those Vikings evaporate!

The more traditional AAR with commentary now follows.

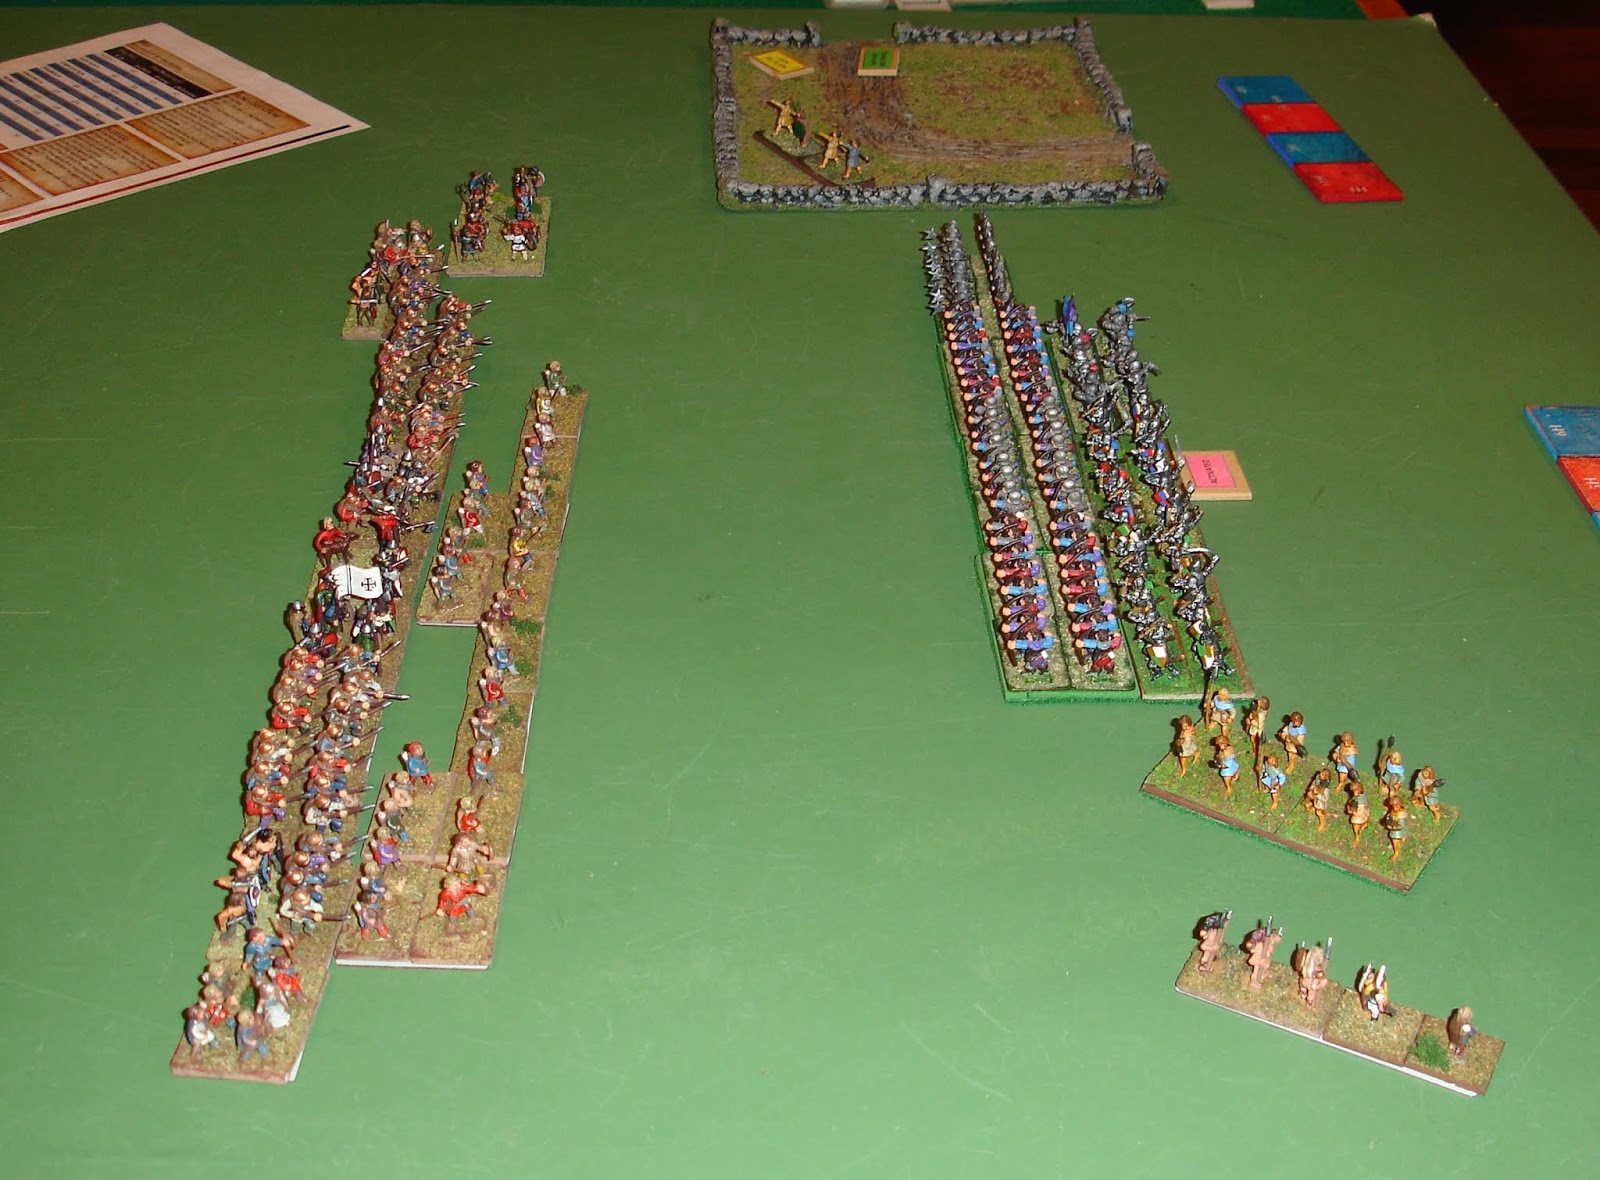
 Vikings deployed with a skirmish screen.
The English have deployed with a longbow screen.

 Turn 1 and there is no movement by the English.
The Vikings advance.

 Turn 2 is a repeat of Turn 1.

 Turn 3 and English arrows disperse half the skirmish screen 
and decimate one of the Irish javelin units.

 Turn 4 somehow didn't see any further damage from English archery.

 Turn 5 and the Viking Raiders wipe out some English skirmishers.

 Then I pulled out the Ace in the Hole and declared Decisive Initiative.
This time I got my way.

 Turn 6 and the Viking charge was less than devastating.

 Turn 7 and the Viking line is thinning.

 Turn 8 and the Viking line is just holding.
The berserkers have attacked, but without success.
The raiders have been lost.

 Turn 9 and things are looking very serious.

 Turn 10 and it's all over.

The Vikings just couldn't inflict damage.  They stayed around for a good while due to a number of Cohesion Tests that I skillfully passed by rolling ones.  Also we both had promising attacks that caused no hits.  At least my general survived.

Some of these guys are destined to become Varangians in my Byzantine army.

Wednesday, August 8, 2018

The Cavalry Have Arrived

A big thank you to Archduke Piccolo who sent me these reinforcements for my Byzantine army.  Much appreciated.


Ukraine 43 - Turns 8 to 9

Another session, another series of Soviet breakthroughs blocked, almost...

 End turn 8 in the north.
The Fifth Guards Tank Army achieved a breakthrough.
Meanwhile a trap is being planned for Poltava.

 In the south the Axis have again pulled back, 
with a few units getting left behind (just south of Stalino).

 Turn 9 
The 5th Guards Tank Army swung south after leaving a big hole in the Axis lines.
Poltava has been surrounded after some desperate fighting.

In the south Axis counterattacks managed to extricate a few units, 
but the Soviet pressure is considered to be overwhelming.

We discussed stopping at this point, but the Soviets are only on the historic level of Victory Points and still have a lot to make up (and the locations - the hexes with a red dot - a fairly scarce and far away).  However Axis losses are such that they might not even be able to cover these in any cohesive pattern.

Monday, August 6, 2018

Ukraine 43 - Turns 6 to 7

The offensive continues.

 Stalin wouldn't stand for a siege of Kharkov and ordered an immediate assault.
It was successful.

 In the south attacks continue around Stalino.

 By the end of Turn 6 the Soviet pressure in the south had forced the Axis to pull back.

 While in the north, with Kharkov captured, 
the Axis have used the time to try and strengthen their line.

 End of Turn 7 in the north and the fighting has been particularly bloody.
Axis counterattacks were required to extricate their units and reform a line.

The Axis have continued pulling back in the south, abandoning Stalino.
Again they did a series of counterattacks to free units and try and buy time.

Friday, August 3, 2018

Ukraine 43 - Turns 4 to 5

Today Richard and I continued the game.

 Zhukov clears the Axis forces away from Kharkov, however he plans a lengthy siege.

 End of Turn 4.
The Grossdeutschland Division arrived just in time to restore the Axis line.

 Turn 5 and the fighting for the southern cities is proving hard.

While in the North the Axis have pulled back, 
but will the Soviets be able to maintain their momentum?

Ukraine 43 - Turns 1 to 3

Yesterday Richard and I started playing GMT's Ukraine '43 again.  I went the Soviet, determined to avenge my previous defeat.  It was interesting to note that this campaign started exactly 75 years ago.

 Turn 1 after I had the Soviet conduct the attacks as per the walk through in the rule book.
This time I did them in the right sequence
 which means an Axis division was surrounded and eliminated.

 Critical attack on Turn 2 against Belgorod.
This was when we through the Soviets had to match the historical VP levels.

 But the breakthrough down south was more promising.

 End of Turn 2

 End of Turn 3 and the Soviets have advanced to Kharkov.
The Axis have abandoned Sumy.

End of Turn 3 in the South and the Axis are in retreat.

In looking at the last time we played (see this post) the Soviets had initial success at Sumy, which I think didn't occur this time as we realised that retreat can stop in a city.  The Soviets have had much greater success in the south in our new game as they avoided initially focussing their attacks on Tagnarog .  Also, much greater success was achieved this time on the approach to Kharkov as the Soviets have been able to trap and eliminate a few Axis divisions.  While only one or two, it makes all the difference to the Axis ability to form a solid line. 

Thursday, August 2, 2018

Vikings versus 100 Years War English

All foot armies take to the field in a game of Basic Impetus 2.  My Vikings against Dave's English in a game of mutual destruction.

Pretty solid deployments.  The Vikings were defender and deployed first.
They have a skirmisher screen to protect the heavy foot from the English longbow.

Turn 1 sees a cautious advance by the Vikings.

Turn 2 was even more cautious.

Turn 3 and the centres haven't closed within bow range, but on the wings action is underway.

Turn 4 and the battle has commenced.
The Viking berserkers on the right are in trouble, but friends are on their way.

Turn 5 and friends arrived.

Turn 7 and it is at a critical point as to who goes first next turn.

I use my Ace in the Hole.
Pathetic!

Turn 8.  So I didn't get the charge I wanted.  
There has been success on my right, but my left is struggling.

Turn 9 and the fighting continues.
Again it is good on the right, not so good on the left.

Turn 10.  More carnage.

Turn 11.  Watch the unit of raiders on the far left, finally emerging from the difficult ground.
I've got an advantage on the right, but just can't bring it off.
My left has collapsed, but I have two fresh units to fill the gap.

General to general.  The English get the hit, but the Viking fights on.

Turn 12.  Were you watching the raiders?  They just went "poof" in one move.
What should have been a devastating charge saw them shot up on the way in 
and then slaughtered when they made contact.
The Generals remain locked in mortal combat.

Turn 13 and still the fight goes on.

Turn 14 and game over.
Both armies rout.

My General killed his General, but the triumph was very short lived as he was then shot down by the last English longbow unit.  Such is life.