We ran this with two players aside. Simon was the Commonwealth CinC with Russell taking command of the New Zealanders. Stephen N was commander of the 21st Pz Division while I went Axis CinC.
This was going to be tough for the Commonwealth. They have the advantage of first move and Simon had given some thought to a cunning plan using intercepted radio communications.
There were four objectives all Axis held. Winner would be whoever held the majority at the end of the day (16 turns).

The map used and oriented to match the end of turn photos.
For this game I also took many, many more photos than I usually do for a Rommel game and hope this provides for a better walkthrough of the game and the Rommel system.

The 21st Pz Division's artillery assets were fed false directions and lured into a trap.
The New Zealanders sprang their trap, but the Germans hurriedly withdrew.

The Allies committed to a third impulse
and New Zealanders were able to follow up and destroy the Axis artillery.
First time I had seen the intercepted radio signals event used.
Nasty.

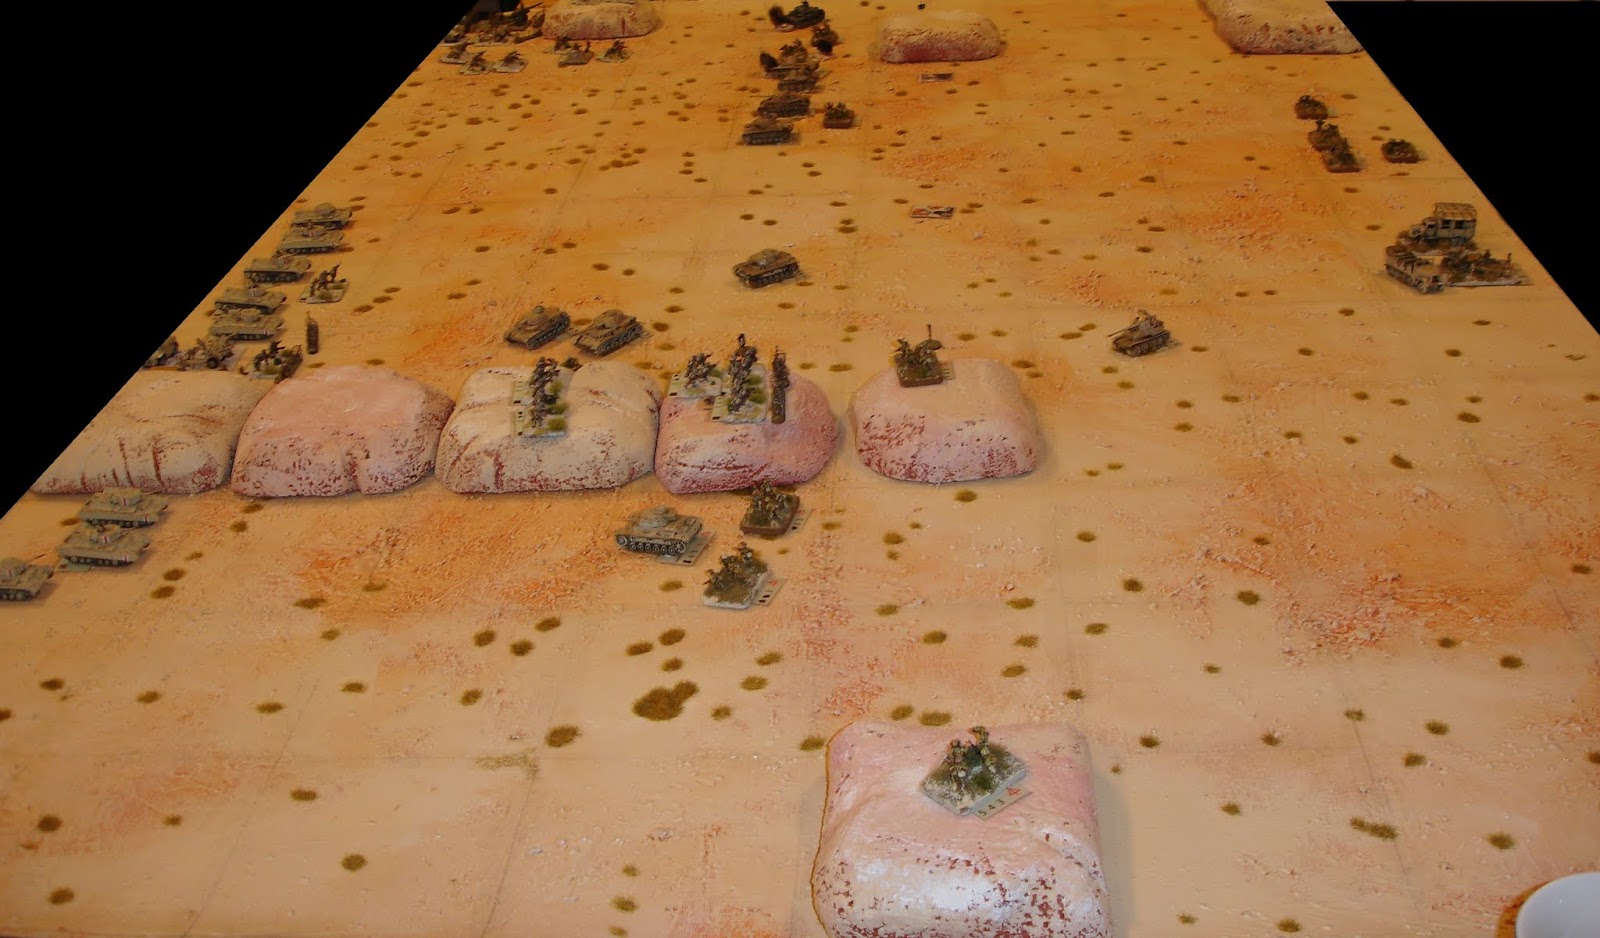
End of the first turn.
The Indians have captured one objective.

Turn two and the Axis have advanced to secure the three remaining objectives.
They used two impulses and are husbanding their ops dice.
The armour units of 15th Pz have thrust towards the Allied logistics centre.

The Indians attack a loan Pz Grenadier unit of the 15th PZ.
They withdraw unharmed.

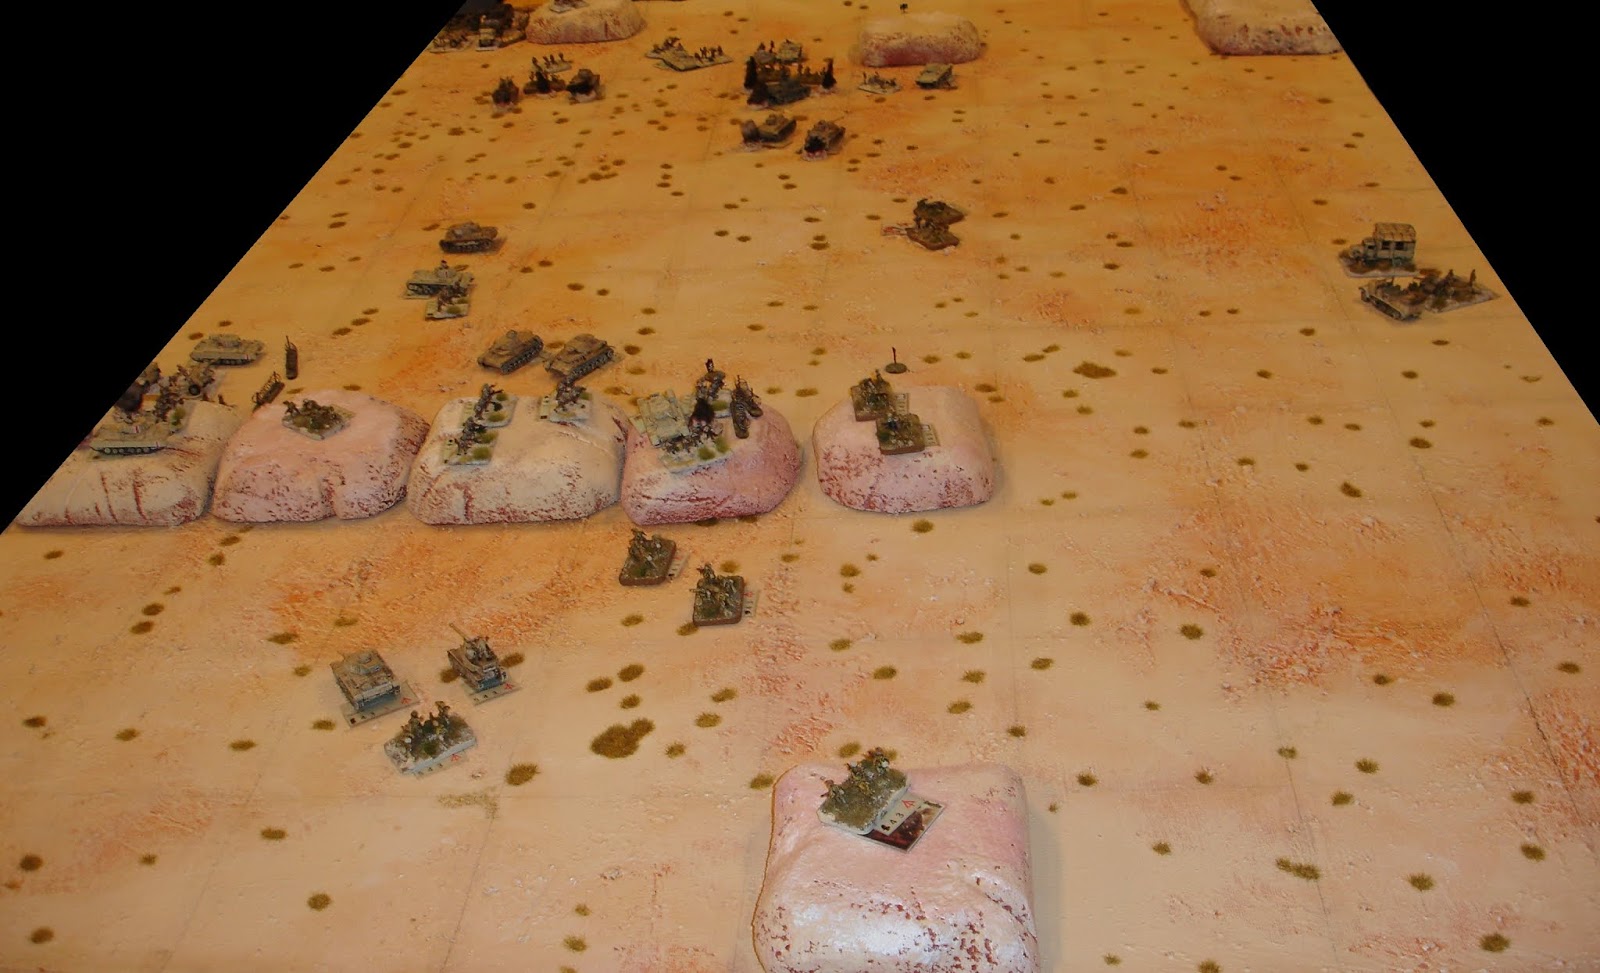
End of Turn 3 (the Allied second turn)
The New Zealanders have pulled back in the face of the Axis armour of the 21st Pz Division.
The Allied tanks are yet to arrive,

15th Pz Division counterattacks.

21st Panzer make a major attack on the New Zealanders.

End of turn 4 and the Axis are trying to isolate the Indians.
The attacks were hard going for the Germans who suffered considerable losses.
(The Allies threw a six each time for their combat rolls).

The New Zealanders counterattack the 21st Panzer Division's lead elements.
Luckily the Germans were able to rush up a fresh armoured unit,
but losses again were heavy.

End of Turn 5.

15th Pz renews its attack on the Indians.

21st Pz continues its assault on the New Zealanders.

End of Turn 6.
Losses on the 21st Pz have been heavy.
The New Zealanders have continued to roll sixes,
what I start to call the Charles Upham factor.
DAK reinforcements have arrived.
Turn 7 and the Indians and New Zealanders have pulled back,
the 23rd Armoured brigade has arrived.

End of Turn 8,
The DAK reinforcements have used road movement to get forward,
but are now tipped (the black smoke markers)

For their fourth turn (Turn 9)
the Allies have a poor command roll, gaining only three ops dice.

They still make one attack on the 15th Pz.

Turn 9 and now with armour support,
the New Zealanders have captured a second objective
that had been left undefended by 21st Pz.

21st Pz counter attack to reclaim the lost objective.

15th Pz keeps attacking the Indians who have been emboldened with some armour.
However the British tanks have trouble coordinating with their allies.

21st Pz is throwing all it weight against the New Zealanders.

Including threatening the New Zealand gun line.
End of Turn 10.
The Axis have been able to isolate the New Zealanders.

Turn 11 sees another very poor command roll for the Allies.

Turn 12 and 21st Pz keeps up the pressure on the New Zealanders.

While 15th Pz works on crushing the Indians.

End of Turn 12 and the Allies are still hanging on.

The 23rd Armoured supported by some Indians strike at the central objective.
The fast reaction of the nearby panzers stop this attack.

End of Turn 13
As things currently stand it is looking like a draw...

Now it is the Axis turn to have a poor ops roll.

As well as pinning any New Zealanders from going to reinforce the objective.

15th Pz starts to complete the destruction of the Indian motor brigade.

But it is hard going against the Indians dug in protecting the objective.

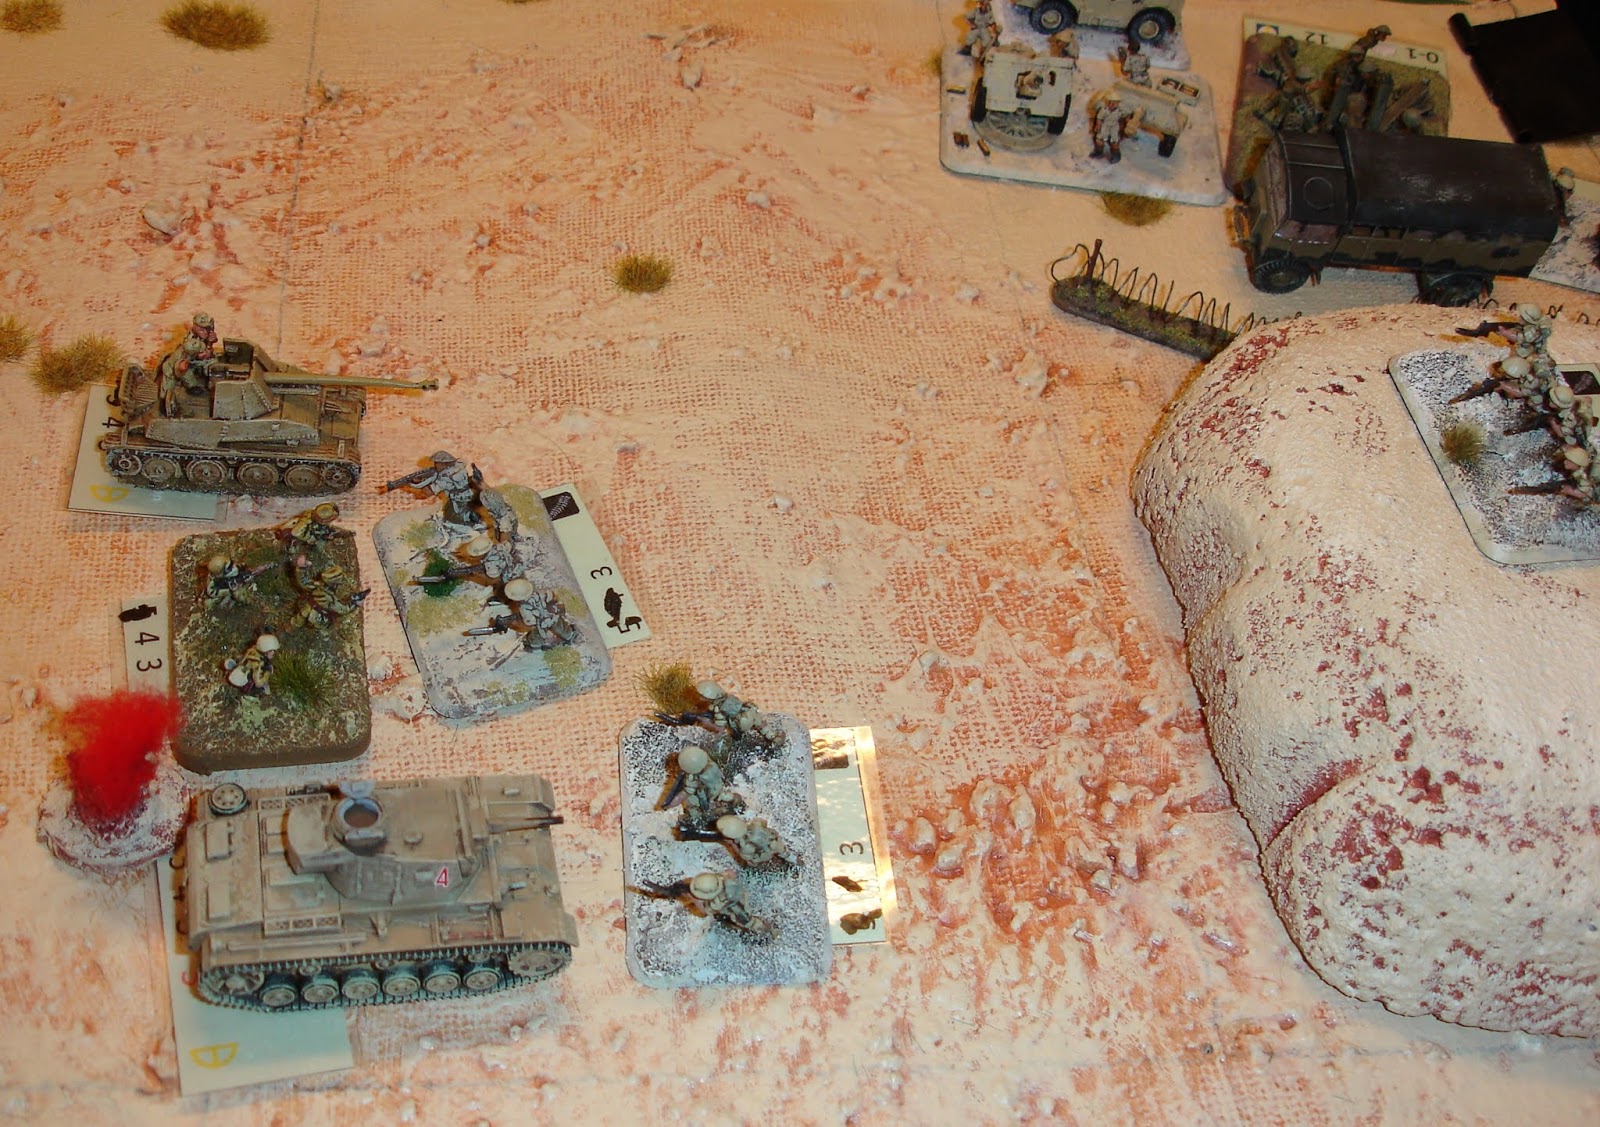
A second impulse sees another attack by 21st Pz on the objective.
Note the Charles Upham character coolly smoking his pipe.

15th Pz makes a second attack on its objective as well.

While at the same time overrunning the Commonwealth command post,
logistics and artillery supporting the Indian brigade.

End of Turn 14
Each side has one turn left now.
Can the Commonwealth hang on till sunset?
Has their luck faded now that Upham has retired injured?

23rd Armoured brigade attempts to breakthrough to reinforce the objective
that is under attack by the 21st Pz.

They try really hard and while they get within sight,
they are unable to get additional troops through to bolster the objective's defences.

End of Turn 15,
the last Allied turn.
At this stage it is a draw.

21st Pz launch another attack.
15th Pz strikes the Allied relief force.

The fight continues for the objective held by the Indians.

The two panzer divisions set about mopping up.
The objective has been retaken.

The 15th Pz makes a final attack to take its objective.
Not going to happen.

Out for vengeance,
21st Pz proceeds to overrun the New Zealand artillery position.

End of Turn 16 and end of the game.
The Indians still hold one objective,
but the Commonwealth has failed to hold on to the others.
Very hard for the Commonwealth, taking on DAK at its peak. This scenario provided lots of opportunity for maneuver and selective use of events as well as husbanding of ops points for major, sustained attacks. Lots of thrusts and faints. As mentioned, great to get some new kit on the table and to have the Upham character in play (and doing so well).
This scenario also worked well as a multiplayer game. Both sides played cooperatively, but you could have fun by allocating ops dice to players, rather than held in common pool. We also didn't use any special rules beyond those for minefields (which are a bit prosaic) and the use of an ops dice to untip a unit (which no one used). The role of artillery is critical and the loss of half the Axis artillery dented, but didn't stop them from being an awesome fighting force.
Some additional photos can bee seen here:
https://napoleonicwargamingsociety.blogspot.com/2020/02/february-games-day.html
Some additional photos can bee seen here:
https://napoleonicwargamingsociety.blogspot.com/2020/02/february-games-day.html
No comments:
Post a Comment