The game took between four to five hours to complete the sixteen turns, which included time for lunch.

With the exception of this photo, all the others are from the British side.
The Germans have Kampfgruppe Lang on the right and
two regiments of the 334th Division covering the centre and left.

Beja is on the left and if I have my locations correct,
that is Sidi Nsir on the far right with Hunt's Gap in the middle.

German armour makes an immediate probe towards Beja.

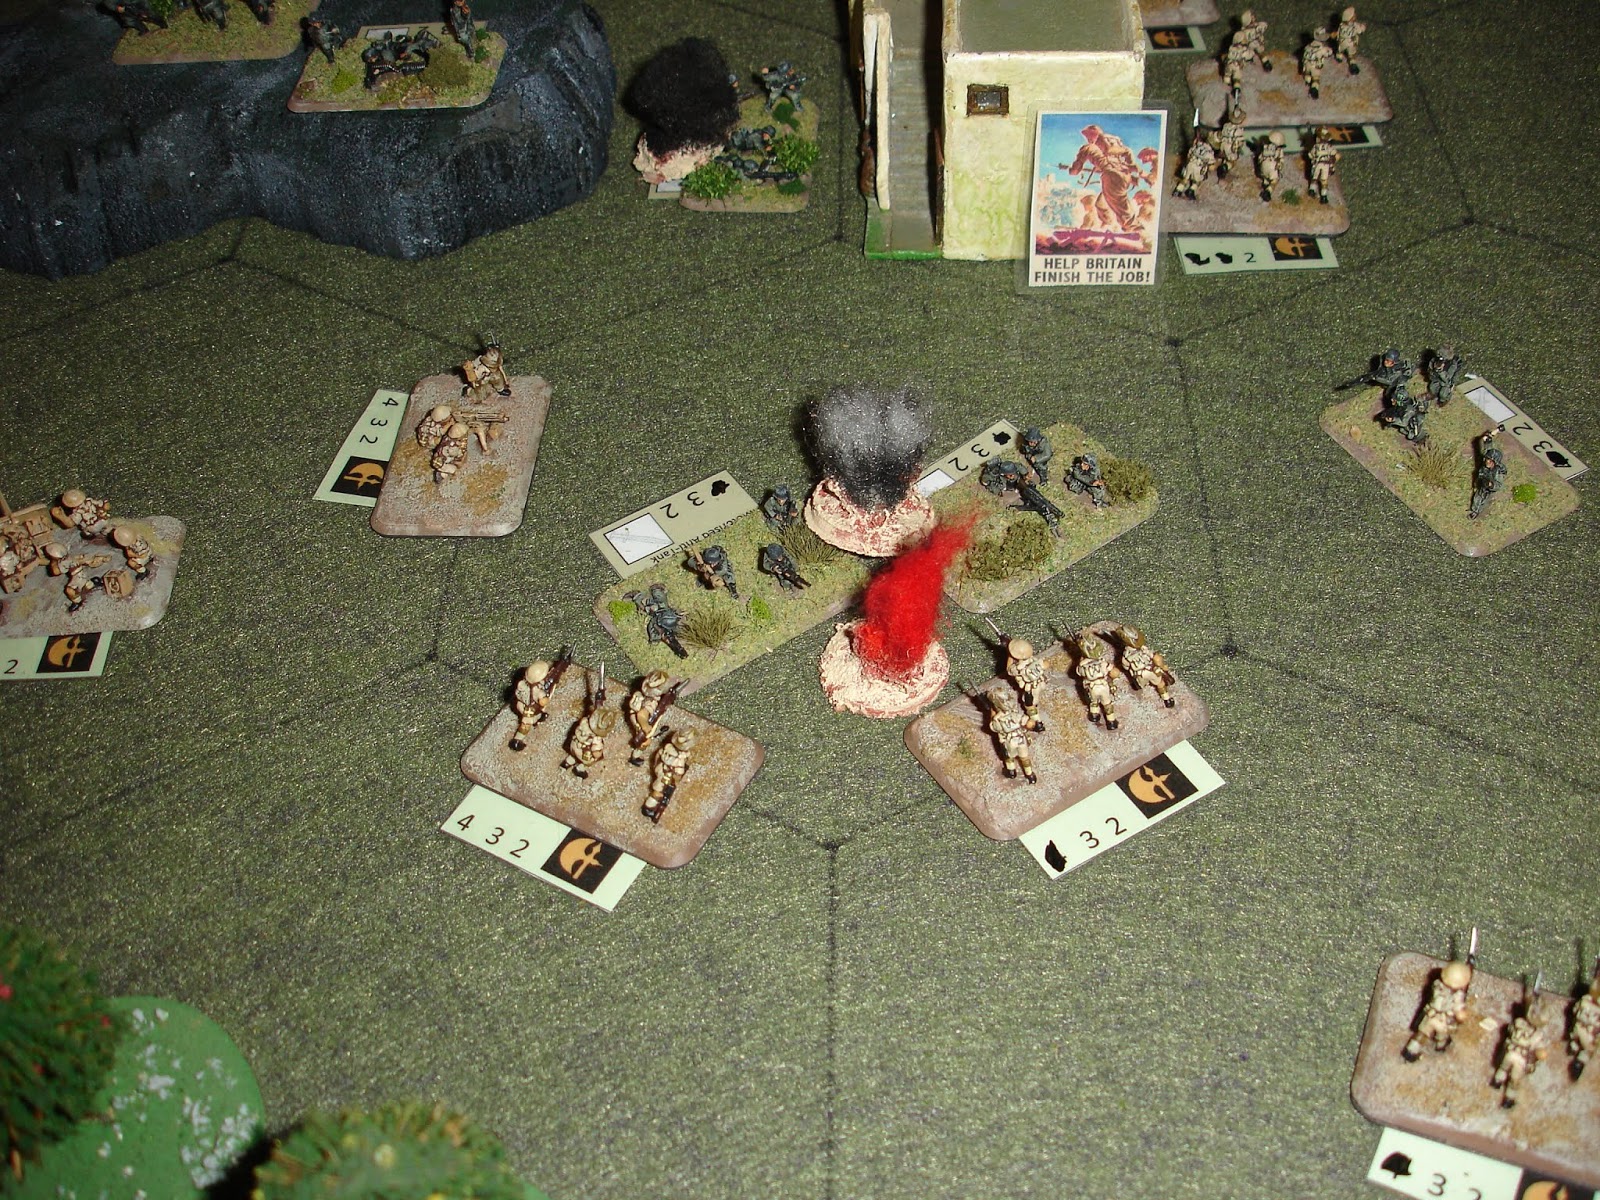
Sidi Nsir is isolated and attacked.

Sidi Nsir is surrounded and attacked again.

The Axis try an outflanking attack towards Beja.

End of the first turn.

The British 11th Brigade attempts to breakthrough to Sidi Nsir.

At the same time the Irish Horse launch a counterattack.

End of the second turn.

Again the Axis attack Sidi Nsir
as well as attacking the British force that was trying to breakthrough to relieve the town.

The Germans start attacks against Hunt's Gap.

The German armour gets serious about taking Beja.

End of the third turn.
Another British attack to relieve Sidi Nsir.

Followed by further German attacks
to take Sidi Nsir and stop the British relief attempts.

The attack continues on Hunt's Gap.

And just to complete the picture,
Beja comes under further attack.

The situation at Sidi Nsir is desperate, its defenders are down to their last man.
Will the British counterattack to reestablish contact and reinforce Sidi Nsir succeed?

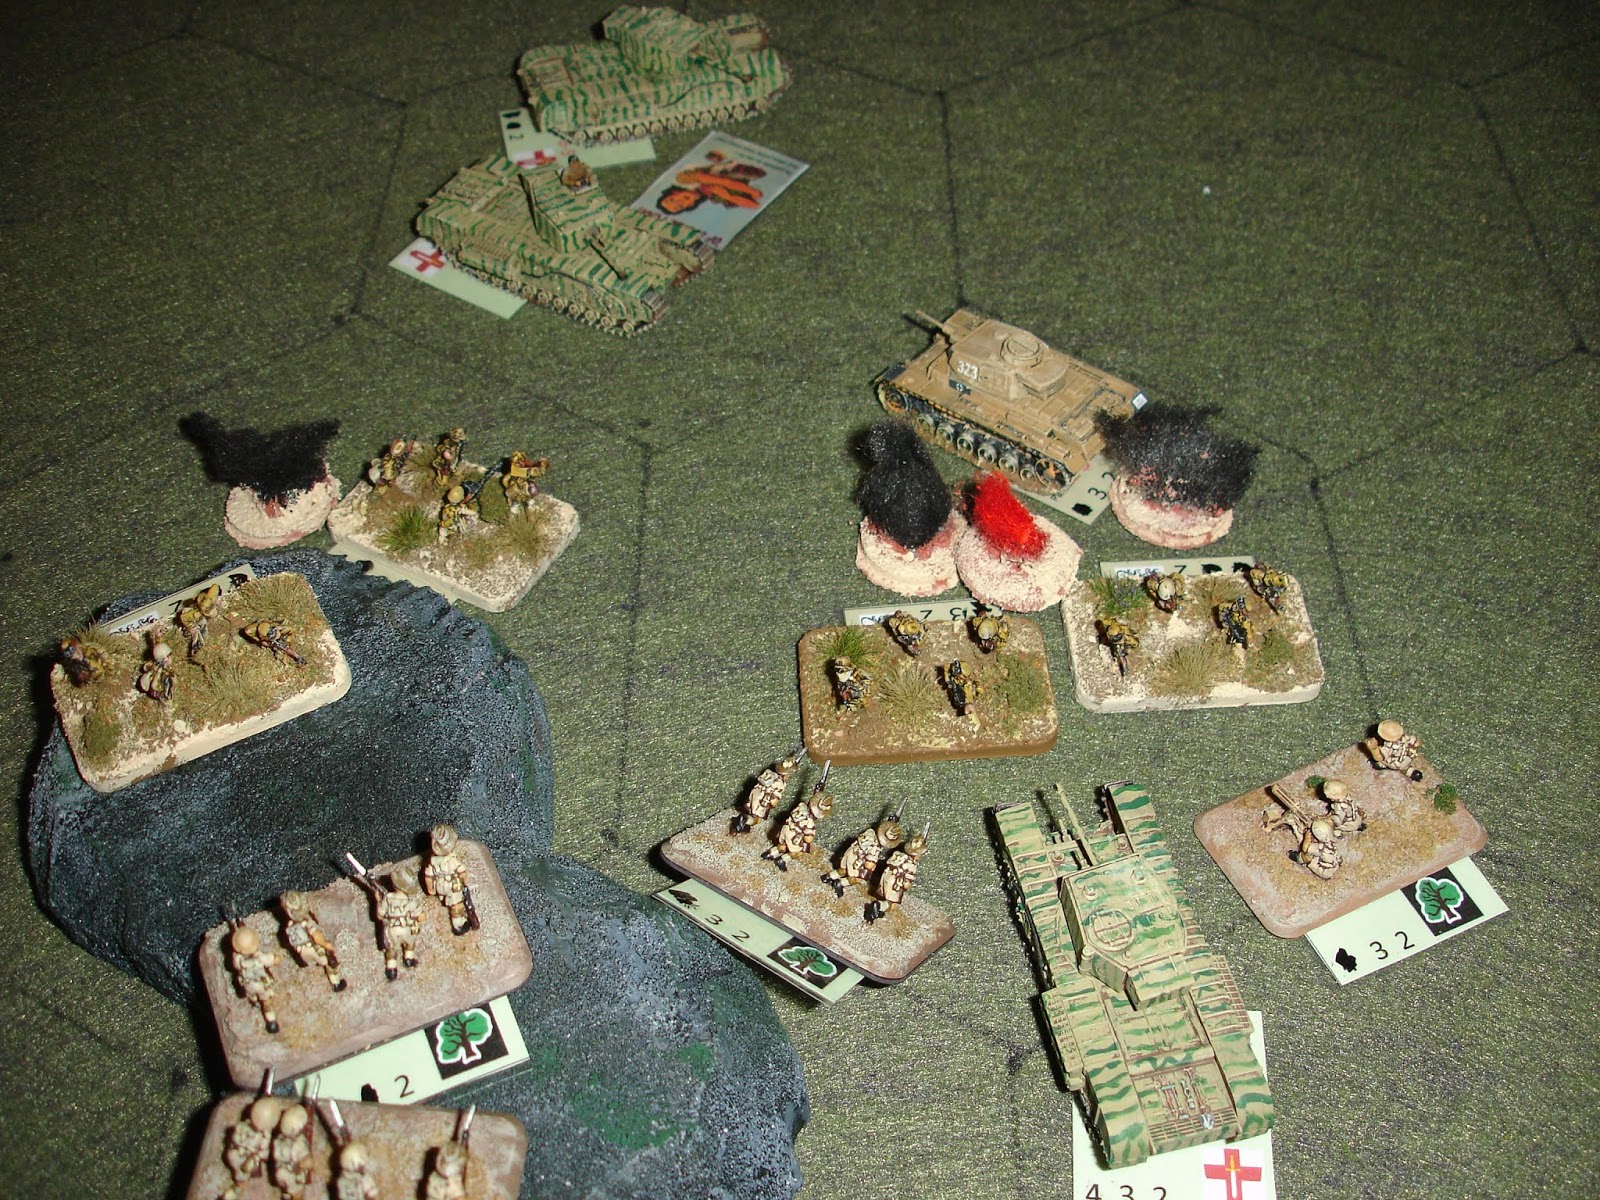
The clash of heavy armour on the approaches to Beja,
has seen the Churchills triumph over the Tigers.

Big picture around the end of turn eight, midday.
The 11th Brigade has established contact with the defenders of Sidi Nsir.
There has been a minor retreat by the British on the right of Hunt's Gap,
but the situation facing Beja has stabilised.

The situation at Sidi Nsir has reached critical.

The Axis maintain their attack on Hunt's Gap and the approaches to Beja.

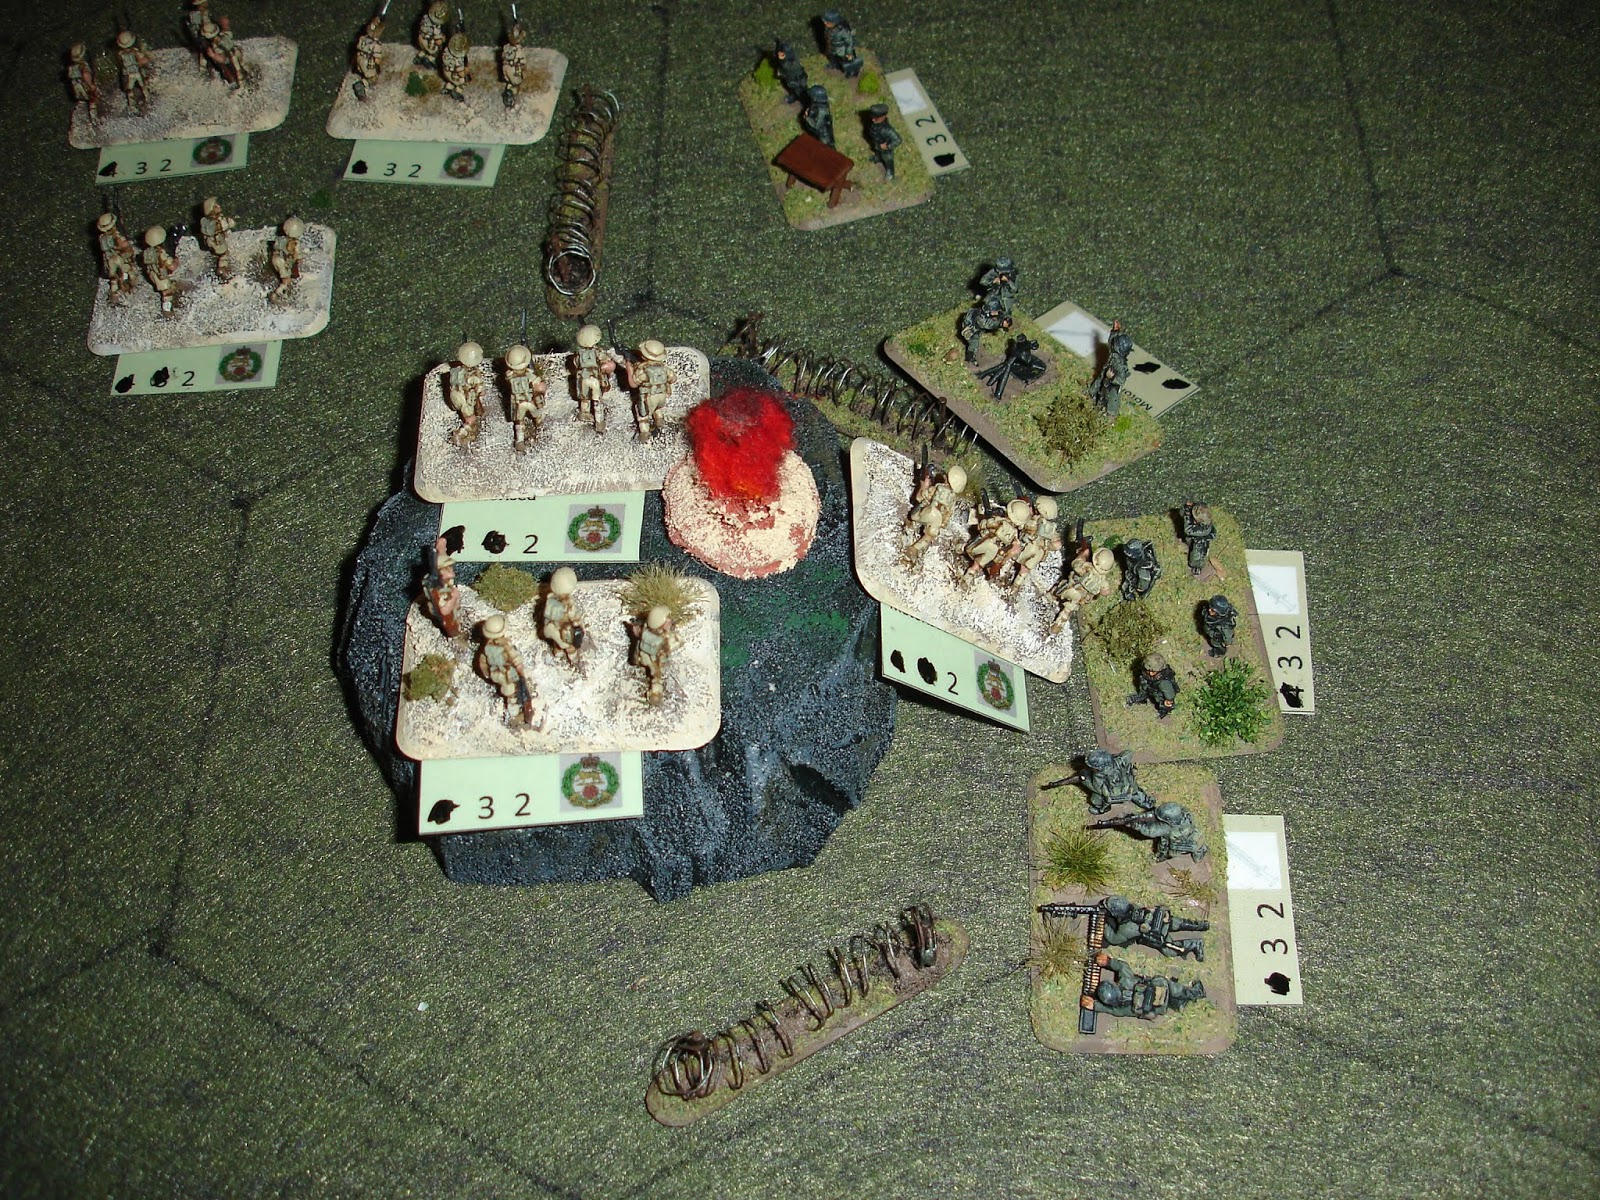
Sidi Nsir is again surrounded,
but the British have been able to dig in around Hunt's Gap.

The valiant defenders of Sidi Nsir are about to be wiped out.

Attacks towards Beja continue.

The Germans tentatively try to work their way around Hunt's Gap.

The final attack to capture Sidi Nsir.
The Germans used up all their replacements to finally take this objective.
Desperate German attack to outflank Hunt's Gap.

And further desperate attacks to break through to Beja.

While the Germans have been buoyed by their success in capturing Sidi Nsir,
the Irish Horse have been able to swing round the German right flank.

The final Axis attack on the flank of Hunt's Gap.

The Germans attempt to maintain their right flank.

The British 128th Brigade goes on the offensive,
striking out from Hunt's Gap.
And the 138th Brigade supported by the Irish Horse strike at the German right.

The attack by the 128th is within a whisker of capturing an objective.

The Germans launch a final attack to secure their right flank.

It comes at heavy cost as the British maintain their attacks.
And so ended a game of almost constant attack (Stephen at his most aggressive) and cautious counterattack (me trying to get a victory in the face of Stephen's lucky dice - sometimes). This was very much a game/battle of attrition. It was a draw as both sides won one and lost one objective.
Supplementary close up photos from Stephen's phone:
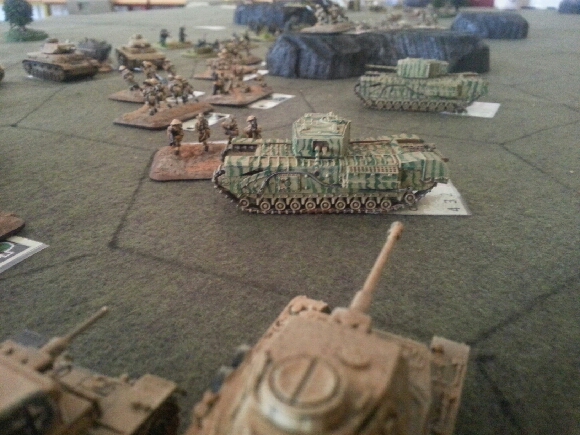

An exciting looking action!
ReplyDeleteThanks. Lots of decisions and die rolls, but no critical single die roll.
DeleteYet another great play through! A great scenario.
ReplyDeleteWith still plenty of play in it I think. Gotta work round those flanks.
Delete