Sunday, December 15, 2019

Operation Ochsenkopf Take Three

This time I took the British and Stephen went German.  It was a vicious game, unlike previous playthroughs of this excellent scenario from https://www.hexesandminiatures.com/.

The game took between four to five hours to complete the sixteen turns, which included time for lunch.

 With the exception of this photo, all the others are from the British side.
The Germans have Kampfgruppe Lang on the right and 
two regiments of the 334th Division covering the centre and left.

Beja is on the left and if I have my locations correct, 
that is Sidi Nsir on the far right with Hunt's Gap in the middle.

German armour makes an immediate probe towards Beja.

Sidi Nsir is isolated and attacked.

Sidi Nsir is surrounded and attacked again.

The Axis try an outflanking attack towards Beja.

End of the first turn.

The British 11th Brigade attempts to breakthrough to Sidi Nsir.

At the same time the Irish Horse launch a counterattack.

End of the second turn.

Again the Axis attack Sidi Nsir 
as well as attacking the British force that was trying to breakthrough to relieve the town.

The Germans start attacks against Hunt's Gap.

The German armour gets serious about taking Beja.

End of the third turn.
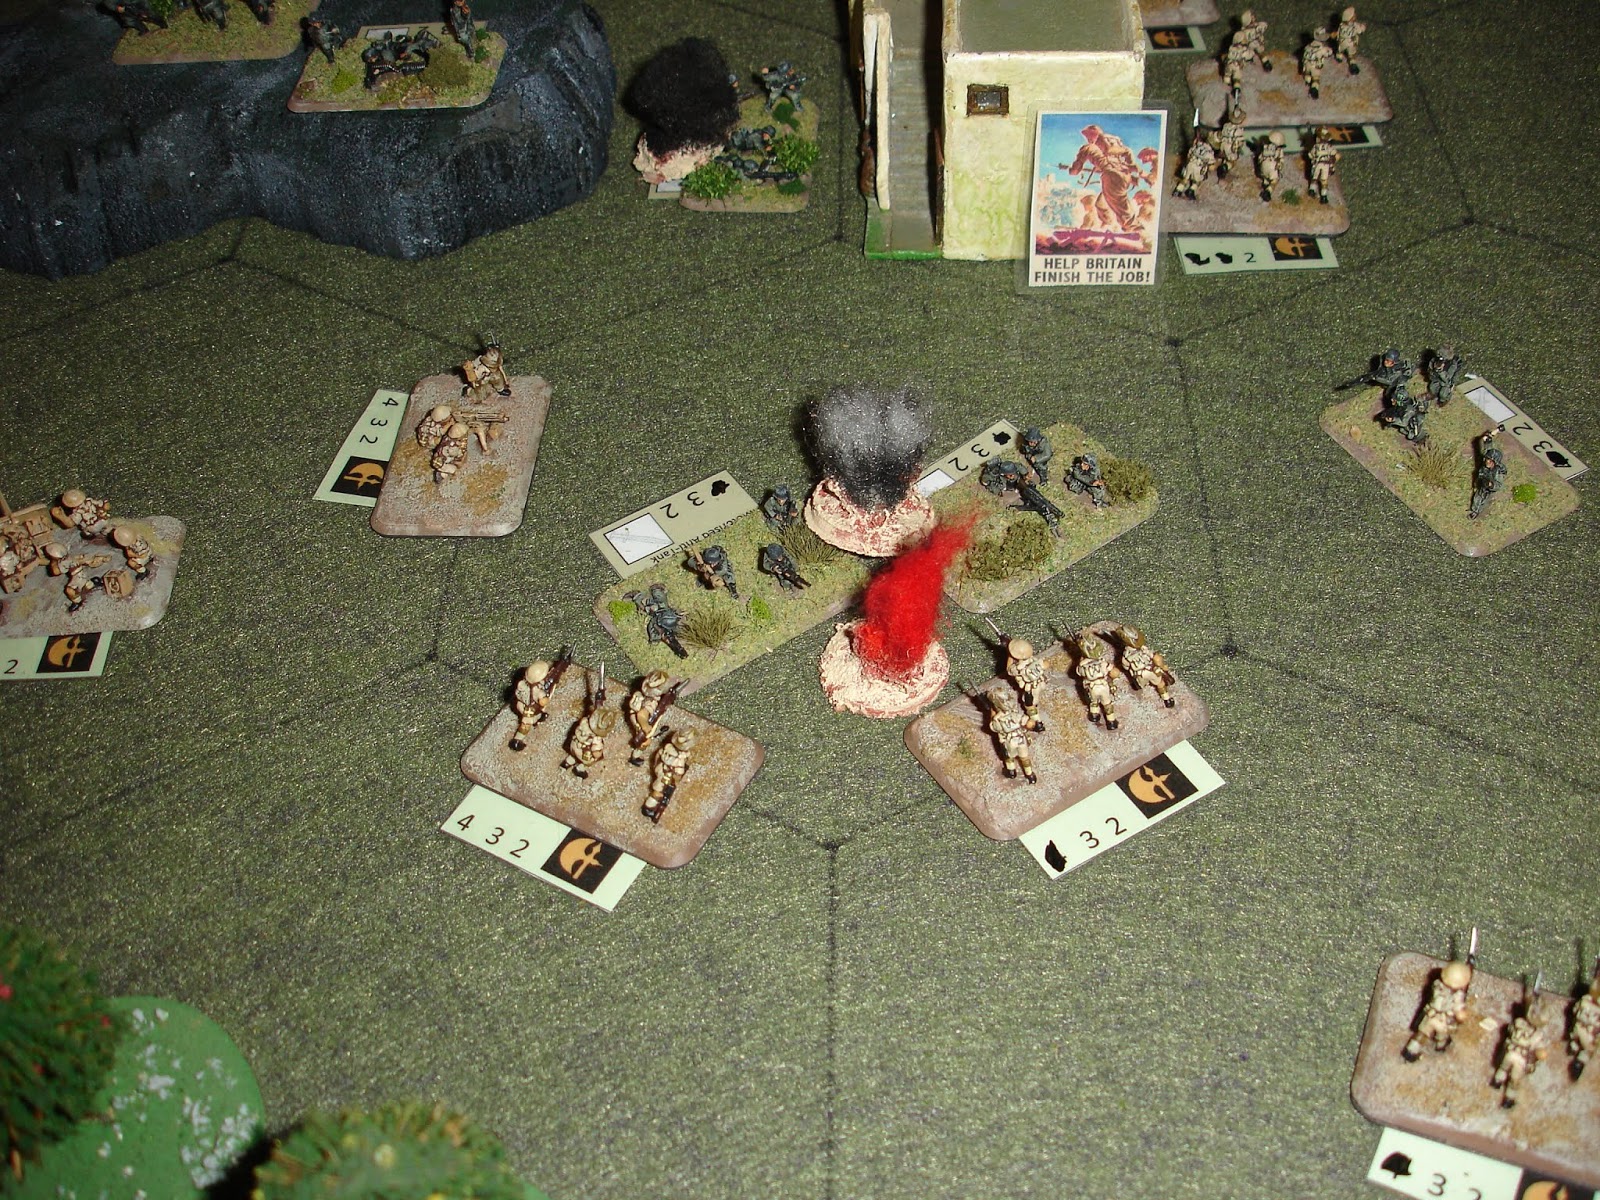
Another British attack to relieve Sidi Nsir.

Followed by further German attacks
to take Sidi Nsir and stop the British relief attempts.

The attack continues on Hunt's Gap.

And just to complete the picture,
Beja comes under further attack.

The situation at Sidi Nsir is desperate, its defenders are down to their last man.
Will the British counterattack to reestablish contact and reinforce Sidi Nsir succeed?

The clash of heavy armour on the approaches to Beja,
has seen the Churchills triumph over the Tigers.

Big picture around the end of turn eight, midday.
The 11th Brigade has established contact with the defenders of Sidi Nsir. 
There has been a minor retreat by the British on the right of Hunt's Gap,
but the situation facing Beja has stabilised.

The situation at Sidi Nsir has reached critical.

The Axis maintain their attack on Hunt's Gap and the approaches to Beja.

Sidi Nsir is again surrounded,
but the British have been able to dig in around Hunt's Gap.

The valiant defenders of Sidi Nsir are about to be wiped out.

Attacks towards Beja continue.

The Germans tentatively try to work their way around Hunt's Gap.

The final attack to capture Sidi Nsir.
The Germans used up all their replacements to finally take this objective.
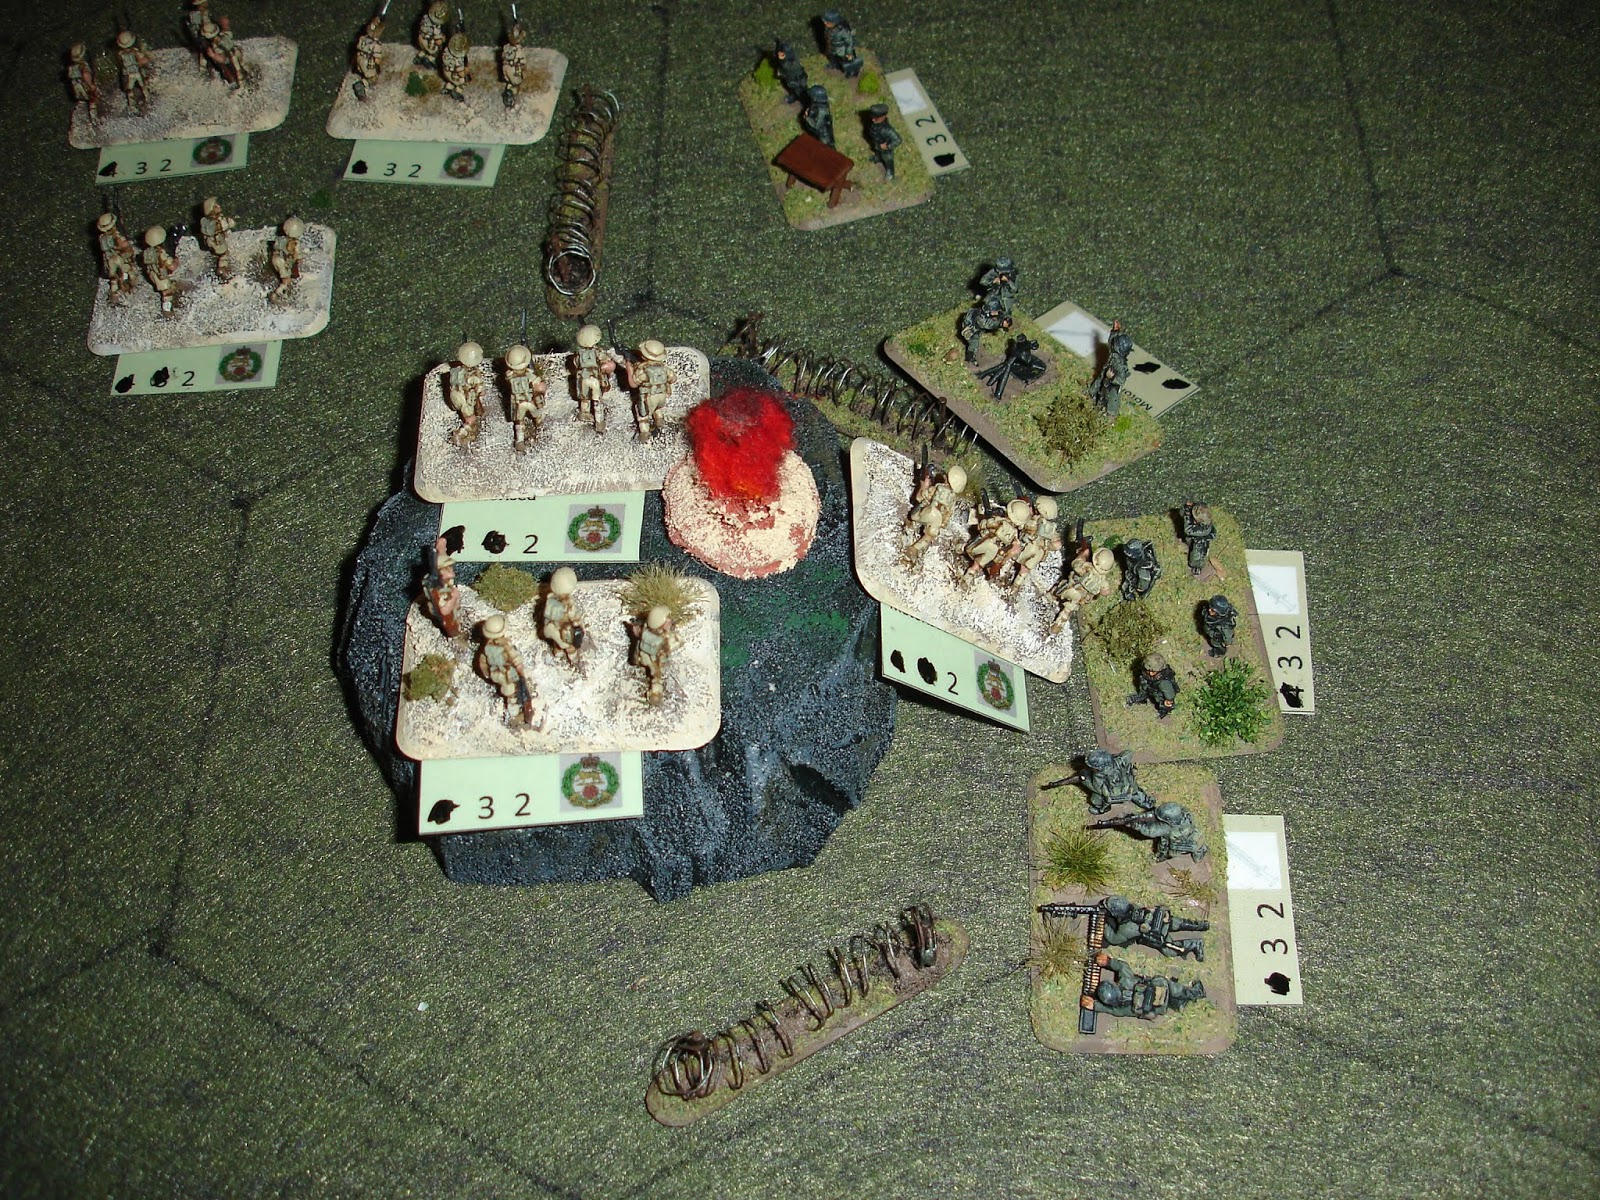
Desperate German attack to outflank Hunt's Gap.

And further desperate attacks to break through to Beja.

While the Germans have been buoyed by their success in capturing Sidi Nsir,
the Irish Horse have been able to swing round the German right flank.

The final Axis attack on the flank of Hunt's Gap.

The Germans attempt to maintain their right flank.

The British 128th Brigade goes on the offensive,
striking out from Hunt's Gap.
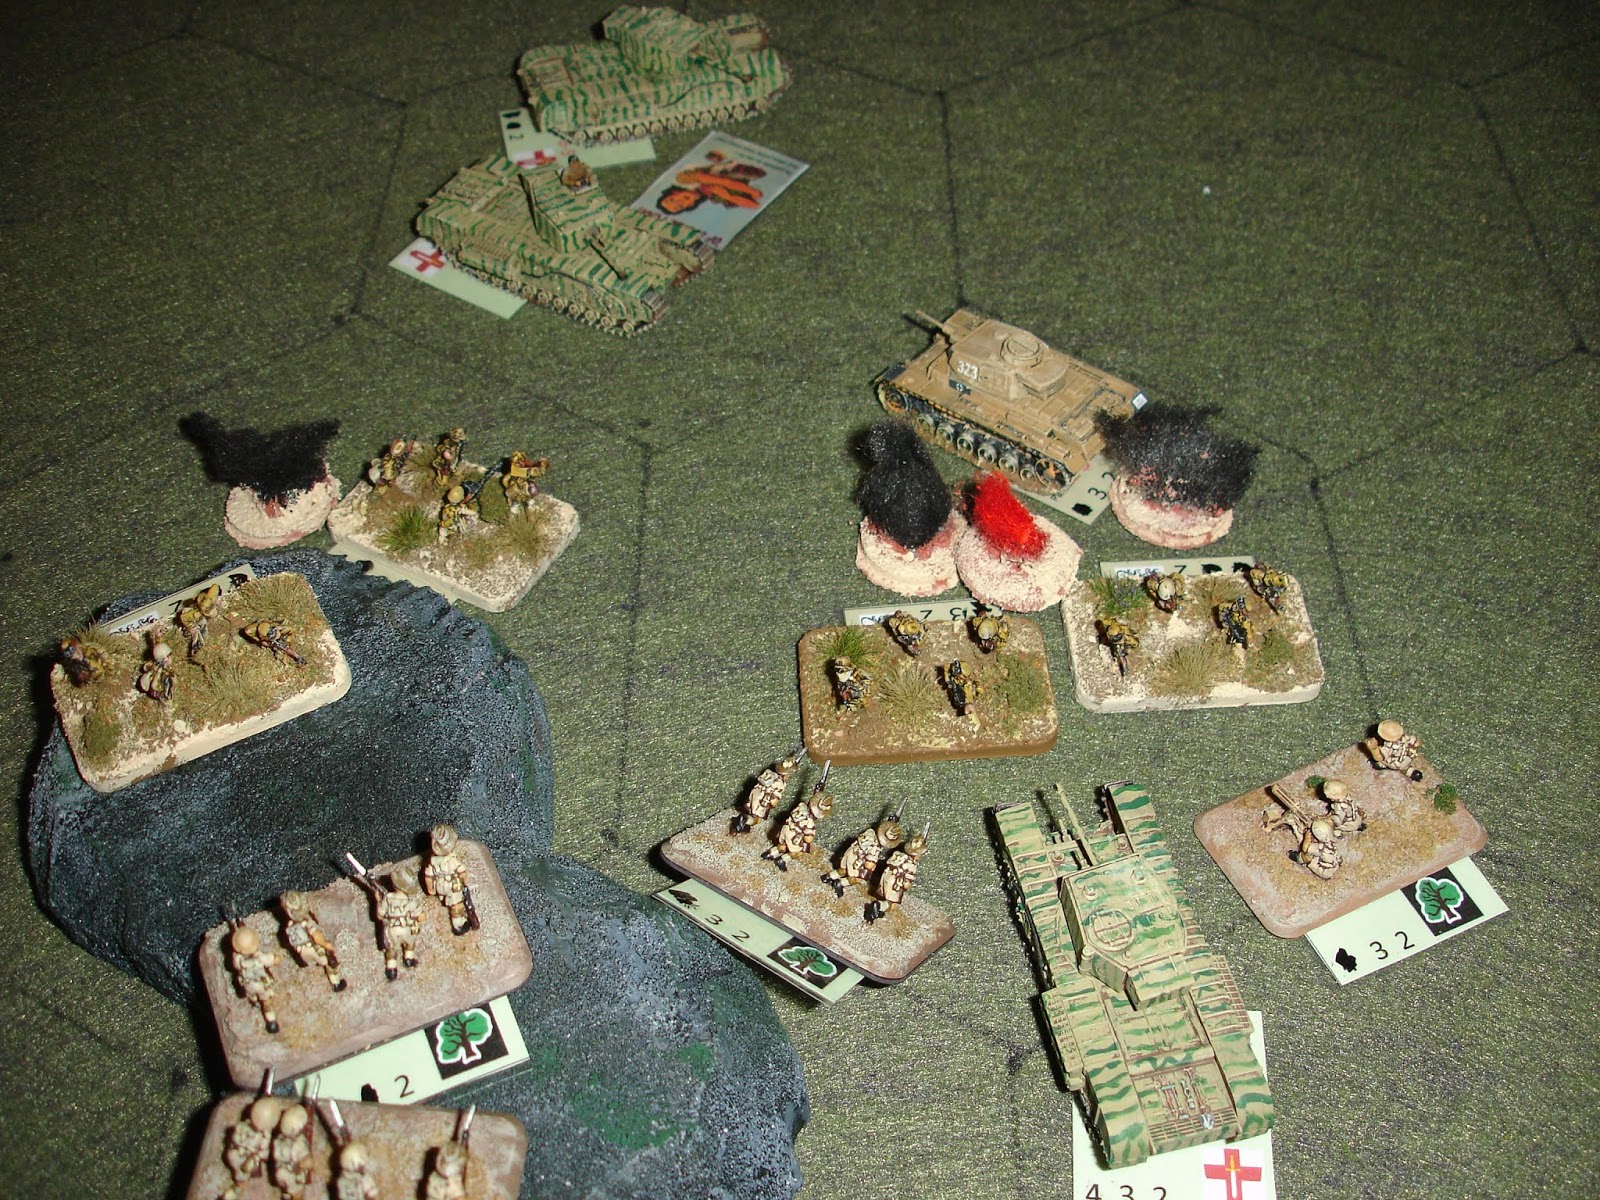
And the 138th Brigade supported by the Irish Horse strike at the German right.

The attack by the 128th is within a whisker of capturing an objective.

The Germans launch a final attack to secure their right flank.

It comes at heavy cost as the British maintain their attacks.

And so ended a game of almost constant attack (Stephen at his most aggressive) and cautious counterattack (me trying to get a victory in the face of Stephen's lucky dice - sometimes).  This was very much a game/battle of attrition.  It was a draw as both sides won one and lost one objective.

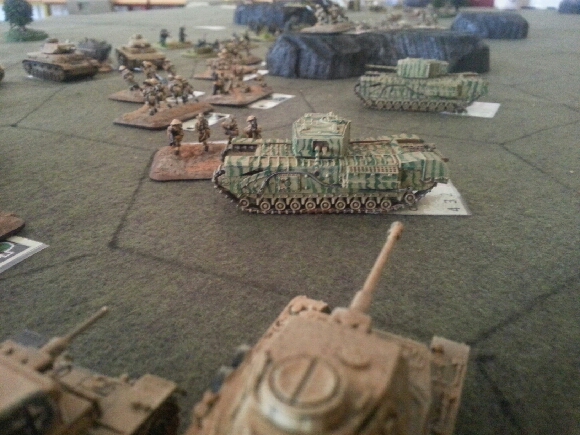
Supplementary close up photos from Stephen's phone:


Sunday, December 8, 2019

Ju 88 - Props of Indecision

To paraphrase Mr Eddie from Lost Highway, this is where the search for perfection and excessive freetime really pays off, or not.  Having been impressed by the Zvedza military kits some time ago I bought one of their aircraft.  I was hoping for something compatible with my Wings of Glory WW2 aircraft or at least something I could use to enhance my WW2 miniature games.  Regardless, I always had a soft spot for the JU 88 as it was an early Airfix model that I made and had around for many years.

Initially I constructed the Zvedza plane with undercarriage down and the props as they came in the kit.  Then I changed my mind and cut off the undercarriage and props.  Luckily this was before I painted the plane.

So here we see the plane with the 1/44th scale transfers on the top wing 
(and to be seen on the bottom).  
But this model is 1/200th - 
I measured the wings, 10cm and the real plane had a wingspan of 20 metres.  
Consequently the fuselage transfers just did not fit.

As with all the Zvedza models I have made they go together extremely well, but there always seems to be one fragile or extremely fiddly bit.  In the case of this model I broke the top radio antenna.  I could have replaced it, but yeah, nay.

I thought I would be clever and make spinning discs to show the props in motion.
Fiddly trying to get the discs round as well as building up the nacelles.
After a discussion with my friend Richard, 
who knows a lot more about model aircraft aesthetics than I do, 
bare nacelles is the way to go.

The nacelles were also hand built and the crosses look huge, but at least fit.
Trying to get a straight line was a challenge and this image really brings out the worst.
At least the varnish worked on the underside, if you look closely at the previous images the varnish on the top of the plane has a strange blistering affect.

After all that indecision on the props, 
I'm surprised I just didn't take full notice of the reference book I was using.  
Doh!

Anyway, project complete.  Interesting exercise and much learnt.  Not sure I will do any more, unless I find myself using this in games.  It has also given me a new appreciation of my Wings of Glory planes.

The only thing I might still do is experiment with mounting on  a clear tube.  All three props are built up from pins and so are easy to swap in and out as prop depiction fashion changes.

Saturday, December 7, 2019

Light Infantry Remnants

These two units are a kind of "build them and they will field them."  Sadly my confidence that Byzantine army lists were bound to have Light Infantry armed with javelins seems to be misplaced.  The best I could find were the Manichei in the Comnenan list, so ferocious heretic Slavs they will have to be.  Whether they look the part or not I have no idea, but I can claim they have been equipped from Byzantine military stores.


They are actually the remnants of the pack of Old Glory Byzantine light infantry (skirmishers) I purchased earlier this year along with a pack of spearmen.  All done now, so that is good news.

Friday, December 6, 2019

World in Flames 19

What seemed like the endless May/June 1941 turn finally is over.  It was a shocker!

On the last of what must have been six impulses, the Axis finally rolled bad weather.  
However that didn't stop them from taking Smolensk.
(This is the "before" image)

 Losses.  Apologies for the sideways aspect.

Ready for the July August turn.
The USSR had 37 build points (20 from cadres).
This allowed for the immediate build of 11 militia.
The rest was spent on 8 garrison units.
If the Axis go first it is going to be ugly...

In the Far East, the USSR and Japan came to peace.
China feels a little more stable.
That 2-4 cavalry unit near the Red Chinese was put there in error,
it had to go to a city way over in the west of the country.

Bad, but it could have been worse.  There is a break of two weeks until play resumes.

Thursday, December 5, 2019

Off to the races

Last night I had the good fortune to participate in one of Dave's famous chariot races using his new rules with no dice as movement is determined by value of cards drawn from a standard playing deck.  And I do mean good fortune.

We're off!

I'm in the lead,
but the field is tight.

About to turn into the final straight.
That's me at the top,
all those in front haven't even completed their second circuit!

The winner!