Tuesday, December 20, 2016

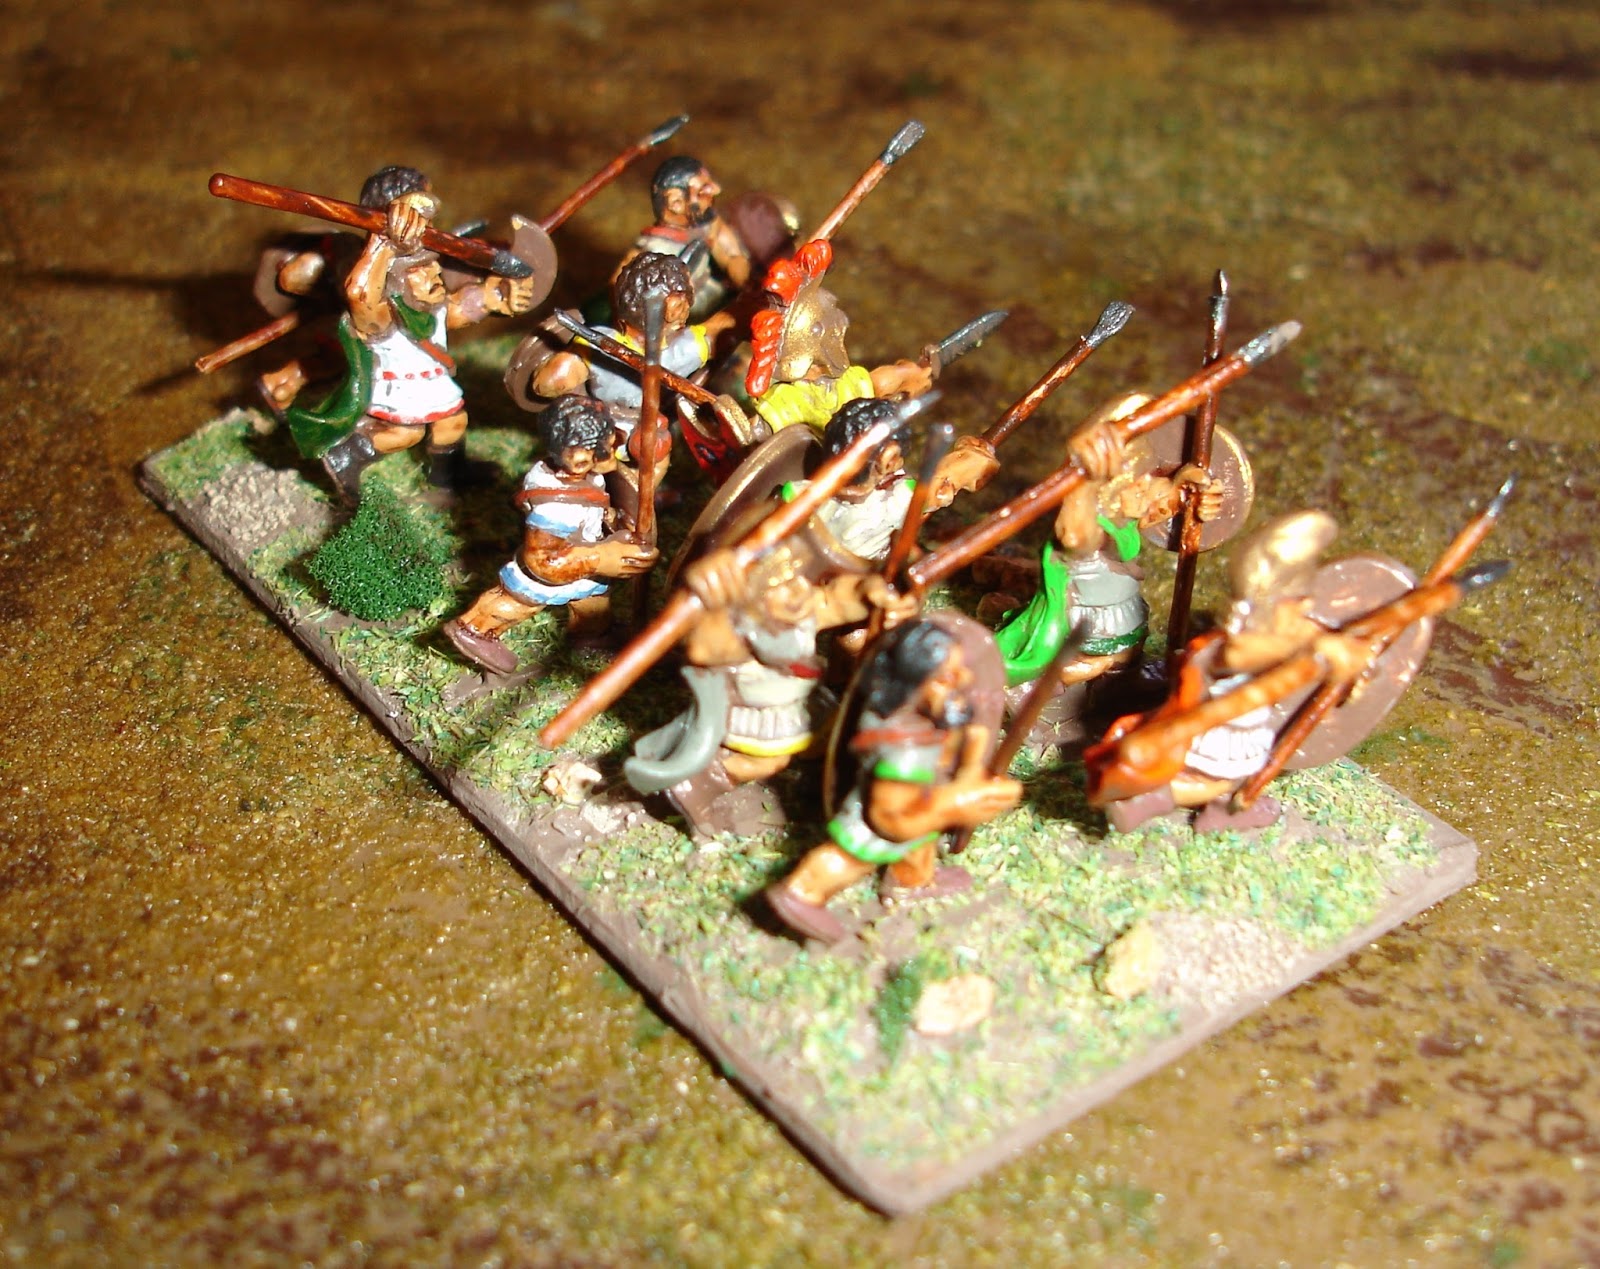
Peltasts for Impetus

One of the things that caught my eye initially about Impetus was how good it looked with big bases.  One of the things that got me into the rules was its compatibility with my existing WRG basing.  Now I have just completed a new unit of light foot for my Greeks as a single Impetus base.

I lost inspiration when I was painting the shields.
Something to do with the shield styles not matching my sources.
Doesn't matter, but explains the angry face as reflecting my mood.

I've gone for eleven figures but reckon a few less would still look fine.

Not the most anatomically correct figures, but full of personality.

Better still, this has reduced my lead mountain.  I might only be by a very tiny miniscule fraction, but it's progress.  Most of these Tin Soldier figures, perhaps all, were purchased in the 1980s.

The only worry is that I might be tempted to rebase my WRG based peltasts (that would be bad).  An alternative worry is to try DBA using big bases.

Sunday, December 11, 2016

Romans versus Parthian in 6mm

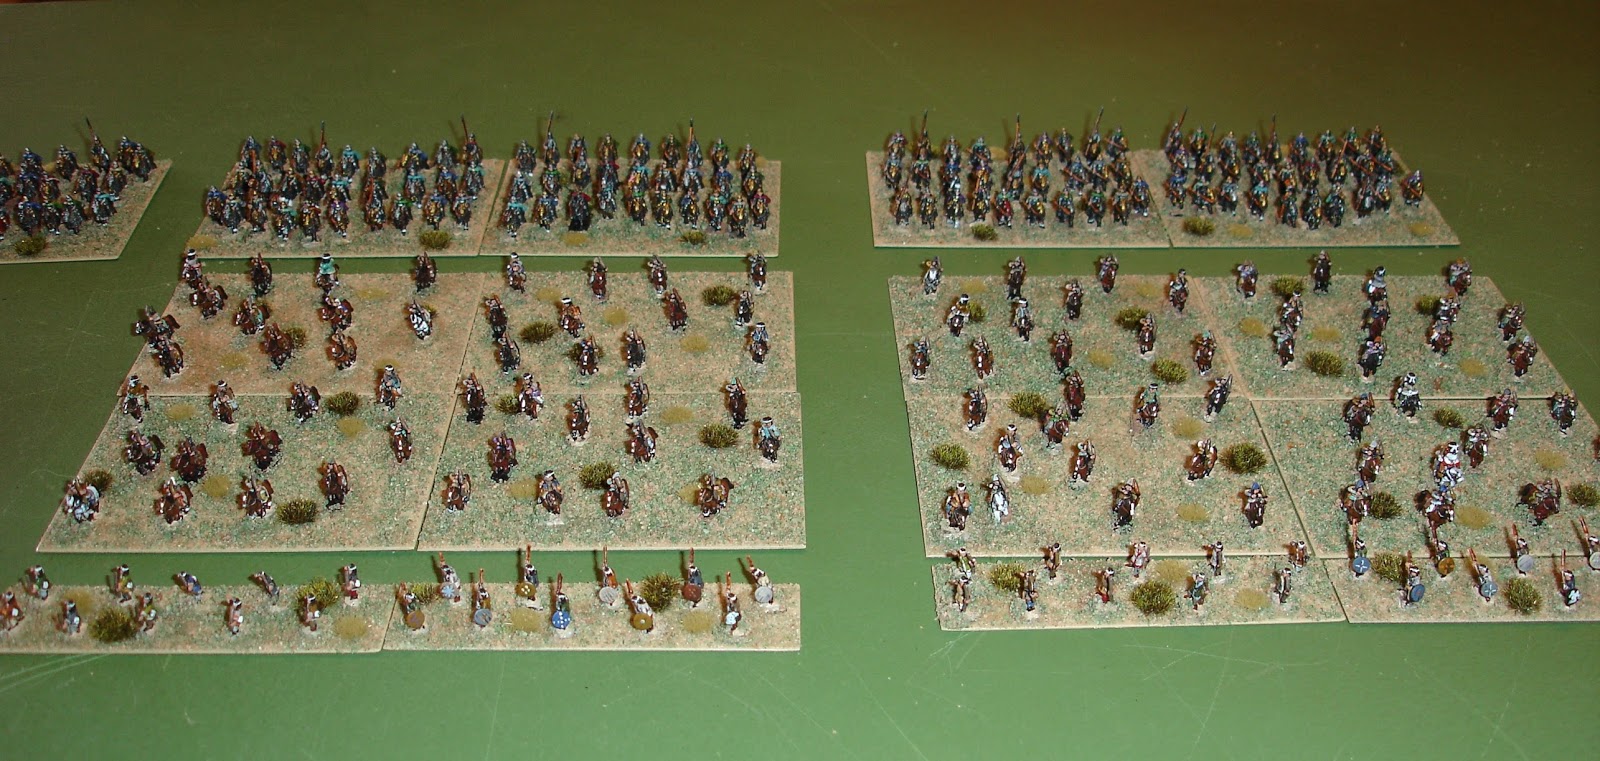
Played a great game with Mark Woods using his fabulous 6mm armies.  950 points per side using Impetus.  There are 1,500 figures on the table, including cataphract camels.

The figures are based as for 15mm and 950 points per side sure fills the table.

The Parthian camp.

The Roman camp.

My two central commands.

There were a lot of Romans.

Horse Archers ready to harass the Romans.

The Romans start to rush forward.

The left flank of the Parthian army engage Roman skirmishers in some broken ground.

The Roman infantry is screened by skirmishers.  
Will the Parthians be able to disrupt them?

The Roman centre has taken some casualties.
The swarm of Parthian horse archers is well evident in this bird's eye view.

The Daylami about to get into action in the broken ground on the right flank.

While on the left the Parthian skirmishers are failing to make an impression.

This is the Parthian CinC's command, 
but even with the elite horse archers it is not making much impact on the advancing legions.

The Parthian centre looks formidable.

It seems the Daylami got the upper hand 
They have just about cleared the Romans from the broken ground.

All this fighting is thirsty work.

The Roman genius commander becomes super genius.

View from the Roman side.  Their extreme right.

The Romans have advanced with impunity (mostly) against the Parthian CinC.

But the Roman centre is in trouble.

And the Roman left is in a bad shape as well.

And the far left looks in danger of being turned as the Daylami surge forward.

The right wing Parthian commander, despite the success of his troops,
is having a poor day.

Catastrophe for the Parthian CinC!
He lost the combat but threw a 1 for the Cohesion test.
The Roman Gods intervened with a Hand of Fate.
The re roll was the dreaded six.

The CinC might be in trouble, but his horse archers are clearing a gap on the Roman flank.

The Parthian CinC with his white cloaks has been able to break-off.
The Parthian centre is ready.

As is the Parthian right.

Over kill!
The weakened Roman centre is burst open as their cavalry is cut to bits in a final hurrah.

But the Parthian CinC has fled,
although his command is not broken.

But the Parthian centre has triumphed.

Along with the Parthian right.

The victory point loss chart tells the story.

Both armies had deployed left to right.  The Romans had three commands.  The top listed one was their CinC on their left, then their centre and their (much more successful) right.  The four Parthian commands start with their doomed CinC on their left, then the two centre commands and finally the poor right wing.

Friday, December 9, 2016

Songs of Cavalry Carnage

Last night at the NWS Mark B and I tried out cavalry with Songs of Drums and Shakos using some of my very old (1979) and very new (2014) figures.  The scales are mixed, but so it goes.

Some old Hinchcliffe Chasseurs a Cheval and a lone Minifigs trumpeter go into battle.
The officer is OPC48, the troopers FNC36 on LH5 and the trumpeter FNC41 on N14.

Blood is spilled early in the encounter.

The Dutch officer looks threatened (A magnificent Waterloo 1815 1/72nd scale figure)

The French officer,  a lovely one piece casting, gets his men into action.

The body counts mounts.

And mounts...

The Dutch are the first to break and head off home.

Great little game and I was very happy being able to use some of my figures that have rarely seen the top of a table.

Thursday, December 1, 2016

Songs of Blue on Blue

For this game I tried something different using my Dutch-Belgians to engage some Prussians skillfully commanded by Mark B.  The basis for the game was to try out more figures.  The basis for the scenario was the unfortunate friendly fire incidents that occurred between the Allied troops on Wellington's left wing and the advancing Prussians at the Battle of Waterloo.

Both sides had an officer, flag bearer, drummer and ten infantrymen.  All infantry were green.

The Blue Team 
(out of focus, but hopefully adds to the confusion - that's my spin on my crappy camera skills)

Another Blue Team.

The Belgian Officer sends his men down a lane way to confront what must be Grouchy's advance guard.

The Prussians take fire from what they assume must be the French.
Quickly they take cover in the orchard.
The Prussian officer displays courage and becomes the target for enemy fire.

The Prussian Officer wisely takes cover after being knocked down by one shot and narrowly missing a second.  The Prussian infantry had fallen back after seeing one of the comrades killed out right, but quickly regrouped.

Then it was the time for the Belgians to fall back after seeing one of their comrades senselessly slaughtered with a single shot.

As the Belgians rallied round the flag, their officer yelled out "Wait a minute..."

The Prussian officer, realising the dreadful mistake, yelled out to his remaining men to cease fire.  
He then called out to the Belgian officer asking if he was all right.

But an answer there came not
For he had been shot.