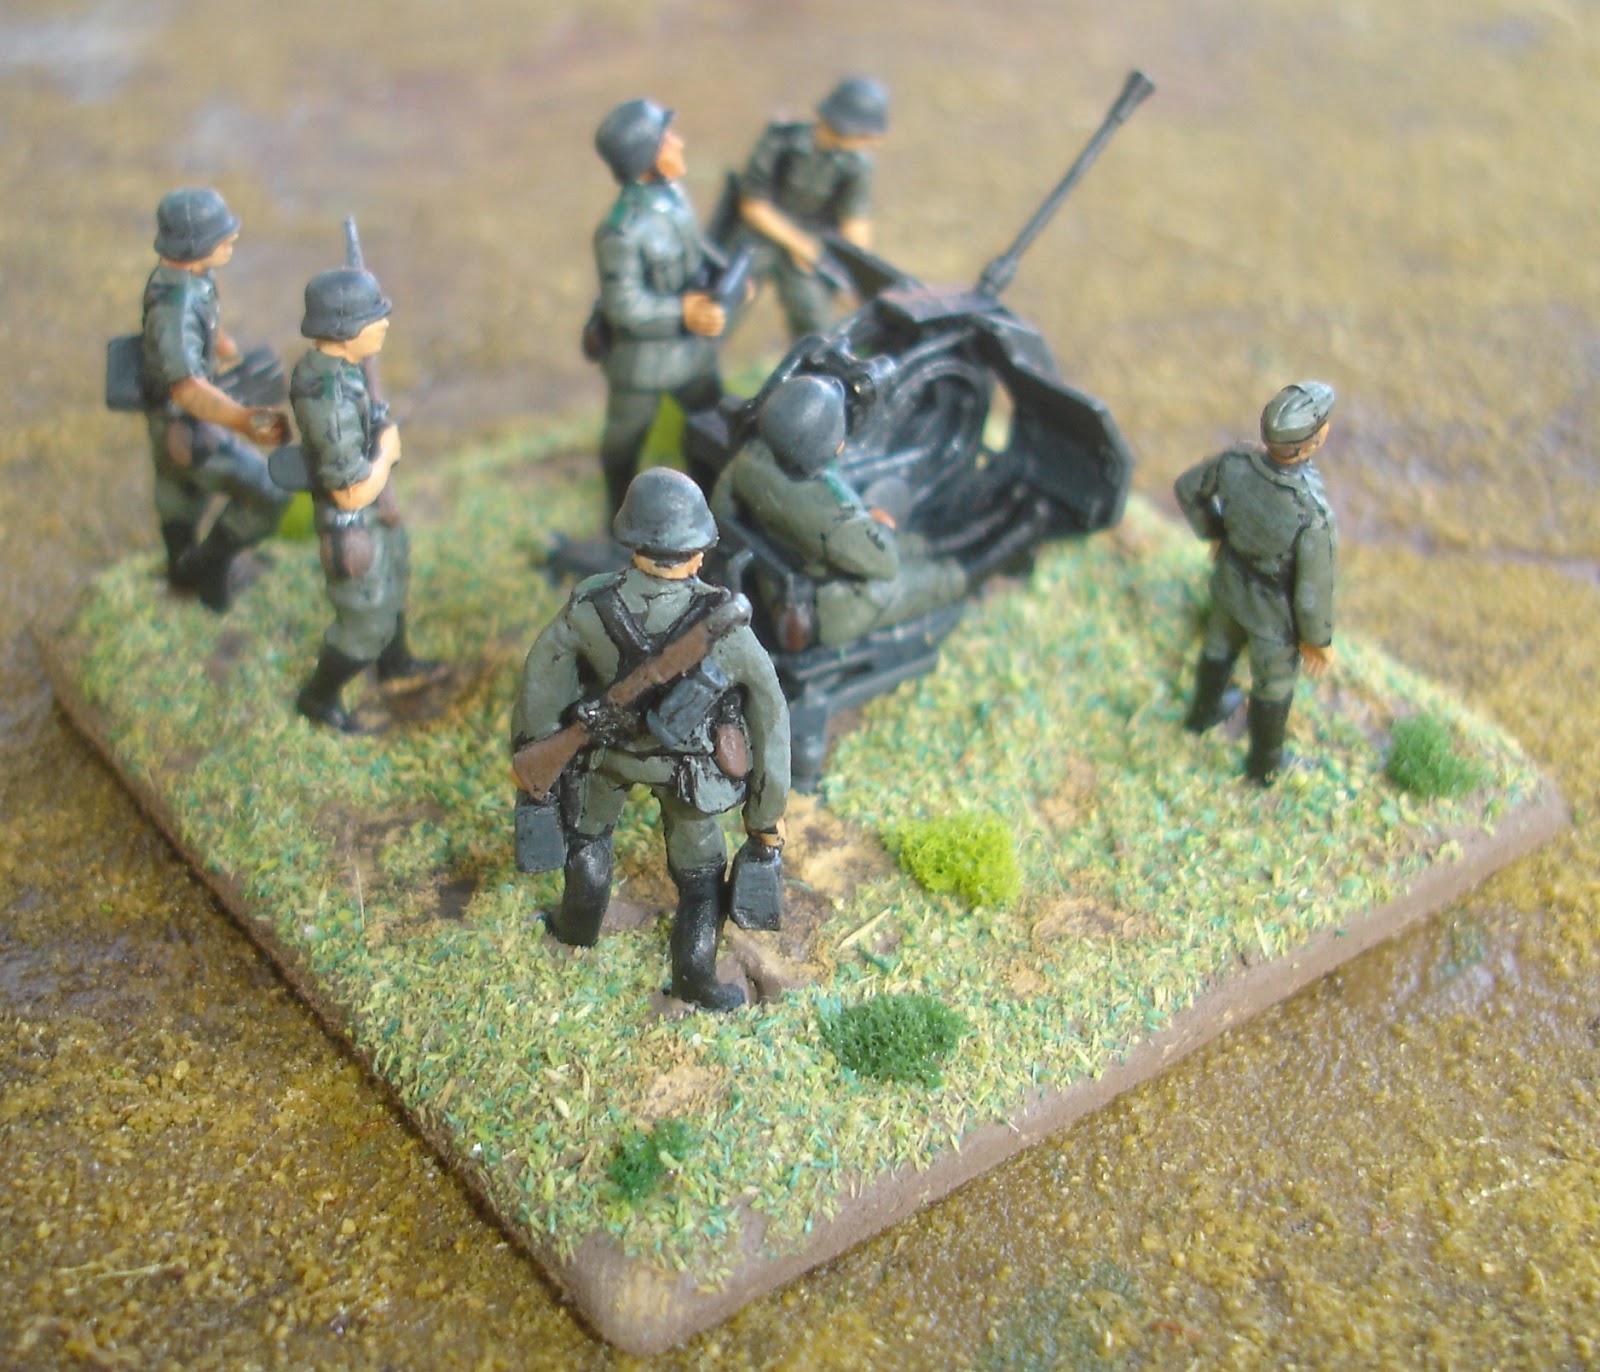
I love a finished
model - apart from the statisfaction of completing something, you get closure and the magic as the model "comes alive". The extra crew are from the second
Airfix Afrika Corps set with the addition of long pants built up from texture
paint. There is one Hinchcliffe metal figure
and one young lieutenant from the Airfix Luftwaffe set.
Wednesday, June 5, 2013
Sunday, May 26, 2013
Burgundian Ordonnance Army
This is a blast from the past.
The full report on the 2nd ACT-NSW DBA Championships can be found here: https://docs.google.com/file/d/0B3O3fJlp-yozTDM1OWZaOHI1NEk/edit?usp=sharing
My Burgundian Army is currently having two extra units raised
so that it can be used for Field of Glory.
After playing Later Hoplite Greek and variations with WRG 6th and doing
the big conversion to WRG 7th I started to collect a medieval army
for something diferent. I settled on Burgundian Ordonnance
as, with the high point values of the super heavy knights, not that many
figures were required.
For my FOG army all I need is another four bases of knights, same of pike and three generals plua a camp. I have the figures, just need to finish some conversion work and then paint. It is one of my projects for 2013.
Hannibal versus the Ghaznavids
Ever since reading Hannibal: Enemy of Rome by Leonard
Cottrell when I was a teenager I have wanted to run a Carthaginian army. I recall experimenting with a few conversions
from various Airfix figures to see what I could build back in the 70s, but didn’t
take it too far. Many decades passed
until last Friday when I had the chance to run them against a Ghaznavid army courtesy
of Mark W.
My 800 points Field Of Glory Carthaginian army had all the
usual suspects including four elephants.
Eagles view of Hannibal’s army from the left showing the Numidian
light troops, Gauls, African spearman and the elephants in the distance before
the massed cavalry with Hannibal.
The Spanish cavalry aided by the Gallic cavalry on their
left and Numidians on their right engage the Nomad horse archers who had
perhaps rashly stood to fight.
The Spanish are triumphant!
The Gauls are ready to charge while the Numidians fight on.
No! The Arab cavalry
with their lances prove too good for the Gauls and they are broken; Hannibal
makes a lucky escape with only some dents to his helmet.
The Spanish foot get into trouble fighting a unit of Ghilman
heavy cavalry, but it is elephants to the rescue!
Hannibal is triumphant again and is aided by the Spanish
cavalry having the Arab lancers pinned.
Around this time on the left flank, the other unit of Ghilman
cavalry comes to grips with the lone Numidian light horse brigade who got caught
evading ... it ended badly. The Ghilman cavalry went on to loot the Carthaginian camp.
Getting into more trouble, Hannibal is having a problem
keeping his forces together to fight the Dailami armoured spearmen. Some Ghaznavid horse archers have returned
after defeating the Numidian cavalary that was on Hannibal’s right and are
chasing the Numidian foot. In the
distance the Balearic slingers have engaged the Naffatun incendiary throwers. Off to the right of the picture the Arab
lancers charged the Spanish cavalry who failed to repeat their previous success
against a more formidable foe and broke.
Disaster! Hannibal is
killed and the Spanish foot and supporting elephants break. The remaining elephants are distinctly
unhappy.
The Gallic foot on the Carthaginian left finally get
engaged, but right from the start things start to go against them.
While the Balearic slingers prevailed, it was not enough to
save the inevitable destruction of the remaining Carthaginian elephants and
with their demise so went the game.
An excellent game with lots of to and fro action and only
one recourse to the rule book to deal with a tricky situation.
All figures and terrain is from Mark W’s collection. A real delight to play with.
Wednesday, May 22, 2013
Barbarossa: Kiev to Rostov
Started to play the boardgame Barbarossa: Kiev to Rostov by
GMT Games with Richard today. More information
on the game which is part of their Eastern Front Series can be found here: http://www.gmtgames.com/p-137-barbarossa-kiev-to-rostov.aspx. While it is certainly complex, it plays
well. The introductory material on this
website, http://www.wargalley.com/efs/index.php,
was very helpful and a good way to introduce a game to new players.
I had grown up with SPI’s War in the East and Panzer Group
Guderian, so while this was familiar territory, the game mechanics and detail
was refreshing and interesting.
Sunday, May 12, 2013
Miscellaneous
Finally finished these that can be either supply markers or hasty barricades. The amazing things is some of these items are really old and are from Airfix sets or even those toys that used to come in Cornflacks packets.
Revell’s Deutsche Artillerie WWII – finished
Well, the gun is now finished; still have the limber to go. This gun was one of my identified 2013 projects so it is good to get some further closure on completing the various things I have underway, but never seem to get done.
It can be the divisional artillery regiment if I play MegaBlitz, a battery if I play BlitzKrieg Commander or a single gun for Crossfire.
Given I first posted about this model in January 2011, it has taken well over two years to get it to a playable state. I had fun researching it and deciding on the basing, going more for the diorama than functional as the 9cm square base will take up a good amount of space on the table top.
It can be the divisional artillery regiment if I play MegaBlitz, a battery if I play BlitzKrieg Commander or a single gun for Crossfire.
Given I first posted about this model in January 2011, it has taken well over two years to get it to a playable state. I had fun researching it and deciding on the basing, going more for the diorama than functional as the 9cm square base will take up a good amount of space on the table top.
Wednesday, May 1, 2013
Blucher in Command
For my Napoleon’s Battles 15mm Prussian army I needed to
expanded the higher level command and employed some figures by Old Glory to do
just that. This project provided my a
second corps commander:
And the Blucher army commander stand including a detachable Blucher. Yet to be used in anger, but should be interesting to see how the extra +3 Excellent general handles things.
The picture above was my first attempt and I realised that
Blucher had his hand raised obscuring the anxious artillery man’s face. In my second attempt the horse got in the way
– I guess some figures and not destined for stardom.
With Blucher detached the figure is clear, but now in soft focus. So it goes.
The space for Blucher is lightly flocked, but is metal and
just holds the magnetised enough when he is back with his HQ staff.
Subscribe to:
Posts (Atom)