Just a quick game using Desaix's corps versus Otto's column from the Marengo OOB. Aim was to test the dedicated casualty stands that also hold the command label.
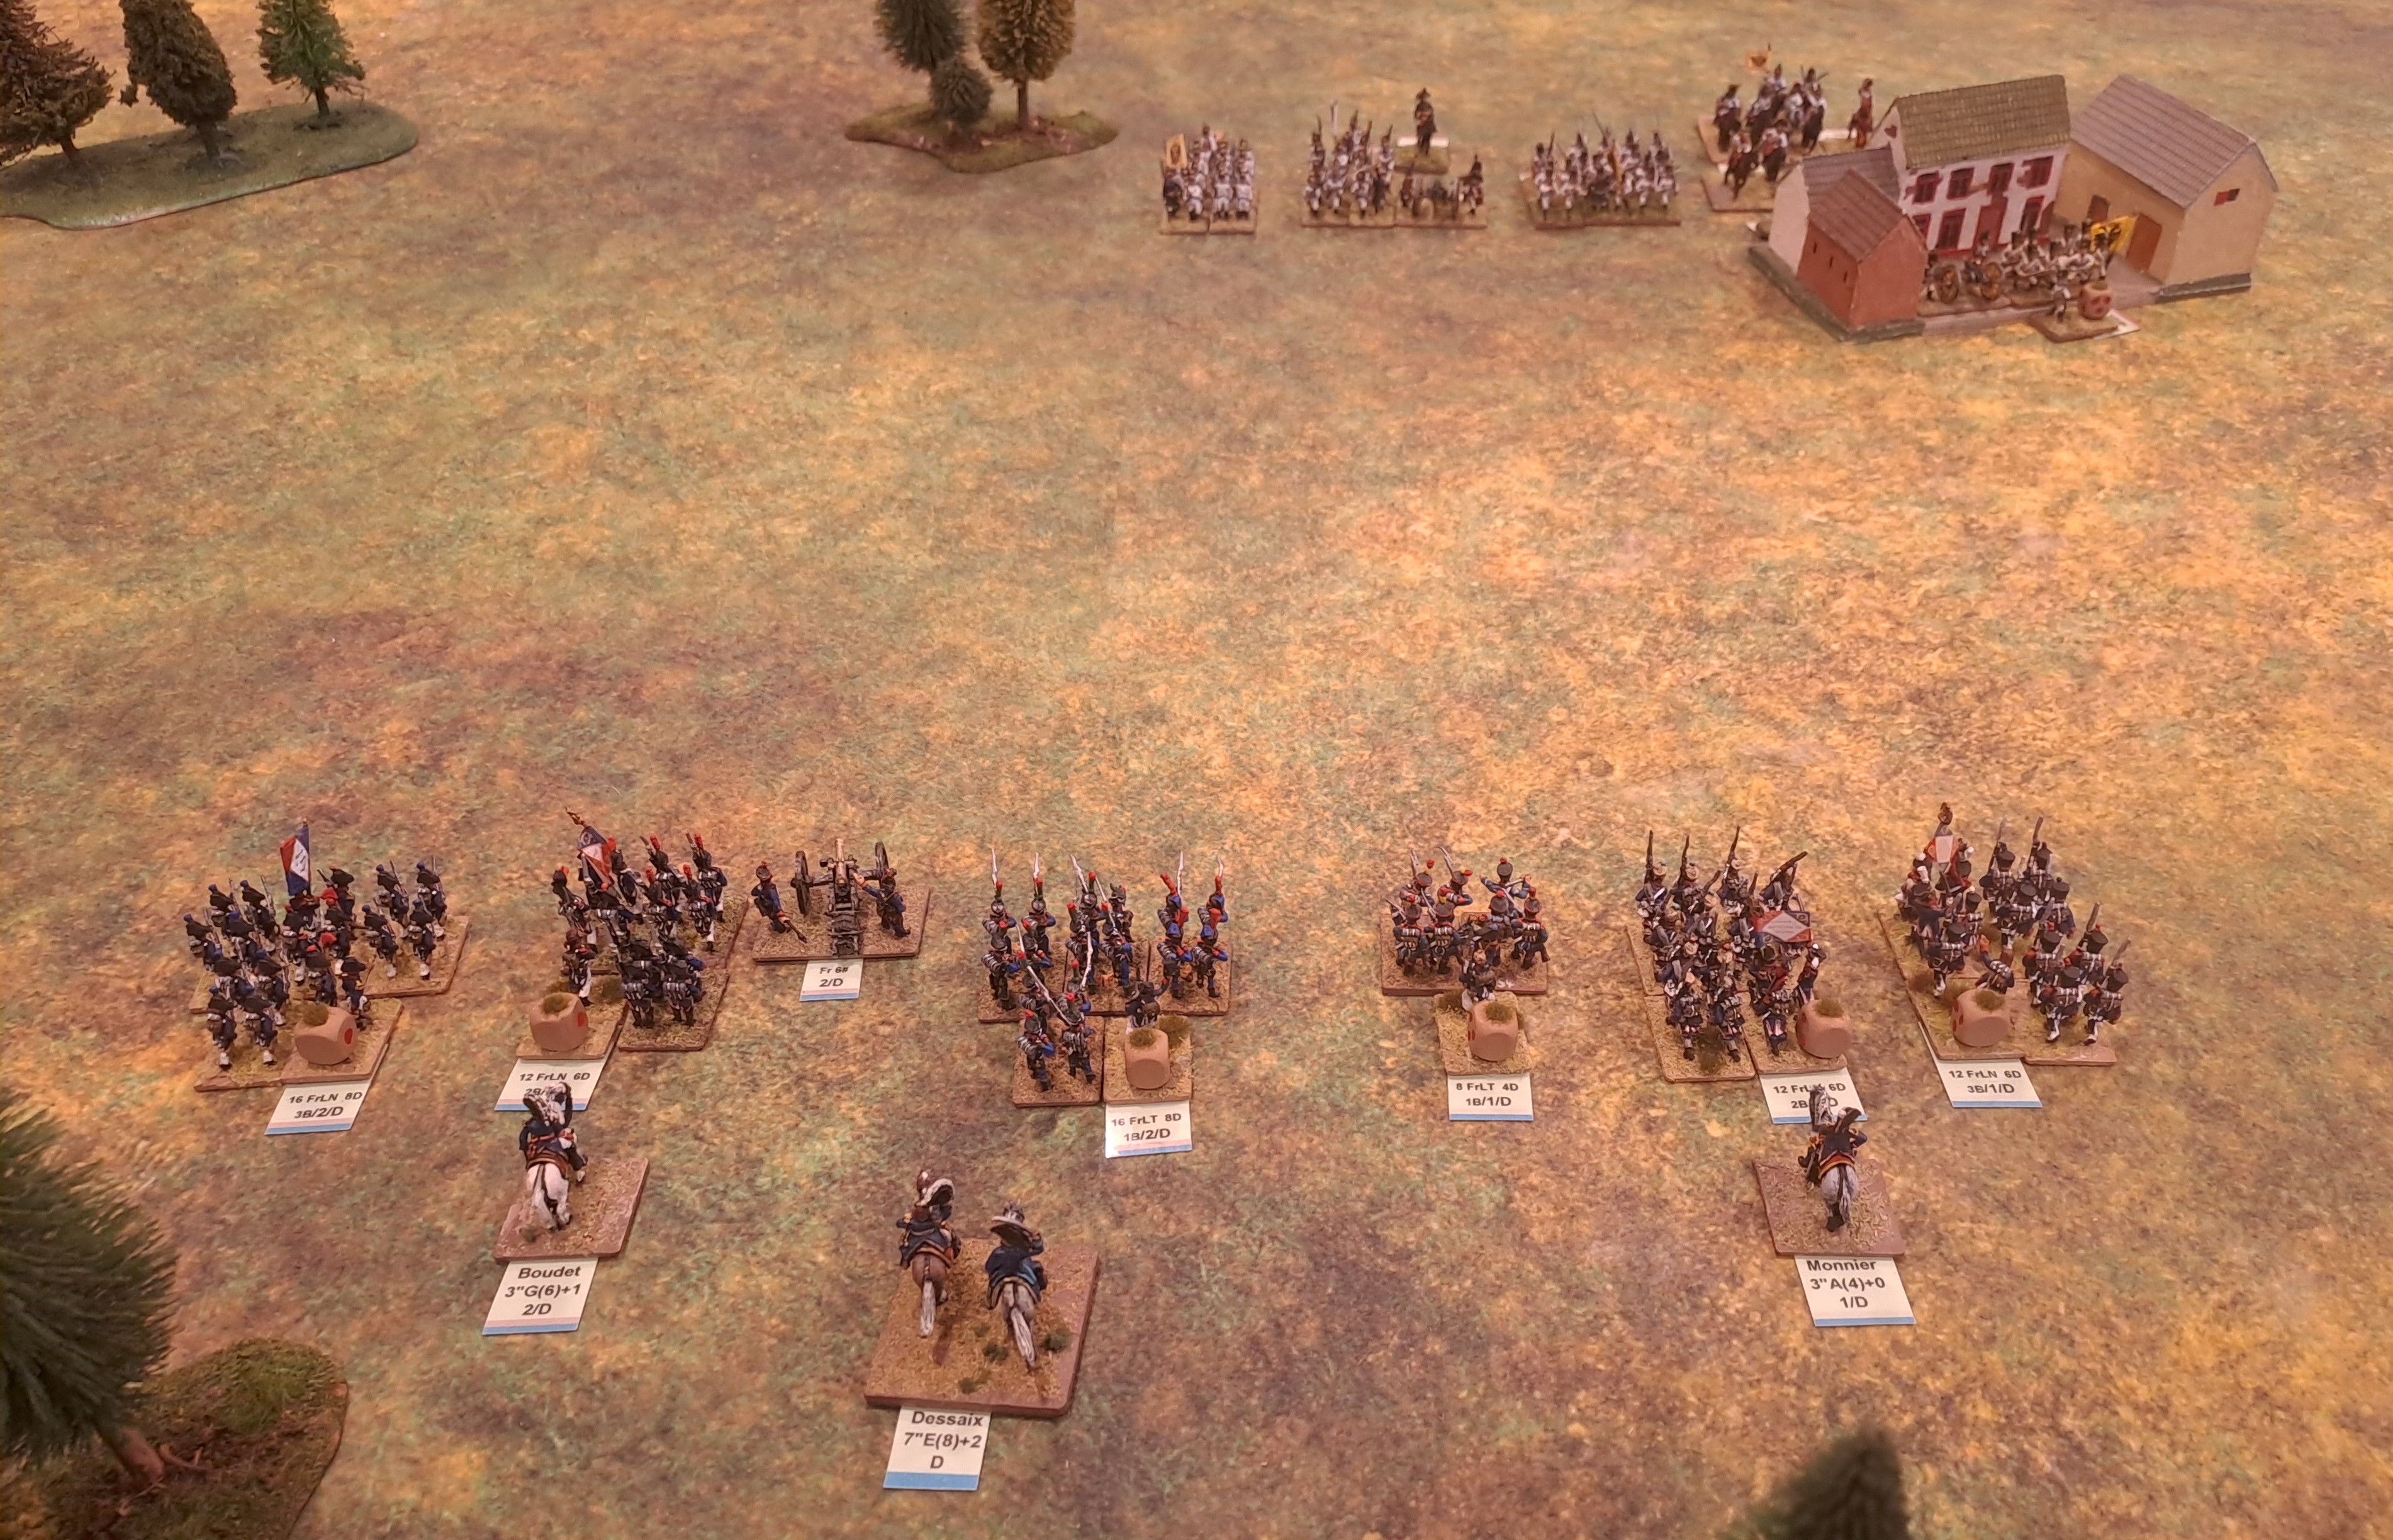
Unit labels stand out, but the casualty bases blend in well.
The casualty base is an additional base and can be placed wherever it is convenient
provided it is properly aligned with its unit, a bit like a general's base in that regard.

The French advance and we place a mat to represent the BUA
that the Austrains are resting their left flank on.

The Austrians can't help themselves but charge with their lone cavalry unit.
The French Legere promptly form square.

Subsequently the Legere were charged by Austrian infantry.
They routed and fell back to Desaix to rally them.

The Austrian infantry press on and receive their comeuppance.
On the French right the Austrians have acted aggressively.

The Austrian cavalry are thrown in again.
The French have stalled due to Desaix being a tad busy rallying and fighting.

The Austrians are struggling as the French corps finally gets its act together.

The French surge forward wiping out the Austrians,
although they had suffered two brigades dispersed and lost its artillery.
But the important thing was testing the new casualty bases, and we worked through a few issues. The main thing is to remember they are a marker and that works/looks best with the single figure bases. I also need to make more cavalry casualty bases as currently their casualty base has to function as a regular base as well. Nothing is easy in the search for perfection!
The search for perfection is hard!
ReplyDeleteThe casualty markers have gone through a few iterations. This latest test proved most successful, however I now see I must really work on reducing the labels.
ReplyDeleteWe tried several ways to show casualties. The best method we found was to use casualty caps of different colors. That way we only had to use one casualty cap per stand. White was one figure. Yellow was two figures. Red was three, and no need for fourth as the stand is lost.
ReplyDeleteI did try casualty caps (cut from a black plastic straw). I found them too fiddly, not that my cubes is without some fiddliness. The labels still require some work as they do detract from the visual appeal.
Delete