Friday, April 3, 2015

Let a Thousand Wings Bloom

Well, seven with six players and I'm not sure planes ever bloom, but two certainly went boom.

I had command of the two Bristol Fighters and Mark B the Camel.  Together we took on four German planes, mainly Fokkers, flown by Stephen N (in the non-Fokker), Greg in the dark yellow Fokker, Tom in the light yellow Fokker and Betty in the Fokker with the camouflaged Fokker.

As always all the planes and terrain were from Stephen N's collection.

After a few turns we were all of a muddle.  Tom's Fokker kept colliding with my planes and would have to be dealt with...


Greg's plane got engine damage early on which would give him an honorable pass out, but he kept in the game.

Revenge on poor Tom (it was his first game).  

His mum came to the rescue and my plane was trailing some nasty smoke.

Stephen got a shot in and my other plane developed engine trouble.  Time to head for home.

Mark B's Camel, on fire by this stage, got a good blast in against Stephen who went boom.

Greg's spluttering plane is trying to catch my Bristol Fighters.

The Camel succumbed to flames.  The kill goes to Stephen..
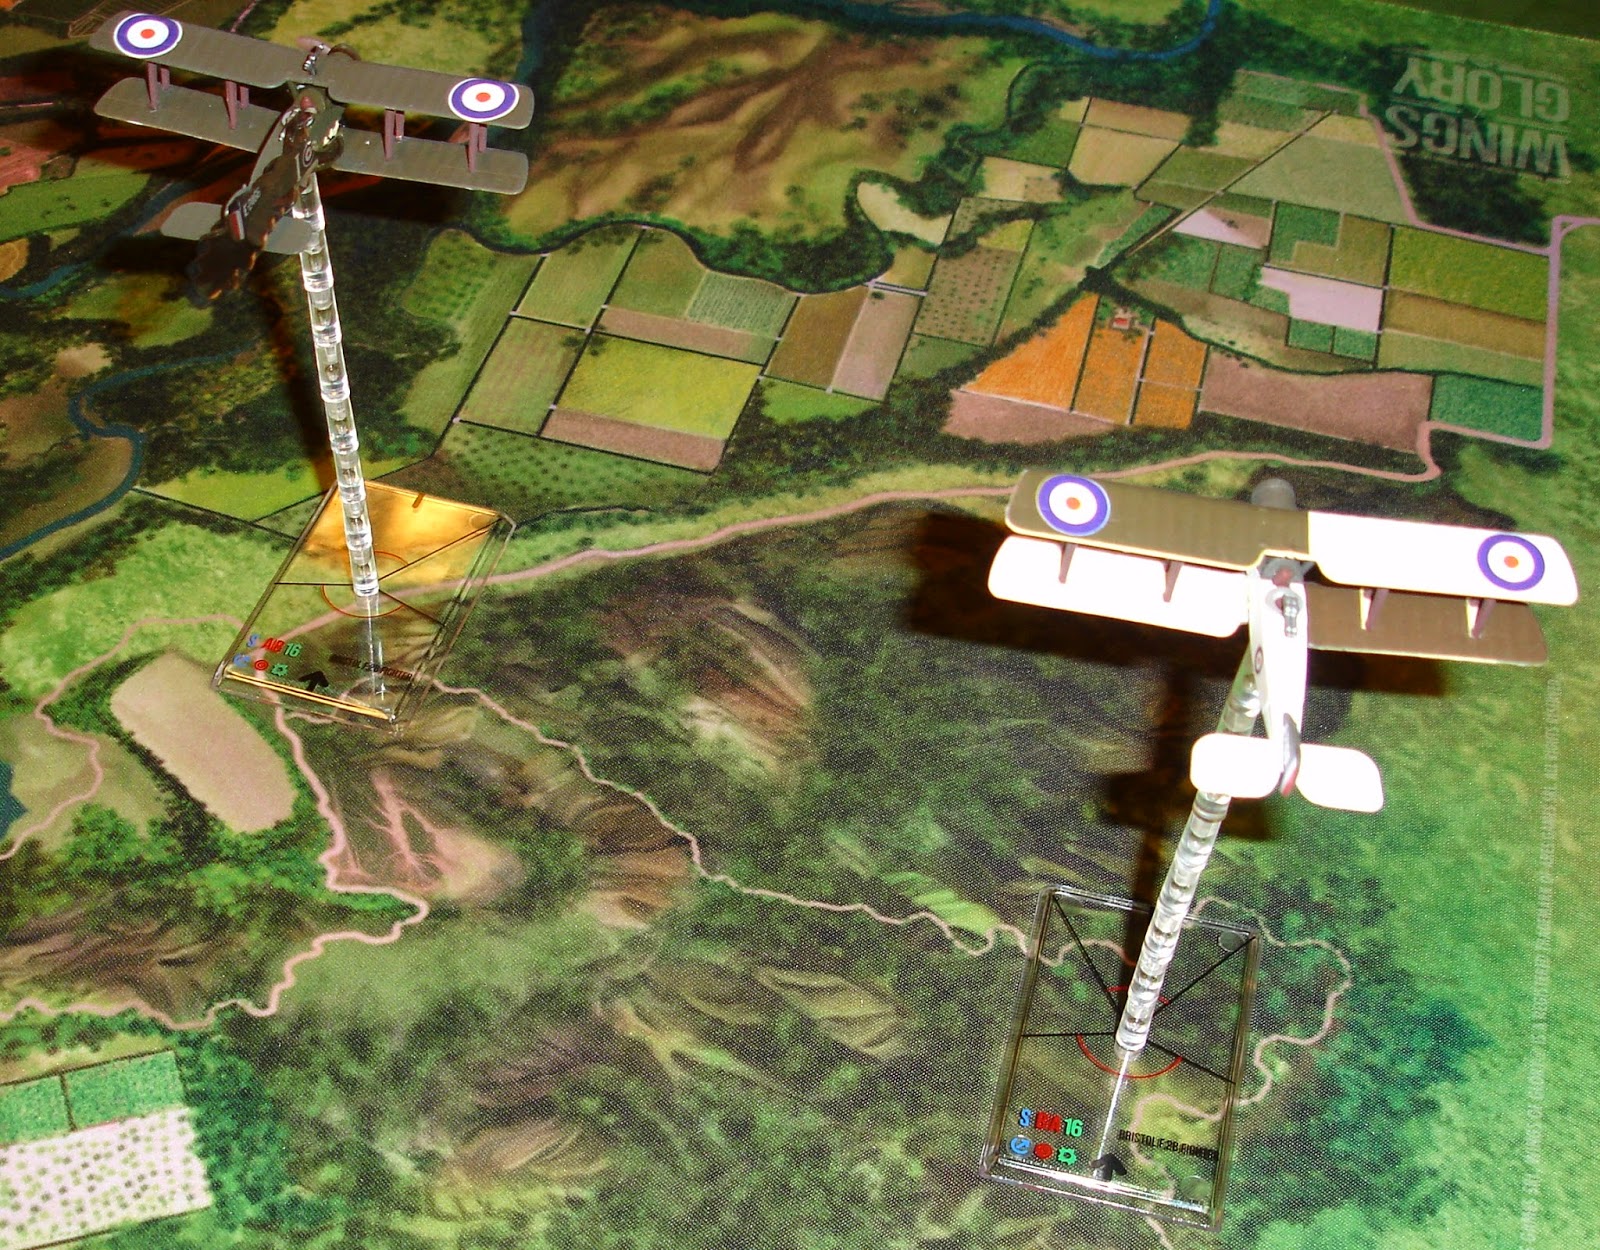
My planes get away.

My planes had been in the thick of things, but got off surprisingly lightly.  In a bizarre turn of coincidence the damage on Greg's Fokker was identical to my white BF.

And while I am still doing good, here is the unofficial leader-board:


I've just noticed that there are more kills than deaths.  Nice to see my reports are keeping true to real life aerial combat reporting.

Tuesday, March 31, 2015

100 Years War English versus the Late Medieval Scots

Actually 100 Years War English (Continental) versus the Late Medieval Scots (Britain).  It turned out to be a a lesson on how FOG handles quality over mass.  Both sides 800 points, but you get oh so much more with the Scots.

Mark Woods ran the Scots and I ran the English, all figures, terrain etc from Mark's collection.  And fabulously constructed armies they are too (well worth clicking on the pictures to get the full effect).

The view from the English left.

The English battle line, three units of dismounted men-at -arms, four units of longbow and one of mounted knights.

I deployed with the men-at-arms forming the centre, with archers on both flanks and the knights in reserve.

I pushed my centre forward and committed the knights on the right.

Not the view the Scots had of my knights.

But this was what my centre looked like to them.

The Scots redeployed their knights and their lights evaded as my centre closed.

Victory!  My men-at-arms cut through the Scots and my bowmen shot them up a treat.  Two Scottish commanders fell, including their C-in-C.

That was it for the centre, but it wasn't enough...

On the right I lost one unit of bow while my knights made valiant charges.

On the left a unit of men-at-arms fared badly and another unit of bow was in trouble.


In their moment of triumph my knights were lost to attrition (they had failed just about every casualty roll, no matter how low).

Another two units break and with only eight units to start with that was it.

This was my far left, holding its own, but hopelessly outnumbered.

My centre redeploying as the Scots came in on the wings.

A mighty tough battle with lots of carnage and mayhem. Excellent!  Thanks Mark.


Sunday, March 29, 2015

Marengo - Part 3

Today we completed the game.

The end of the French 17:00 turn and Dessaix is rushing to the rescue.  Napoleon is sitting on 10 eliminated units out of a maximum of 13 (once the final reinforcements arrive at 17:30).  Melas has lost 8 out of a maximum of 12.

Ott continues to put pressure on the defenders of Castel Ceiolo.

It is necessary to go in with cold steel.  It is a very bloody affair.  One brigade of Austrians is shot up and repulsed, but they have support and after a trying fight come good on a reroll, but at heavy cost.  The French however have lost another unit, the Austrians as well, although they have remnants to rally.

Ott is now free to move up and support the final Austrian attack by Melas.

However the French Consular Guard and a brigade lead by Dessaix strike first.

Dessaix leads his men to victory and tips the Austrians over their morale limit.  They are broken, but not hopelessly broken.

There is a gap in the French lines where a brigade used to be.  Oh no, the French have now broken.

The Austrian Grenadiers were destroyed in a very protracted fight that went for three rounds and also used the last French free roll.  Very exciting stuff.  

With the loss of the grenadiers the Austrian morale has now hopelessly broken.  At the end of the 19:00 turn, both sides' morale has collapsed.

It is a draw.

The Austrians, with five free roll counters left, claim a moral victory.

With Dessaix approaching Marengo, Ott would pull back to cover his line of retreat, only to find himself potentially cut off.

A challenging scenario and one that was fascinating for exploring the end game mechanics of fatigue and breaking morale, something I can rarely recall doing (normally time calls a result - the beauty of playing at home meant we could continue the game at our leisure).

While I was only umpiring (and yes, running Ott) it was a significant victory for me.
  1. My troops got some use.
  2. I got to see Stephen's troops in action.
  3. We completed a significant recreation of an historic battle.
  4. The rules worked well.
  5. I got to play test the new scenario.
  6. My movement trays worked.
  7. My large print labels worked.
  8. The printed map worked.

That is more than a win for me, plus it was a very friendly and sociable affair - thanks Mark B and Stephen N.

Cheers!

Kiev to Rostov

Last Friday Richard and I spent three hours and almost got this game set up.

http://boardgamegeek.com/boardgame/29875/barbarossa-kiev-rostov-1941

Apart from impressive detail and beautiful maps, what I really like about these games is that the rules are freely available.

The following image is from the Boardgame Geek site and provides some indication of size of the game.  Once we start playing I intend to post some photos of the game in play.


I spent a lot of my early years playing SPI's War in Europe.  I only briefly dabbled in the GDW update.  To me GMT have produced the next generation of this scale of game for WW2.

Thursday, March 26, 2015

Marengo - Part 2

Last night, by skipping the club, we were able to continue.

Battle resumes with the fight for the village of Marengo.  The Austrian fire had been ineffective, so in they went with cold steel.

They were repulsed, but the French defenders are being worn down.  French reinforcements, Dessaix's first division, can be seen in the distance, top right-hand side of the photo.

But the French were never going to be in time to save the brave defenders who were subject to a second, massed attack lead by the Austrian General Hadik which finally carried the village.  

The Austrian cavalry making a spoiling attack, but it fails. 

The Austrian Grenadiers attack.

On the left flank Ott continues his cautious attack on Castel Ceiolo.

The Austrian Grenadiers had mixed success, but now find themselves charged by Murat.  A desperate Austrian counter charge proves futile and the French ride down the grenadiers.

Only Murat remains.  There is nothing like winner's losses to eat away your elite units.  Worse, there is nothing like losing a unit at the moment of victory to have it push you over your morale limit.

Luckily Dessaix and his second division arrived just in time to restore French confidence.

The Consular Guard and a legere demi-brigade attack Kaim's division.  The Austrian's break and flee.

As it was late we paused the game.  It was proving to be an epic and we hope to complete it on the weekend. 

This morning I took a few more photos.  It is 17:00 in game time with the French to move.

Napoleon and what is left of his army.

Lannes has gone to cheer up the defenders of Castel Ceiolo, but it looks rather hopeless.  Ott's command is still relatively fresh.

The Austrian perspective.  O'Reilly's division is to the right, but it is just about dispersed and so best left out of the fighting.

Dessaix is on his way.

For the record, the Austrian morale is 12 and they have currently lost 8 units.  The French morale is 12 (going to 13) and they have lost 10.

The small units, which are a feature of this scenario, mean units are more readily dispersed (permanently eliminated).