Showing posts with label Six by Six. Show all posts

Sunday, December 31, 2017

Thebans attack the Athenians - Six by Six conclusion.

Daughter against father.

In order to complete my Six by Six challenge I had to cash in my Father's Day present, that being that my daughter would play a game with me.  Maybe I should have picked something engrossing like War Between the States or at least Ligny, but no, it had to be DBA. 

I took my old Tin Soldier Hellenistic figures to make two armies, keeping things simple.  Daughter got off to a good start when she asked me if I painted them.  I said yes.  She said she was very impressed.  Hurray, maybe the army will live on after I'm gone.

 The opponent with her helper, Ulysses.
Yes he's a dog, but Gods do those disguise things.

Rather boring linear set up, but DBA 3.0 gives a lot more control over terrain - or not.   
If I recall correctly DBA 2 terrain set up was a bit less restrictive.

 We are closing in, 
employing the modesty blurring for the naked fanatics (Auxilia - Galatians hired by Athens).

 Contact.
The Theban God(dess) giving her troops the victory sign.

 The Gods are meant to look on, not lick on.  Whatever...

I won.
Daughter is claiming the new dice cup is actually a teleport device to transport her camp to safety.

And so finishes 2017 and the Six by Six challenge.  Phew, that was close.  

Nice finish as I started the challenge with a Supplementary Six by Six game of X-Files with my daughter (post).  

I had stretch goals (unrelated to Mark Woods):

  • Hordes of the Things (will count this as a win if I create an army)
  • Faustus Furius
  • Anything John Carter Warlord of Mars related
  • Napoleonic Naval (including Galleys and Galleons)

HotT was almost a win.  Could of done the chariots...  Sigh, John Carter.  But I think I did get in some Napoleonic Naval.

I even set myself some Honourable Mentions:
  • Fire and Fury
  • Blitzkrieg Commander
  • Crossfire
I achieved all three.

But the highlight of the year was none of these, it was playing War Between The States.  Thanks Simon!

Big thanks to Kaptain Kobold for running the Six by Six.  Wouldn't have happened without him.

Thursday, December 21, 2017

My Vikings need Ullr

Last night Gerry helped me out by playing yet another game of Saga with me in order to complete this leg of the Six by Six challenge.  There is now just one DBA game to go and I intend cashing in my Father's Day present to achieve that.

The Scenario we went with was Clash of Warlords.  Sadly my Vikings were back to their old form.

 My first attack had the advantage, all I needed to get hits were 3s or better.
I lost five men, the dwarvish Scots just two.

 My attempt to get ascendancy on my left was a failure.
However I was happy with overall deployment.

 Then I launched three attacks on the right.
All were beaten off.

 I regrouped ready to attack again.

 I just needed 4s or better...

 In frustration I sent in my berserkers.
It was a bad move but I was sure I would get a few 5's or 6s.
I got one.

Then I was down to my Warlord.  
Luckily I had remembered the Ullr ability that allows my army to reroll misses on the attack dice.

No Warlords were hurt in this engagement, but I went down, 40 to 33.  If my last attack had been a bit more lucky...

Wednesday, December 13, 2017

Sacred Ground

Finally my Vikings get a win.  With this scenario it paid to go first and get an early victory over the enemy.

 The Vikings moved up to the sacred hills, but did not dare set foot on them.

 But when the Scots trampled on the sacred ground, the Vikings attacked and flung them off.

 The Vikings were then in a very strong position, points wise,
having all their men up on the hills.


The Scots had two units left and sent them in.  
The Vikings repulsed them after some hard fighting.
While the centre hill had to be abandoned,
the Viking Warlord still got to celebrate a victory.

This is the first victory for my Saga Vikings.  Also the first time I can recall playing this scenario.  Also first time not using the levies.

Thursday, December 7, 2017

Other Hoplites vs Other Hoplites

Last night Stephen indulged my desire to complete my Six by Six quest by soundly beating one of my Hoplite armies with another of my Hoplite armies.  At least one of my armies won, to quote Mark Woods from our Tuesday game.

 Stephen has the red Hoplites in the distance.

I have some Gauls heroically acting as peltasts.

 Can't focus on everything.

 Thracians.
The twisted wrist of the Tin Soldier peltast clearly visible in this shot.

 Twice I almost had the enemy general.

 But things were not going well.

I ended up four down to nil.

We used DBA 3.0 which I'm still coming to terms with.  Not that excuses the woeful performance of one of my armies.

Thursday, November 30, 2017

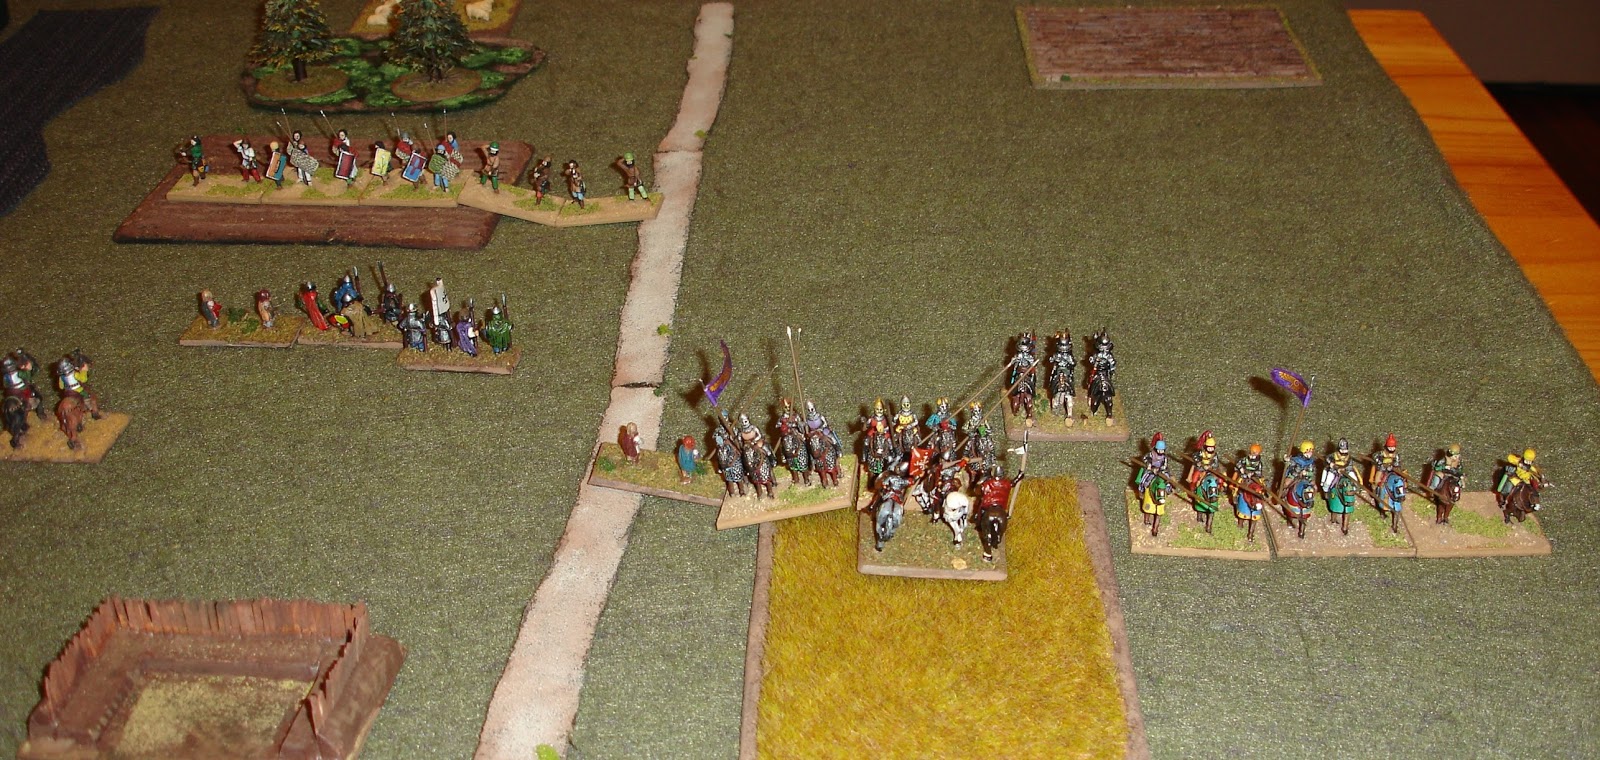
Byzantines take on Sassanids in DBA 3

Desperately trying to complete my Six by Six challenge, Mark B helped me out by fielding his Sassanids. I used my Dark Ages troops and some of my Burgundians to mock up a Byzantine army to take them on. 

 I was the defender (on the left).

 I got a six on the first turn and so decided to shuffle everything around.
At least this meant all the ploughed fields weren't bad going.

 The Sassanids didn't wait will I redeployed and got stuck straight in.
Their attacked wiped out two of my cavalry units.

 But with the next turn I got his elephants, 
although I did lose the unit of blades that had got stuck into the elephants' flank.

Last turn, my knights had success, 
but I lost a unit of Psilo and Light Horse so it was all over (5:2).

My main body of infantry never got to close with the rag tag Sassanid foot (we didn't have the right elements and had to use hordes as Ax and Ps as Bw.)

I'm still transitioning to DBA 3, but we had a quick game which was what was important.

Thursday, November 23, 2017

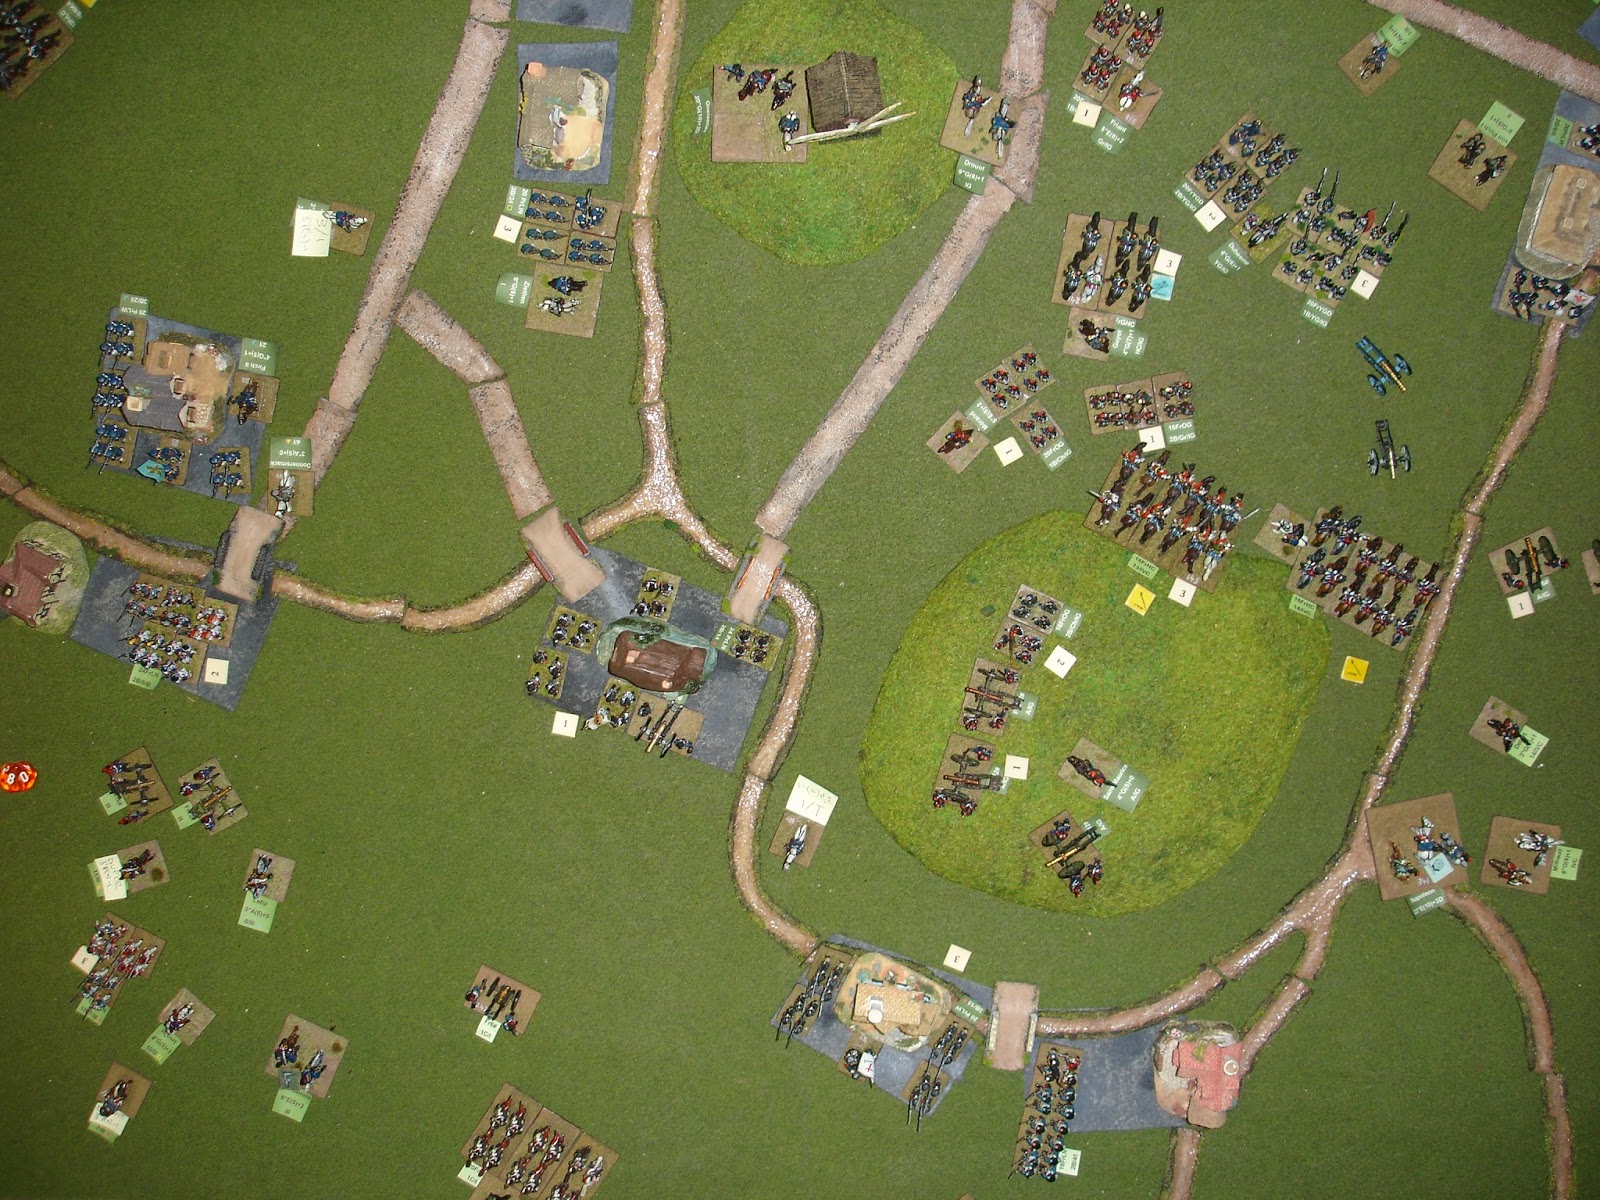
Ligny - Take Two or Three - Part 4

Last night we completed the battle.  There were four turns left, starting with 20:00.  It was all over by 21:00.  The Prussians were commanded as before by the two Stephens and the French by Mark B.

The French left at the end of the 20:00 turn.
Note the Prussians are back in Wagnelee and Le Hameau.

 The French right.  
Gerard's IV Corps is fatigued. 

The 20:00 turn had seen a period of consolidation with the French firmly across the Ligny brook. 

But then they struck west.

 Vandamme leads the attack on Wagnelee and Le Hameau.

 Morand cheers on his men as the Chasseurs a Pied of the Old Guard smash into the remaining Prussians of I Korps.

 Even intervention by Prussian hussars couldn't stop the French Old Guard.
(It was a disaster as the disordered Prussian infantry was the modifying unit).

 End of the 20:30 turn from the Prussian left hand side.
The Prussians hope to wear down the French in a long range fire fight.

 And from the Prussian right.
Vandamme's III Corps is now fatigued, but he has taken Wagnelee and Le Hameau.

At this stage the French need to disperse about four Prussian units to break their morale.  The French morale will fail if they lose one or two of the Old Guard infantry units.

 The final assault.  
The Young Guard and Guard Heavy cavalry are committed en masse, 
with a bit of help from the Old Guard Grenadiers.

 It's all over.  

Milhaud's heavy cavalry are ready to put in a pursuit, but night is falling.  Prussian morale has broken.  Of the four French Old Guard units, one was 1 casualty away from dispersing (but Milhaud's cavalry could move to screen it).  The French still had one Free Roll.  The other Old Guard units were 5 and 6 casualties away from dispersing.  They had wisely kept out of range of Prussian firing.

 The French held Wagnelee and Le Hameau which had changed hands so many times.

 The Prussians held St Amand le Haye. 

The battery was way too powerful with it's all round fire for only a -1 penalty.  I'm now of the opinion that built up areas are no place for the horse and heavy artillery batteries as depicted in Napoleon's Battles.

 Half of St Amand is still in Prussian hands.

I was happy with the BUA rules (which is good as I'd put a bit of work into them).  The challenge remains to get the footprint right and their terrain effects stated.  This I maintain is more for the scenario than the rules themselves as villages and their surrounding terrain vary widely between battlefields I am sure.

Ligny itself.

The two forward segments had seen their occupants dispersed after a long day's fighting.  The French, with just four small brigades in the IV Corps quickly ran out of troops in trying to combat this village.

I had left out the 9th Prussian brigade which was part of II Korps.  From my reading it only came in late to help with the retreat.

The arrival of the French 4th Division didn't do much (one brigade was dispersed by fire from the western segment of St Amand and the other one held to other half of St Amand, but didn't launch any attacks).

The stream, representing one inch of rough terrain, caused delay, but was not a significant factor in combat (as in no units won or lost because of fighting in the stream, but plenty of units couldn't immediately get into action because of the stream).  Artillery could only cross limbered at the BUAs, infantry had to be in column, but cavalry could cross regardless of formation (their formations tend to be deeper and their rough penalty movement factor is high, it generally took a full move for cavalry to cross).

The French tended to crowd together and this was impacted by their abundance of commanders.  Adjusting the placement of generals after other movement had been completed, but before enemy recat phase, worked well, but I still think a general displacement rule is needed as they still caused blockages. 

Optional rules from the 4th Edition that we used and I thought worked well were the self command and self rally. With those two rules I would be comfortable see commanders displaced being off the table for one move.

Saturday, November 18, 2017

Ligny - Take Two or Three - Part 3

On a very sociable Saturday we completed another three exciting turns of this battle: 18:30, 19:00 and 19:30.  As per the last installment the two Stephens commanded the Prussians with the weight of the honor of France on Mark B's shoulders alone.

 The Old Guard Chasseurs fighting for control over the hill behind St Amand.

 I swapped in my freshly painted unit of Young Guard Voltigeurs
 so they could get some table top experience.

 This was a momentous turn that saw the French use three of their Free Rolls.
Each time having a significant reversal of the outcomes.
There was much banter about moral decline.

 The Prussians had moved up and been charged by French heavy cavalry.  
Their attempt to form square was one of the dice rolls that the French had rerolled.

 The Prussians pinned and then charged the Old Guard.

 But were promptly counter charged. 

 The French cavalry that had routed the Prussians guns and supporting infantry was in turn charged.
The result was inconclusive.

 End of the 18:30 turn as seen from the French side.

 And from the Prussian.

 The Old Guard continue to attack.

 So successful were they that they split the Prussian army in two.

 End of the 19:00 turn as seen from the eastern end of the battlefield,
Ligny to the centre, right.

 The battlefield from the western end, 
the built up area of Wagnelee and Le Hameau in the centre foreground.

 Part of St Amand has fallen and the Young Guard are now moving up along with the cavalry.

 The Old Guard still fighting for the hill behind St Amand.

 But also striking towards Byre.

 Guard heavy cavalry hit a Prussian unit.  
It formed square, but the cavalry were so shot up by fire from Ligny that they routed.

 End of the 19:30 turn, from the French side.  
The Guard heavy cavalry has been mauled.
But the Old Guard artillery is now across the stream, having been able to cross via St Amand.

From the Prussian side.
Note the French Old Guard unit that has passed the windmill.

At this stage, both sides have taken significant casualties, although the Prussians are still very much a fighting force (with eight brigades concentrated around Ligny).  The French have lost most of their III and IV Corps and are reliant on the Guard to win the battle.  However, if they lose just two of the Old Guard units then the French army will collapse.  

One odd thing that happened, the Prussian I Korps commander Zieten acted as a shield, blocking the Prussian cavalry from contacting the French.  I think a burst through option is required. 

Normally the Prussian cavalry, circled, would react against the French unit in combat with their infantry.  However they can't make contact as Zieten is in the way!

The French knew this and were careful not to contact him and so lose their shield.

I suppose it is II Korps cavalry coming to the aid of I Korps infantry and Zieten saying no, 
we can handle this.