Showing posts with label Fire and Fury. Show all posts

Sunday, August 19, 2018

Seven Pines Some More

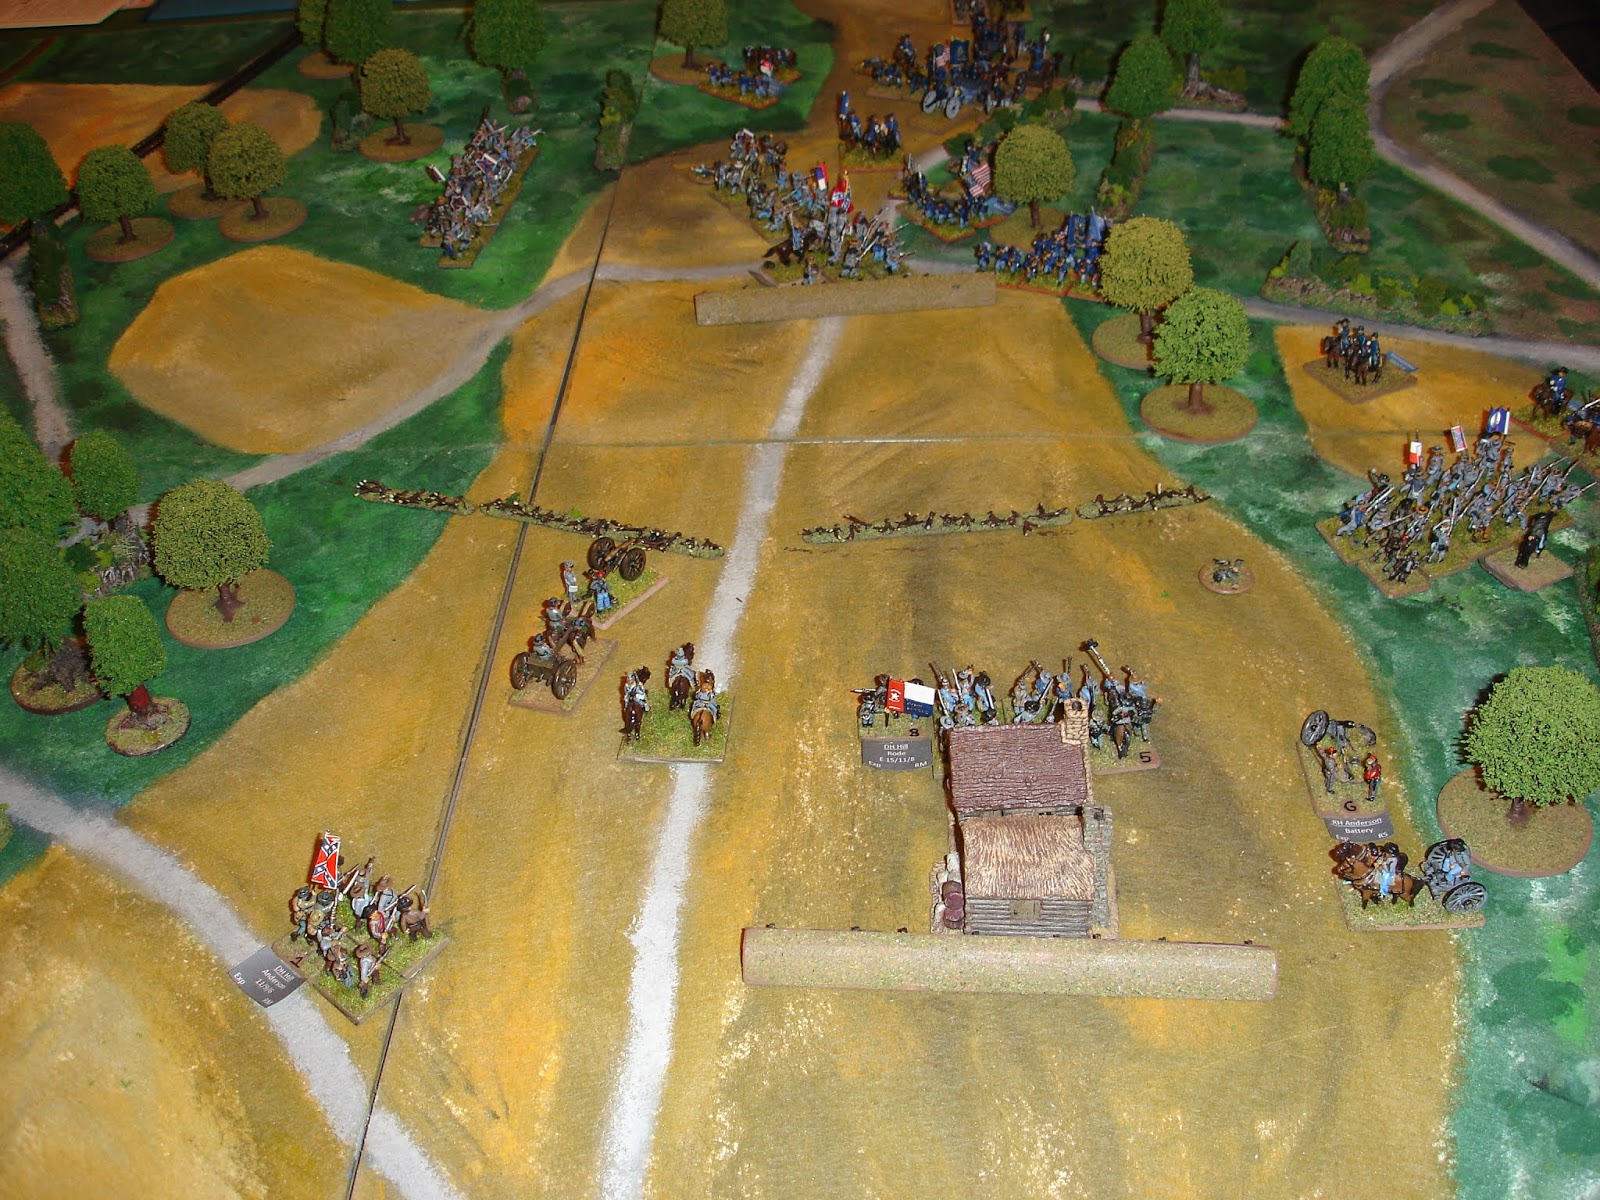
Having the purpose made terrain and being a relatively small scenario makes this easy to put on for a club games day..  I've had it now for a few years and a good number of different people have played it.  Yesterday it was the turn of James of the ANF to take command of the Union defences against the onslaught of the Confederates.  Craig was doing his best to channel Longstreet and it looked like he was headed for a disaster for a while...

 After some umming and arring 
the Confederates decided to charge in rather than engage in a firefight.

 Garland's brigade on the right smashed through Palmer achieving a breakthrough 
that allowed the Confederates to avenged the repulse of Rode's brigade.

 End of the 13:00 turn and DH Hill is pushing his boys to victory.

 Garland continues to attack Palmer after routing a Union artillery battery.

 End of 13:30 and the Confederates, despite the arrival of reinforcements 
are repulsed before the Twin House redoubt.

 End of 14:00 and again the Confederates have failed to take the Twin House redoubt.

 But by 15:00 the Union defenders of the Twin House redoubt had broken.
Fighting had commenced for the Crossroads redoubt.

 15:30 and one Confederate brigade has broken as the Union skillfully alternate the defence of their right wing between the remnants of Casey's division and Deven's cavalry brigade.
The Confederates appear bogged down behind a line of abatis 
and any chance of victory is slipping from their grasp.

 16:00 and the Confederates have taken a beating.  
(James had a run of good die rolls).
Both sides have received their last reinforcements.  
Stephen N takes command of Heintzelman's newly arrived Corps.

 16:30 and in possibly the decisive, but erroneous charge, Kemper's brigade has routed the newly arrived Union force.  The Confederate had formed field column by turning to their right and then charging, but the rules say charge target must start within the front 45 degree arc of the charging unit.  Doh!  Who was umpiring this game?  Oh yeah, it was me.  

 RH Anderson directing Kemper's Brigade against Heintzelmann.

 17:00 and the Union are in trouble. 
although the Confederates can just not get the breakthroughs required.
 17:30 Jenkins, the one remaining fresh unit for the Confederates has fallen back 
(top left of the picture)

 18:00 and end of the game.

 The Confederates might have taken the Crossroads redoubt, but their brigade was spent, so they don't get the VPs for it.  The same goes for the Williamsburg Road.

The Union are left with one worn brigade (Peck seen above) 
and one spent brigade (Develin's cavalry seen in previous picture).  

The Union had six brigades "quit the field" and two batteries wrecked.  The Confederates had at least four spent brigades with the rest worn.

As always an excellent little scenario, but I think it is time to look for something different.

Sunday, June 24, 2018

Seven Pines - Confederates Go For The Win

Last played in October 2017, I brought it out for today's NWS Games Day in the hope of playing it with Craig.  Unfortunately he had to cancel and so Stephen took on the task of defending the Union.  I went Confederate rather than my usual job of umpire.

 DH Hill sends Garland's and Rode's brigades into an immediate attack.

Garland is repulsed.
Rode was also checked.

 But come 13:30 Garland has thrown back Naglee's brigade.
However Rode is still stalled.

 Garland follows up and totally breaks Naglee's brigade.

 By 14:00 Garland is well to the fore and Rode has finally got Palmer's brigade retreating.
GB Anderson's and Rain's brigades have arrived
 and are working round the left and right flanks respectively.

 End of 14:30 as seen from the Union positions.
DH Hill is letting Rode deal with the Twin House redoubt.
Garland, is moving into the woods to avoid the Union artillery fire
 and the other two brigades are moving up through the woods as well.

 Rode makes his first attempt to storm the Twin House redoubt.

 The second attempt, with support from Rain meets with great success!

 The Confederates have a breakthrough and finish the annihilation of Casey's Division.

 The end of 15:00 turn.  
The Confederate advance has been unrelenting.

 By 15:30 the Union right flank has come under attack by both GB Anderson and Garland.
The recently arrived Kemper's Brigade is advancing down the centre, 
but suffering casualties from the Union artillery fire.

 By the end of 16:00 both sides have received reinforcements.
For the Union they arrived just in time to halt the threat to their left flank,
but on their right the Confederates are in the supremacy,
even though Garland's brigade has broken.
Note broken Union brigades in the lower left hand corner.

 16:30 and the Confederates are able to attack all across the line.

 The Union centre holds, but their right has disintegrated.
The recent Union success on the left has also been checked.

 Crunch!
The Confederate left hook has destroyed the Union.

 The Confederates take the Cross Roads Redoubt.

 And the Williamsburg Road.

The recently arrived brigades of Heintzelman's Corp are left to cover the retreat.

Losses have been heavy and the Union are left with only two worn and two spent brigades, everything else having been destroyed.  The Confederates still had three fresh brigades, but the others were all worn or spent.

The Confederates had some good die rolls that turned decisive when paired with poor Union rolls.  However their experienced troops were superior to the Union's green troops and getting those field columns out on the flanks proved very successful.  I also applied the -1 factor on the Maneuver Table to the Union once the Twin House Redoubt was lost.  This might be too severe given they are already penalised for being Green.

I made a few mistakes, most notably being that I took a 10 as a leader casualty, rather than a needing a roll on the Leader Casualty Table.  I also kept missing that some brigades had exceptional leaders and probably need to make some additional markers.  The same happened when brigades went from fresh to worn to spent - my technique to manage that was through having each brigade start with two command stands and remove as they become worn and spent.

Rules used were Brigade Fire and Fury released last year (or was it the year before...)

Saturday, October 21, 2017

Seven Pines Again

After playing this again recently and also planning to play it agin I thought it was time to inflict the scenario on Stephen N and Mark B, who had last tried it three years ago.  These big games, not that Seven Pines is really that big, require preparation and it is nice to be able to make the most of this, particularly when the terrain is all ready to go.  I find this scenario is also really effective as a game.

 The battlefield all ready to go.

 The Rebels arrive and charge.

 ACW can be colourful, in moderation.

 The initial charge was checked, but the Union forces fell back all the same.

 It is essential for the Confederates to keep pushing forward.

 Casey's Division was overwhelmed,
but then the Confederate attack stalled.

The Confederate flank attack went in too late, although it looked promising.

We stopped at the 17:30 turn.  With only one Confederate turn left at that point they had reached their peak.  Victory points stood at 9 for the Union and 13 for the Confederate.

Friday, September 29, 2017

Fire and Fury - Pick-up with random entry

Wednesday night Craig and I had tried the Fictional Army Generator again to create two opposing armies.  Craig ended up being Union with five brigades and six batteries to my three brigades and four batteries.

More interestingly we tried a random deployment, using the table on page 14 of the first edition of the rules.  Basically we rolled for each unit and commander: a 1 meant three turns late, a 2 two turns late and a 3 or 4 one turn late; 5,6 or 7 meant deployed on the table edge; 8 or 9 could deploy up to one move in and a 10 up to two moves in.  We had a 3x4 foot playing area and identified one corner as Union and the opposite as Confederate and then labelled 12" lengths as 1,2; 3,4; 5,6; 7,8 and 9,10 to give the unit's starting location or entry point.

As this was done unit at a time, and for units not on the table location only diced for on entry, the commanders had some uncertainty as to exactly where their army was.  It also meant the Union with their two divisions were a bit mixed up.

 At start I had my best brigade deployed forward 
and half my artillery ready to move up through the open wood.

 The Union moved in quickly along the road, 
but at least my other two brigades were on.

 The Union cleared the field, but stopped at the woods.
The couldn't see my veterans (visibility was 4"), but I am sure they could smell them.

Having got this far the Union didn't seem inclined to go further.
That was good as my centre brigade was tardy in getting up. 

 Finally my divisional commander arrived,
along with the last of my artillery.

 The Union seemed reluctant to attack,
so I cautiously advanced my centre brigade.

 They met with success and the Union centre fell back.
Buoyed by this I pushed my right brigade forward.

It did the trick.
A sharp hand-to-hand combat caused the Union to fall back.

This encounter was early war, set in the Western Theatre in July.  The game started at 14:00 and lasted till about 17:00 when the Union decided it was time to go home (the army generator is fun, but cuts into playing time).  

The random deployment worked okay, but it was felt artillery should really be travelling on roads. Speaking of which, this game saw the debut of my freshly made roads, I just need to make some more and perhaps give them some extra character by adding a little bit of flock, very sparingly, to the edges.

My real challenge will be making some fences.

The varied weapon types, while I am sure historically as accurate as these things can be, adds an extra level of complexity for not much difference.  It would be better if you could see what the weapons were by looking at the figures in the unit, but that's not feasible in this scale. 

Thursday, August 31, 2017

Fire and Fury - Pick-up Game

One of the new things with Brigade Fire and Fury 2nd Edition is the Fictional Army Generator. Craig and I used that at the club last night to create two forces for an encounter to try out the new rules.  His first play, my second (if umpiring counts as playing).

The system generated the following armies:

Union 

Corps - Exceptional Commander
     Division
          1st Brigade 10/9/7 Experienced Rifle Musket
          2nd Brigade 12/8/5 Experienced Mixed Musket
          3rd Brigade 9/-/8 Green Smoothbore Musket
          Battery Experienced Smoothbore
          Battery Experienced Heavy Rifle
     Division
          1st Brigade 13/11/9 Green Mixed Musket
          2nd Brigade 13/9/6 Experienced Rifle Musket
          Battery Experienced Light Rifle
          Battery Experienced Light Rifle

Confederate

Division
     1st Brigade Exceptional 11/8/5 Green Smoothbore Musket
     2nd Brigade 8/5/3 Veteran Rifle Musket
     3rd Brigade 10/8/5 Crack Rifle Musket
     4th Brigade 10/7/4 Green Rifle Musket
     Battery Experienced Rifle & Smoothbore
     Battery Experienced Rifle & Smoothbore
     Battery Experienced Rifle & Smoothbore

The battle was set as Early War, Eastern Theatre.  All the batteries were experienced because we forgot to roll for them.

I was pleased with the generated armies.  I went Confederate.  The challenge was to set up some terrain as this is not covered by the rules.  I would also dearly love a pregame system like Scharnhorst in the Blucher rules - something I must turn my mind to.

I calculated that the maximum number of stands that could possibly be generated for a two player pick-up game would be 104 in 8 brigades with 8 batteries for the Union and 70 in 5 brigades with 4 batteries for the Confederates.

As some of my stands are numbered I thought we could use this to identify the brigades and work off a roster and avoid the clutter of labels.  Even with the small forces, labels would have been much more convenient so next time it will be post-it notes, suitably trimmed if we remember scissors.

The wood on my right is rough ground
 and I decided to direct my crack brigade into it to out flank the enemy.
Meanwhile my other three brigades would launch a frontal attack across the ploughed fields,
which were classed as broken ground.

I had to redeploy my guns forward.
The enemy concentrated their fire on my veteran brigade which was in my centre.

The veterans suffered horrendous casualties but still managed to attempt two charges.
They did not meet with success.

The green brigade on my left made three charge attempts.
The divisional commander joined them for the final one,
but both he and the brigade's exceptional commander were mortally wounded.
The fight left them.

The other green brigade went to cover behind one of the fences bordering the field that it had been crossing.  The crack brigade was just about to burst from the woods when they saw the rest of the division had given way.

There is more complexity with the 2nd Edition, but with my second game I feel I am now across it.  I am sure Craig will feel the same after he reads the rules and gets another game in.