Showing posts with label PBEM. Show all posts

Monday, July 11, 2016

Play by Email Diplomacy 2016

The Padre ran another diplomacy game this year.  I resisted and watched from afar, but when England was abandoned in its hour of need I stepped up.

You can find the good Padre's posts for the game here:  http://madpadrewargames.blogspot.com.au/search/label/Diplomacy%20Game%202016

My one sided view follows.

The situation as I found it in 1904.  Great Britain over run by migrants.  

The ruling family, the House of Saxe-Coburg and Gotha, were last seen dining with the Germans in Balmoral.   I told them to stay there and that their services are no longer required.   A new royal line would be established from Plantagenet stock sourced in the colonies.

End 1904 and England has been thwarted by France.  She has abandoned the continent and blocked the channel (with two fleets and one army but only one supply source I had hoped that the two fleets would be removed, but no).  I was unable to get in a position to support London :-(

Spring 1905 and while the noose closes on London the Royal Navy heads for deep water.

Fall 1905 and London has fallen.  
Meanwhile the Royal Navy is undertaking a circumnavigation of the British Isles.   

Spring 1906 and good riddance France.  The Royal Navy has lots of targets...

Fall 1906 
STABBED BY TURKEY

Maybe it is time to set sail for Canada?  I scuttle the fleet in Brest and hope to raise havoc with my fleet in the North Sea.  It's looking glum... :-(

Spring 1907.  Having completed the cruise around Mother England it looks like the end is nigh...

Fall 1907.
SAVED BY TURKEY

Yes, Turkey supports the Royal Navy's return to Brest.

The Kaiser does some calculations and projections and realises he is no match for the Anglo-Turkish alliance and concedes.

Yeah, England was still in the game.  Phew.

Thanks Michael for hosting the game.  Excellent stuff!


Friday, September 4, 2015

Wings of Glory Play by Email - Game 14

Bombing mission this time and I was German, in control of H2, a Rumpler D.IV with four bombs on the southern part of the board, and H1, an Albatross D.Va protecting the northern German airfield.


I had carefully lined up my bomber but at the last minute realised I was too loaded with bombs to perform  maneuver I needed to place my bombs on target.  Doh!  (I had forgotten when carrying bombs I need two non-difficult moves between difficult moves and that a dive was a difficult move)


As my Rumpler flies over its target my Albatross, after a bit of flying, has positioned itself to intercept the enemy.


 Rumpler slowly comes around happy to see no enemy planes in the vicinity, unlike my Albatross which is in the thick of things


Slowly goes the Rumpler, ratta-tat-tat goes the Albatross.


Rumpler is now in position, Albatross is doing well.

Bombs away!


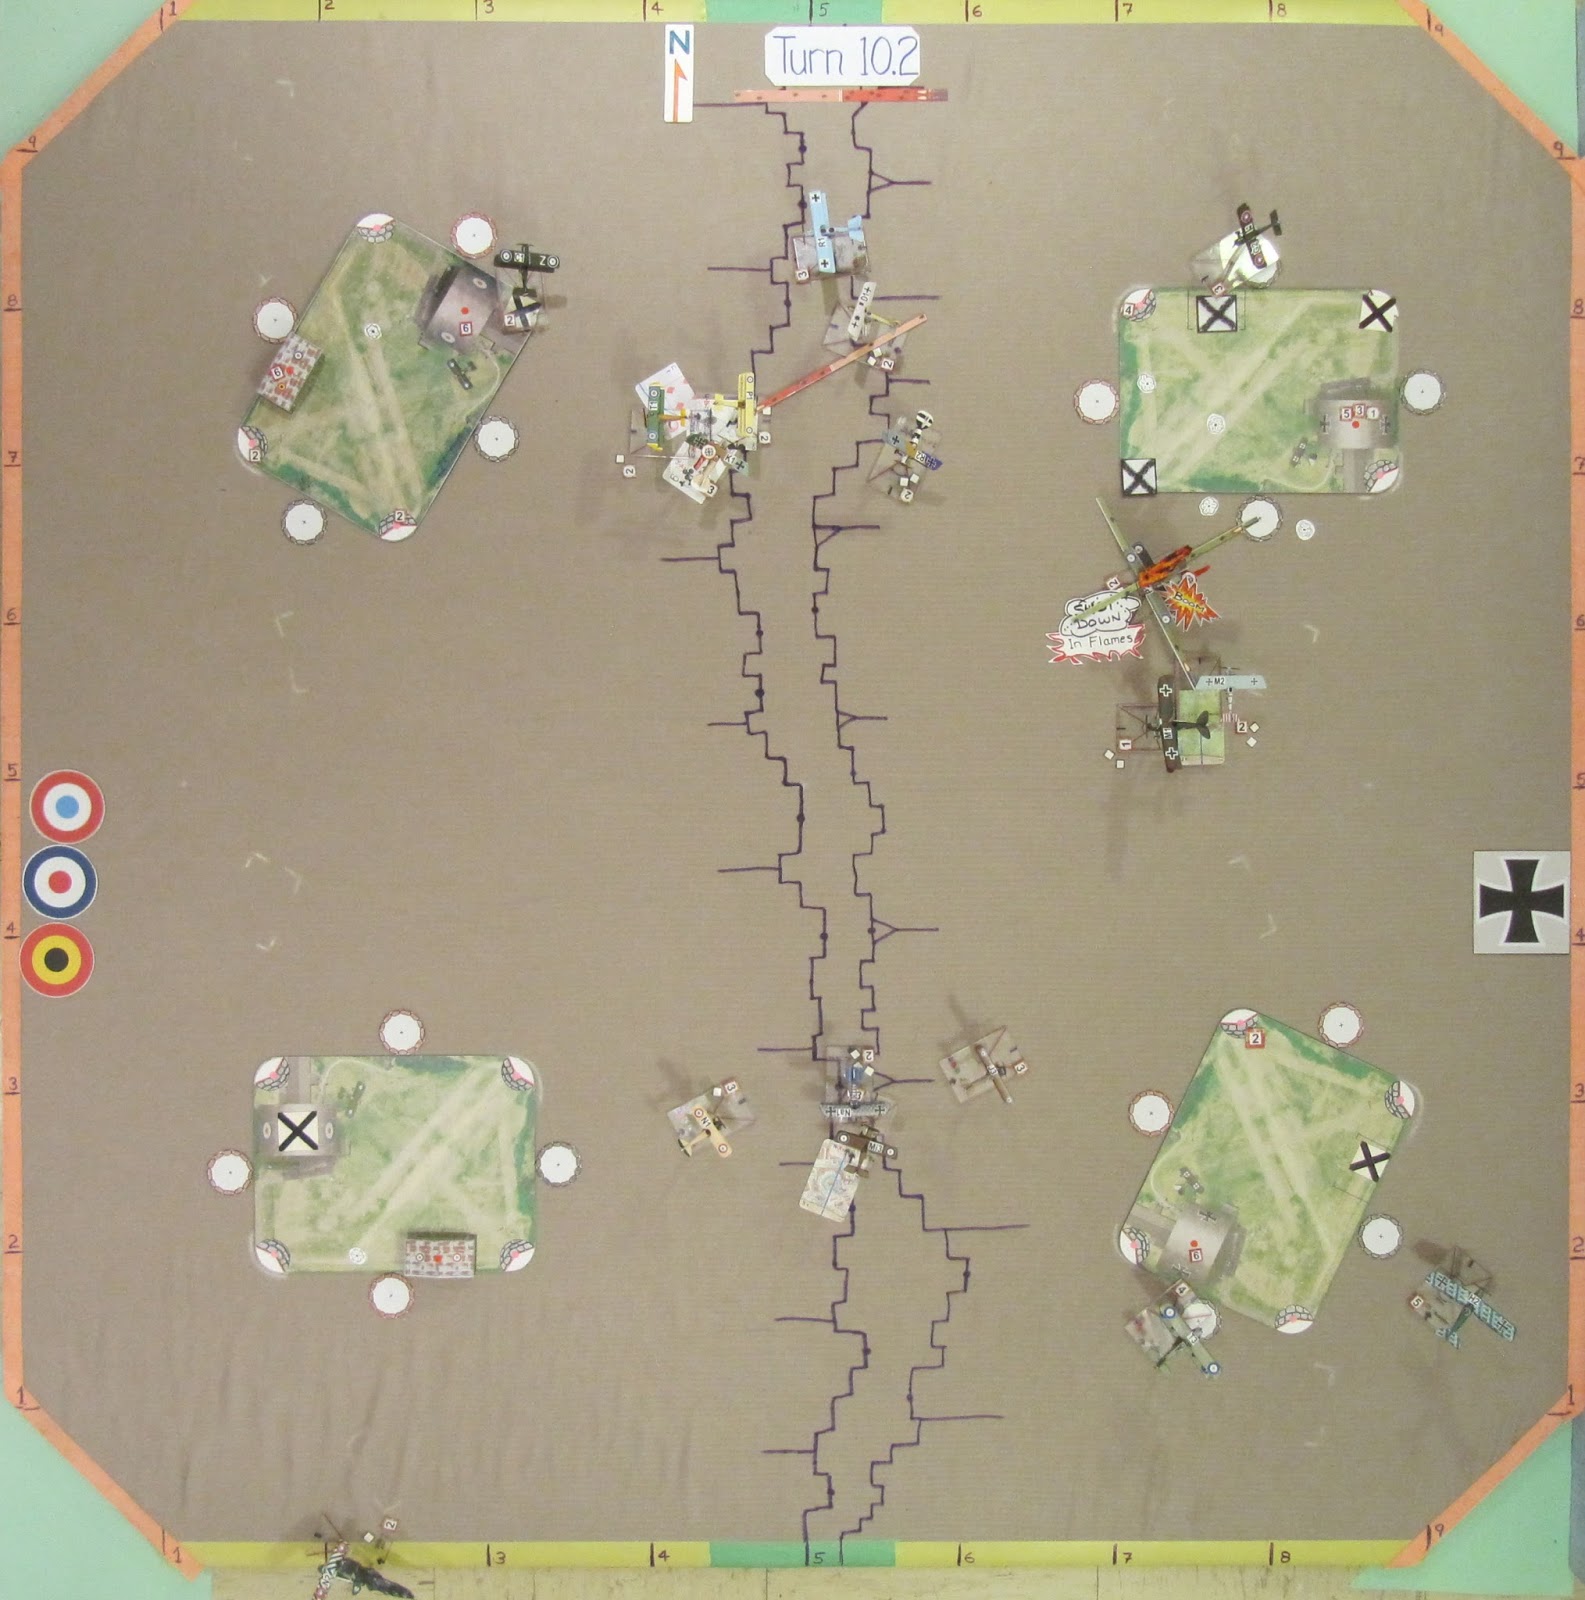
Not sure I hit anything, but it has sure stirred up the opposition.  Can my Rumpler escape?

My Albatross gets a kill while my Rumpler starts to use its superior climbing ability to getaway.


Things were looking a bit hairy but I think we are through the worst...

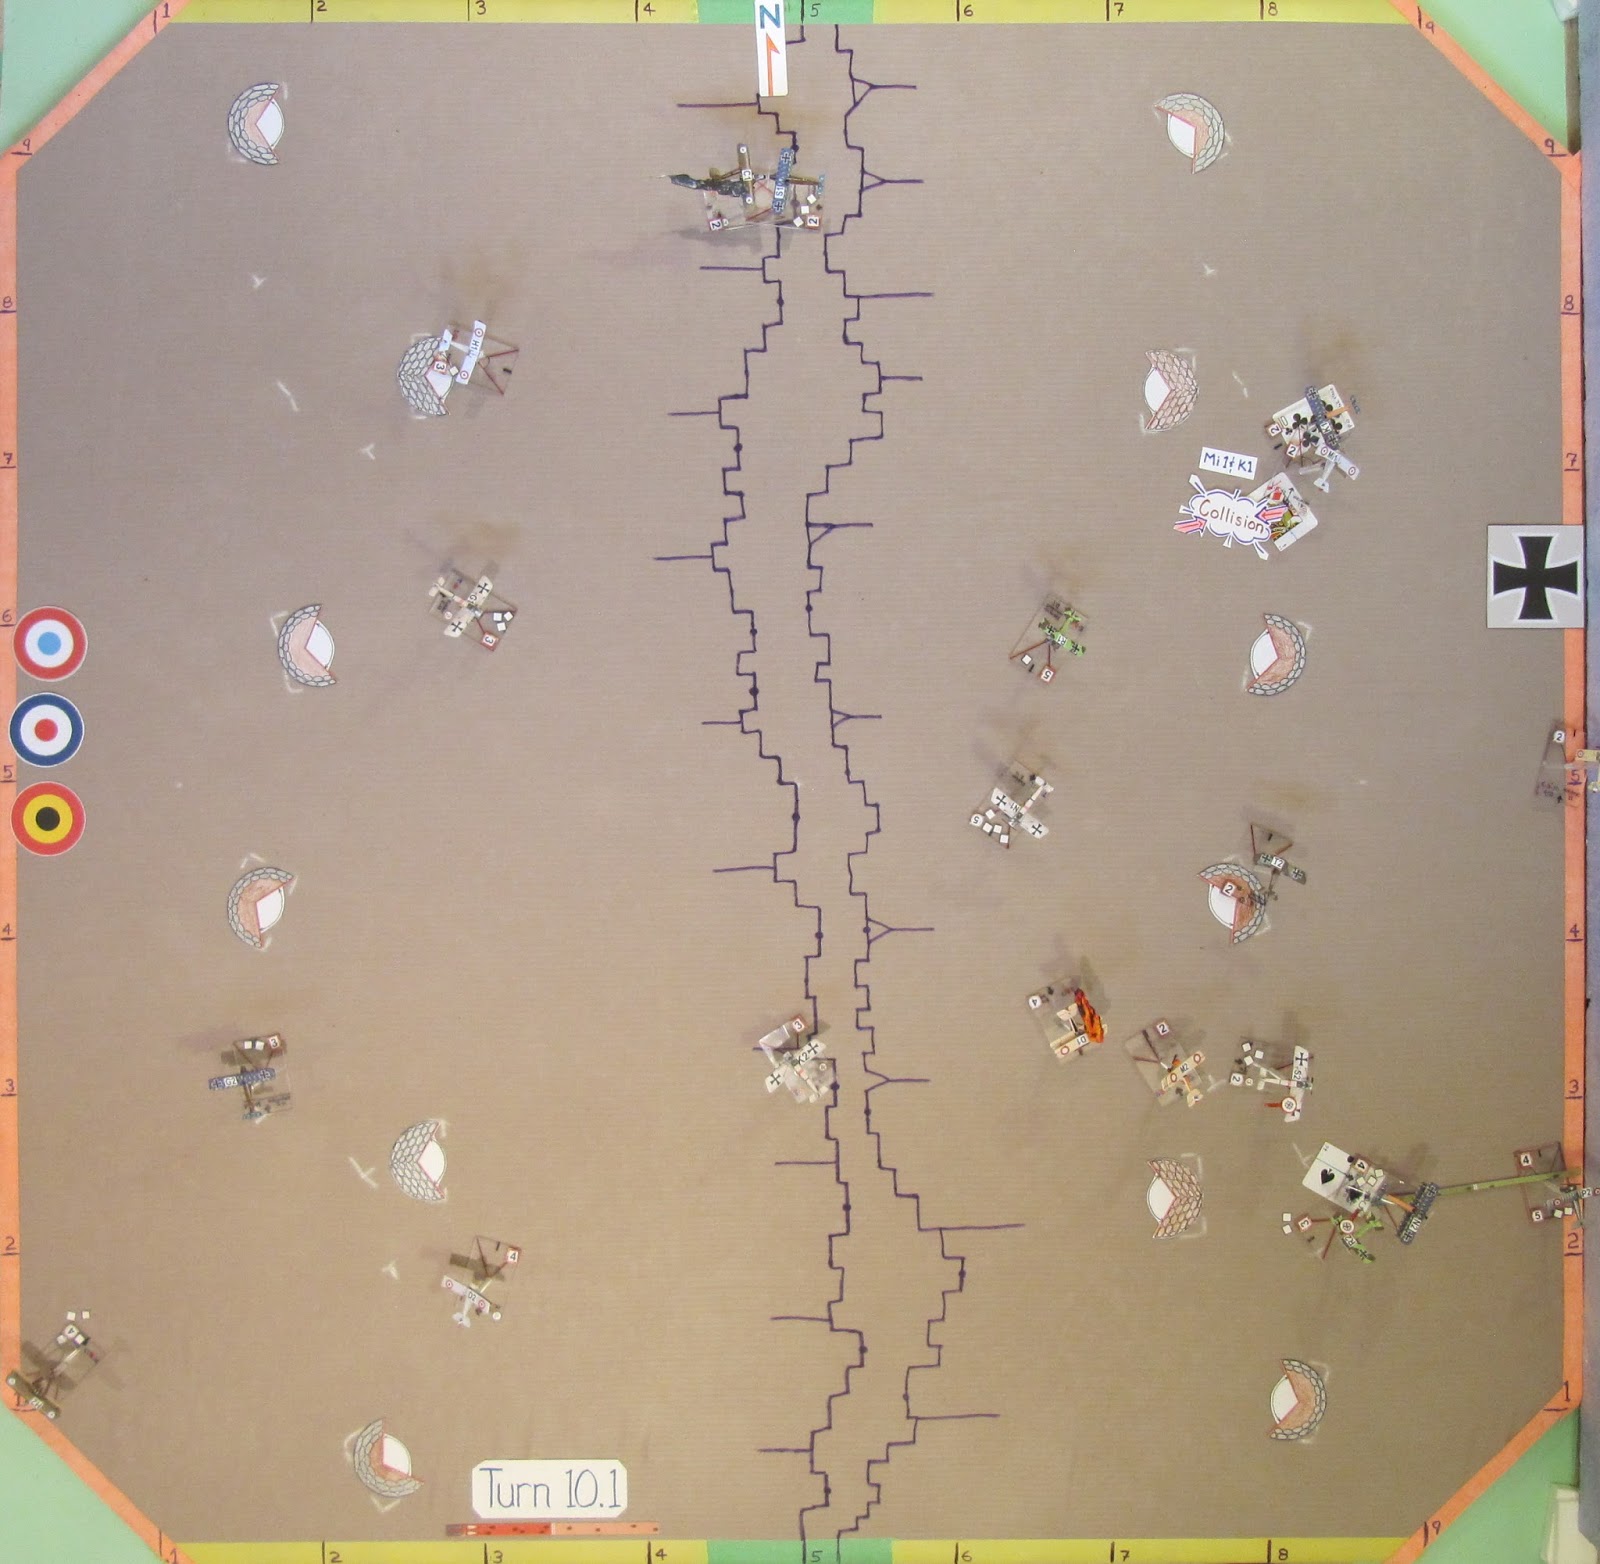
Crunch!  My Albatross is involved in a mid air collision and comes off badly, very badly.  KIA.


Rumpler looks safe.  Nothing like a bit of altitude to give you attitude.


The Rumpler's observer is wounded, but the smokey enemy plane is easy to spot.


The Rumpler's altitude and turning had kept it safe till now.


Phew!  The enemy has decided to go after other targets.

The Rumpler circles around,

A damaged friendly plane is trying to make it back to base.

My Rumpler will use this an as excuse to maintain its height and flying pattern.

 The damaged friendly plane doesn't make it... :-(


All over.

Wednesday, June 24, 2015

Wings of Glory Play by Email - Game 13

Thanks to Bruce for running this game and letting me participate.

The aim was to defend your balloons and attack the enemy's balloons.  It was early war planes and I had command of H1 at Nieuport 17 and H2 an Airco DH2.


I decided to go after the enemy with H1 while H2 would defend, took me a while to get my bearings (if, indeed, I ever did).


Oh dear, H1 is on fire and H2 gets walloped.

It just gets worse for H1 and things don't look good for H2 either.

Both planes on fire!

After giving serious thought to trying to crash H1 into the enemy balloon, it tries to maneuver to put out the flames.  H2 will try the same tactic.


My burning planes continue their desperate attempts to put out their respective fires.  Other planes are not so fortunate,


H1 should head for home and H2 thinks maybe he should do the same.


But both of my planes decide to stay in the fight.  Brave lads!


Both planes are back in action.  They need to be as our side has lost more planes.


H1's pilot is wounded which cramps his shooting, but all the same, he is feeling pretty good about himself.  H2 is trying hard to acquire a target.


The balloons have now been winched to safety, a few enemy planes remain to be taken care of.


H1 gets in some shots and H2 is closing in...


But nothing happens.  Best play it safe as it is time to start thinking of heading home.


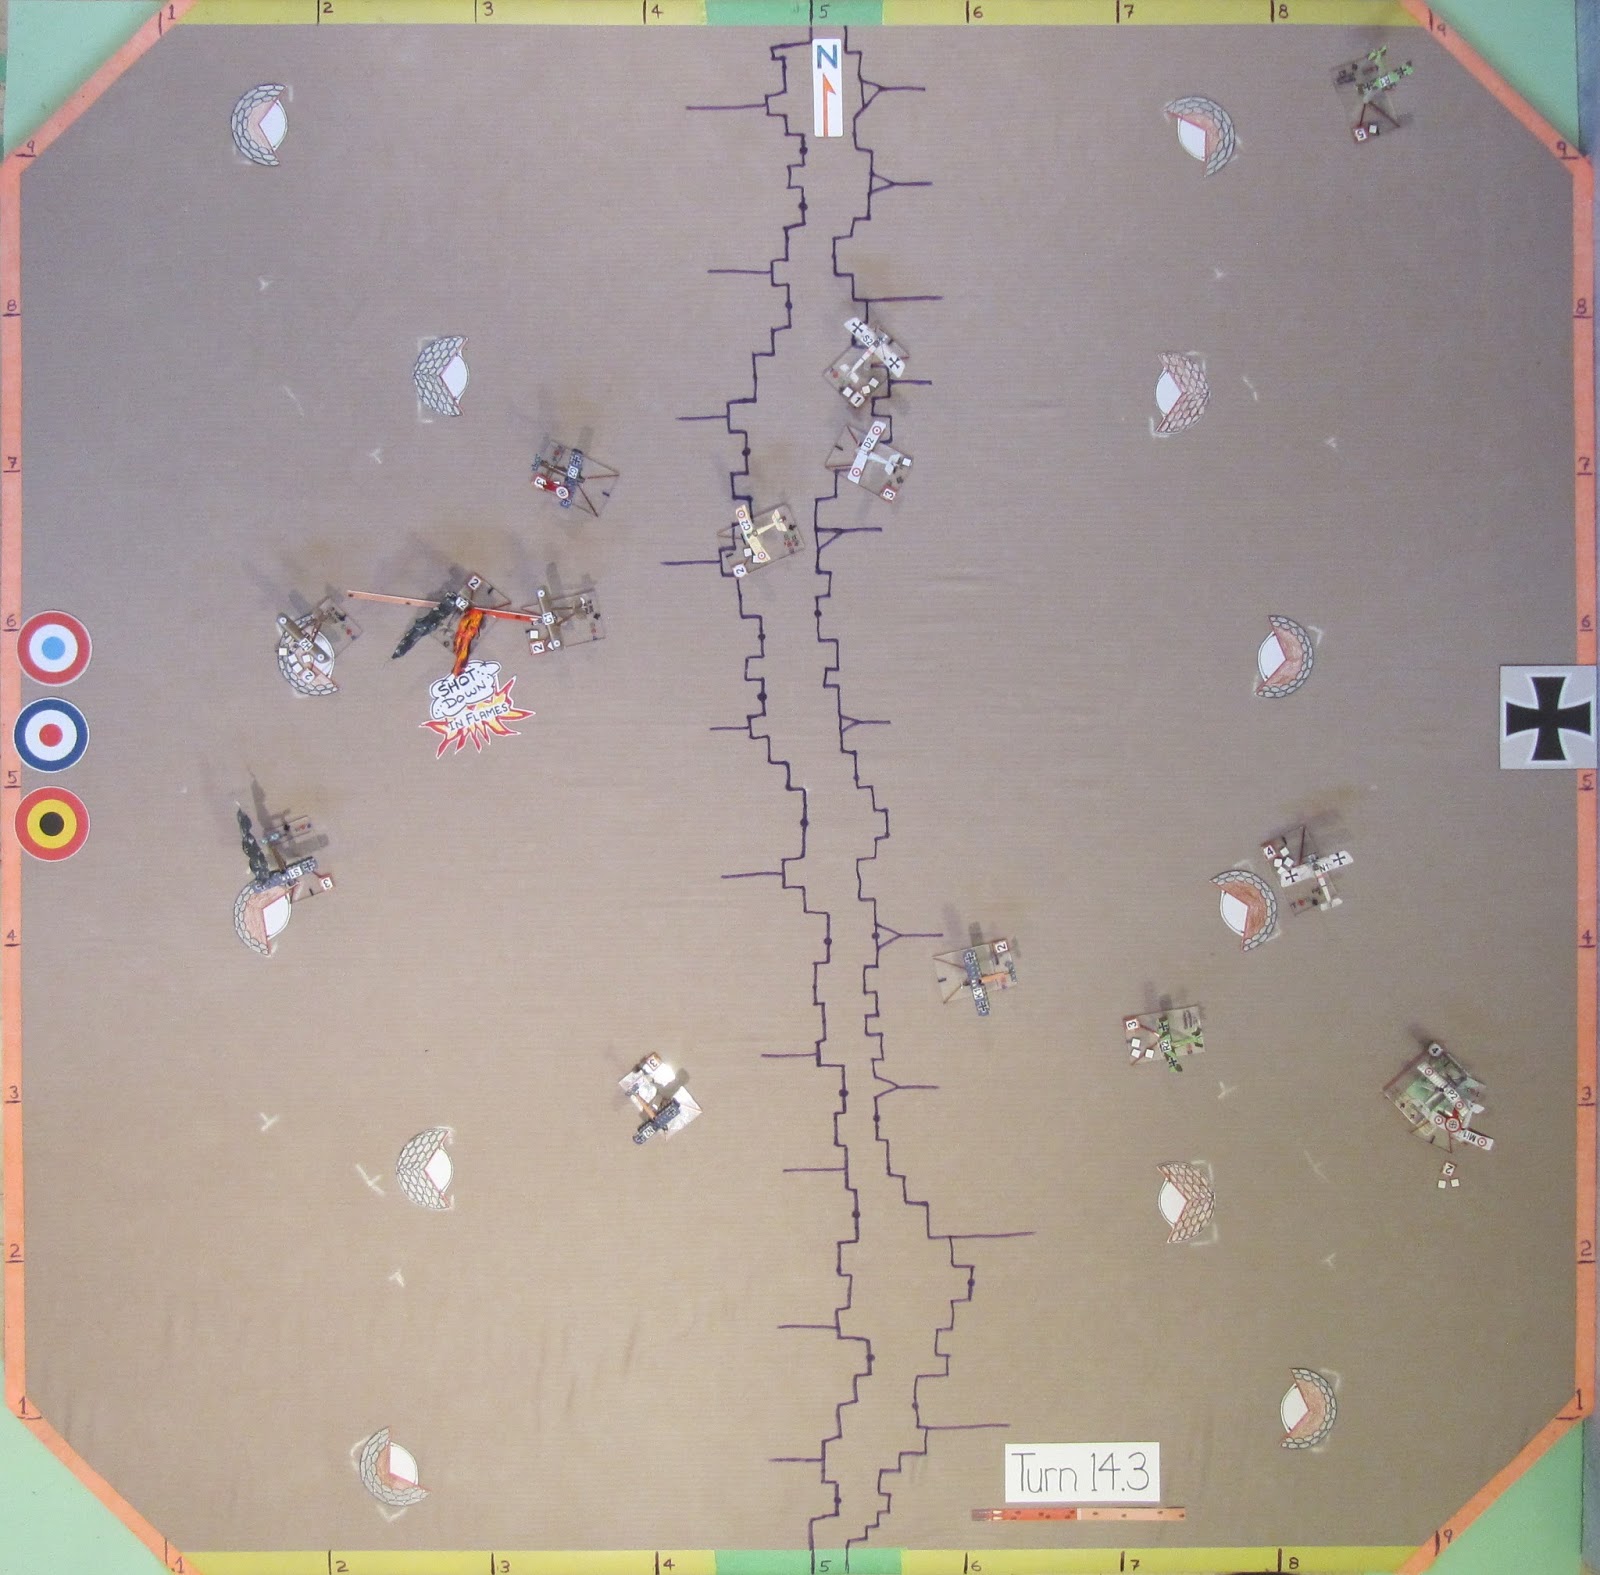
What?  Suddenly H1 is done for and H2 surrounded by the enemy.  Oh dear, this is not good, not good at all...


H2 puts up a brave fight as help arrives to drive off the enemy planes.


H2 picks up the "First to Bar" award.  Well deserved as it landed full of holes and burnt fabric - 11 damage out of a max of 13.  Phew!

Great fun and big thanks to Bruce for keeping my moves sorted out and doing all the work.