Showing posts with label Ligny. Show all posts

Thursday, November 23, 2017

Ligny - Take Two or Three - Part 4

Last night we completed the battle.  There were four turns left, starting with 20:00.  It was all over by 21:00.  The Prussians were commanded as before by the two Stephens and the French by Mark B.

The French left at the end of the 20:00 turn.
Note the Prussians are back in Wagnelee and Le Hameau.

 The French right.  
Gerard's IV Corps is fatigued. 

The 20:00 turn had seen a period of consolidation with the French firmly across the Ligny brook. 

But then they struck west.

 Vandamme leads the attack on Wagnelee and Le Hameau.

 Morand cheers on his men as the Chasseurs a Pied of the Old Guard smash into the remaining Prussians of I Korps.

 Even intervention by Prussian hussars couldn't stop the French Old Guard.
(It was a disaster as the disordered Prussian infantry was the modifying unit).

 End of the 20:30 turn from the Prussian left hand side.
The Prussians hope to wear down the French in a long range fire fight.

 And from the Prussian right.
Vandamme's III Corps is now fatigued, but he has taken Wagnelee and Le Hameau.

At this stage the French need to disperse about four Prussian units to break their morale.  The French morale will fail if they lose one or two of the Old Guard infantry units.

 The final assault.  
The Young Guard and Guard Heavy cavalry are committed en masse, 
with a bit of help from the Old Guard Grenadiers.
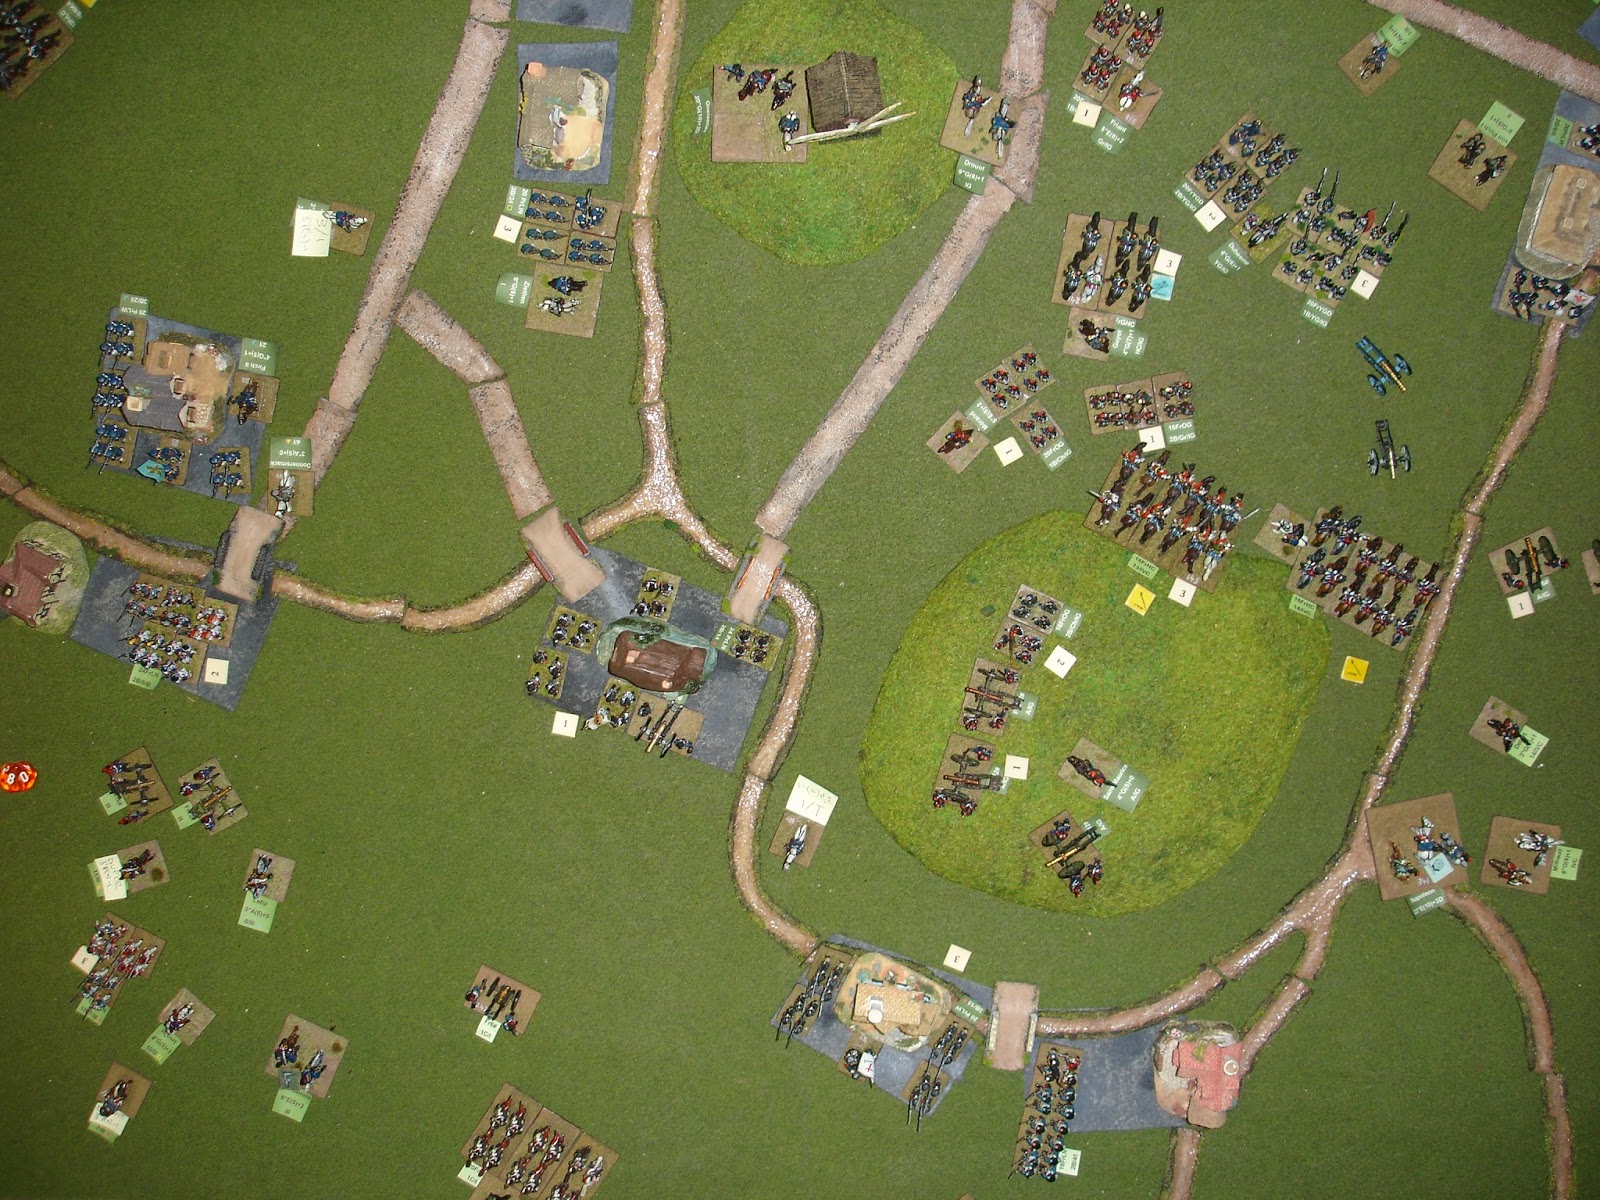
 It's all over.  

Milhaud's heavy cavalry are ready to put in a pursuit, but night is falling.  Prussian morale has broken.  Of the four French Old Guard units, one was 1 casualty away from dispersing (but Milhaud's cavalry could move to screen it).  The French still had one Free Roll.  The other Old Guard units were 5 and 6 casualties away from dispersing.  They had wisely kept out of range of Prussian firing.

 The French held Wagnelee and Le Hameau which had changed hands so many times.

 The Prussians held St Amand le Haye. 

The battery was way too powerful with it's all round fire for only a -1 penalty.  I'm now of the opinion that built up areas are no place for the horse and heavy artillery batteries as depicted in Napoleon's Battles.

 Half of St Amand is still in Prussian hands.

I was happy with the BUA rules (which is good as I'd put a bit of work into them).  The challenge remains to get the footprint right and their terrain effects stated.  This I maintain is more for the scenario than the rules themselves as villages and their surrounding terrain vary widely between battlefields I am sure.

Ligny itself.

The two forward segments had seen their occupants dispersed after a long day's fighting.  The French, with just four small brigades in the IV Corps quickly ran out of troops in trying to combat this village.

I had left out the 9th Prussian brigade which was part of II Korps.  From my reading it only came in late to help with the retreat.

The arrival of the French 4th Division didn't do much (one brigade was dispersed by fire from the western segment of St Amand and the other one held to other half of St Amand, but didn't launch any attacks).

The stream, representing one inch of rough terrain, caused delay, but was not a significant factor in combat (as in no units won or lost because of fighting in the stream, but plenty of units couldn't immediately get into action because of the stream).  Artillery could only cross limbered at the BUAs, infantry had to be in column, but cavalry could cross regardless of formation (their formations tend to be deeper and their rough penalty movement factor is high, it generally took a full move for cavalry to cross).

The French tended to crowd together and this was impacted by their abundance of commanders.  Adjusting the placement of generals after other movement had been completed, but before enemy recat phase, worked well, but I still think a general displacement rule is needed as they still caused blockages. 

Optional rules from the 4th Edition that we used and I thought worked well were the self command and self rally. With those two rules I would be comfortable see commanders displaced being off the table for one move.

Saturday, November 18, 2017

Ligny - Take Two or Three - Part 3

On a very sociable Saturday we completed another three exciting turns of this battle: 18:30, 19:00 and 19:30.  As per the last installment the two Stephens commanded the Prussians with the weight of the honor of France on Mark B's shoulders alone.

 The Old Guard Chasseurs fighting for control over the hill behind St Amand.

 I swapped in my freshly painted unit of Young Guard Voltigeurs
 so they could get some table top experience.

 This was a momentous turn that saw the French use three of their Free Rolls.
Each time having a significant reversal of the outcomes.
There was much banter about moral decline.

 The Prussians had moved up and been charged by French heavy cavalry.  
Their attempt to form square was one of the dice rolls that the French had rerolled.

 The Prussians pinned and then charged the Old Guard.

 But were promptly counter charged. 

 The French cavalry that had routed the Prussians guns and supporting infantry was in turn charged.
The result was inconclusive.

 End of the 18:30 turn as seen from the French side.

 And from the Prussian.

 The Old Guard continue to attack.

 So successful were they that they split the Prussian army in two.

 End of the 19:00 turn as seen from the eastern end of the battlefield,
Ligny to the centre, right.

 The battlefield from the western end, 
the built up area of Wagnelee and Le Hameau in the centre foreground.

 Part of St Amand has fallen and the Young Guard are now moving up along with the cavalry.

 The Old Guard still fighting for the hill behind St Amand.

 But also striking towards Byre.

 Guard heavy cavalry hit a Prussian unit.  
It formed square, but the cavalry were so shot up by fire from Ligny that they routed.

 End of the 19:30 turn, from the French side.  
The Guard heavy cavalry has been mauled.
But the Old Guard artillery is now across the stream, having been able to cross via St Amand.

From the Prussian side.
Note the French Old Guard unit that has passed the windmill.

At this stage, both sides have taken significant casualties, although the Prussians are still very much a fighting force (with eight brigades concentrated around Ligny).  The French have lost most of their III and IV Corps and are reliant on the Guard to win the battle.  However, if they lose just two of the Old Guard units then the French army will collapse.  

One odd thing that happened, the Prussian I Korps commander Zieten acted as a shield, blocking the Prussian cavalry from contacting the French.  I think a burst through option is required. 

Normally the Prussian cavalry, circled, would react against the French unit in combat with their infantry.  However they can't make contact as Zieten is in the way!

The French knew this and were careful not to contact him and so lose their shield.

I suppose it is II Korps cavalry coming to the aid of I Korps infantry and Zieten saying no, 
we can handle this.

Friday, November 10, 2017

Ligny - Take Two or Three - Part 2

The battle continues with the 17:30 and 18:00 turns.  The two Stephens were available to command the Prussians, but the weight of the honor of France fell on Mark B's shoulders alone.

 And of course the French make yet another attack on Wagnelee and Le Hameau.

 They also make their first attack on Ligny, lead in person by Gerard.
It fails miserably.

 To the north of Ligny the French launch a devastating counterattack on the Prussians who had bravely ventured across the brook.

 The Prussian general in charge of those troops is not impressed.
The French cavalry ignore him as they thunder by in an uncontrolled follow up.

 Blucher yet again leads a counterattack on Wagnelee and Le Hameau.

 The French cavalry that crossed in hot pursuit north of Ligny are roughly handled and sent packing.

 Gerard is trying to rally his troops, bottom left hand corner.
The French artillery has got the upper hand in its duel with the Prussian guns of II Korps.

 And on the western side of the battlefield at the end of the 17:30 turn,
the troops from I Corps are being moved to the centre.
(The old Minifig is Jacquinot leading a brigade of lancers in march column)

I also realised after I took this photo I had not completed all the combats.  The Prussians recaptured Wagnelee and Le Hameau, yet again.  I am really happy how the toing and froing is going.  

 But the French attacked Wagnelee and Le Hameau again.
They were defeated and it now looked like the Prussians would hold this village.

 The Guard attack!

 The heavy cavalry of the IV Cavalry Corps supports the attack 
that is occurring between St Amand and Ligny.

 Prussian cavalry try an immediate counterattack and are beaten off.

 Blucher rushes over and leads an attack against the French Guard 
who had formed square to see off the Prussian cavalry.
His attack fails miserably, despite the use of a Free Roll and cries of "free beer".
The French had deployed their secret weapon - le vin rouge.

 The big picture at the end of the 18:00 turn.
There had also been an attacked by the Young Guard on St Amand that had been rudely repulsed.

The Prussians who valiantly held Wagnelee and Le Hameau perished under a hail of shot and shell from the would be French assailants. (Most units disperse at around half accumulated casualties).

The Old Guard are securely across the Ligny brook.

The French 13th Cavalry Division are a bit exposed,
but they have done their job in protecting the flank of the Old Guard. 

One of the optional rules we are using from the 4th Edition is unit self rally, but without the penalty of a further rout if a 10 is thrown.  My reason being that such a risk doesn't happen with the existing rally system, a further rout only occurs if the unit is moved, shot at or assaulted.  Also rout is not "the unit routed off the table" type outcome (that is dispersal), just that the unit has temporarily lost its fighting cohesion.

I've also decided to allow cavalry to cross the brook in "line formation".  My initial immediate research has a regiment of squadrons in line but those squadrons stacked one behind the other, suitably spaced, in column and taking up what is a four figure cavalry base.  I stress I am still working on this.