Friday, October 16, 2015

Kiev to Rostov - Turns 56, 57 and 58

It had been a while since our last game, but the push must go one, as muddy as the weather now is...

The Axis made a series of attacks focused on Kharkov.  They had limited success.

Down south these cities were still holding out, but Zaporozhy was soon to surrender.

End of Turn 57 and the Axis again made a full on attack trying to break into the Kharkov salient from the southern flank.  It again met with limited success.  They pulled back further south to avoid the possibility of Soviet attacks.

Turn 58 and the weather was clear, but this seemed to make the Axis attacks on Kharkov even less successful.  Five assaults all failed to make any impression.  The Soviets have also been able to reinforce.  On the northern flank of Kharkov the Axis had mixed success, pushing in some Soviet defenses, but seeing their flanks threatened.

The Axis have a lot of artillery, but need supplies to be able to use it and supplies are getting scarce.  At least they have a rail head up to the Kharkov position.

Thursday, October 15, 2015

Shot Down

The day started when I received the results of my latest move in the Wings of Glory PBEM game - Shot Down (I will do a post on this game later).  So it was perhaps foolhardy to take to the skies, eh table, for a face to face game last night.

My Hanover makes a first pass against Camel flown by Matthew.

The bigger picture.  Mark B in the yellow Halberstadt and myself have to stop the RE8 flown by Stephen N from taking photos.  The RE8 has two Camel escorts flown by Paul and Matthew.

The Halberstadt gets the first shots in on the RE8

I'm coming round for a second pass.

My fellow flyer has set the RE8 on fire.  Can I finish it off?

We all get a little too close for comfort.

I'm just to close to fire on the RE8 and my companion looks to be in trouble with flames leaping out of his plane.

Shot down!  Matthew gets his first kill.

After this the other German plane burns to a crisp.  Not sure who gets the kill, but Matthew was getting in some sustained bursts which produced the fire so I'm awarding him a second kill.

The Allies were cutting it close with both Stephen N and Matthew one away from their planes breaking up.  Paul's plane was halfway.

Leaderboard


Tuesday, October 13, 2015

Posture

A question recently arose in the Yahoo Napoleon's Battles Group about combat between infantry in square and artillery.  The issue was what combat factors the infantry would use: Line (LN), Column (COL), Square vs Cavalry (SQ VS CV) or Square vs Other (VS OT).  It came down to Column or Square vs Other.  Both tend to be negative with a difference of two or three factors.  While the rules weren't clear (they were effectively silent on the subject) I came down on the side of Square vs Other (the worst case).  In thinking why I reached that conclusion and further reading the comments that were being made I decided it was to do with the infantry unit's posture.

Here is my attempt to define what I mean:

Posture

Napoleon's Battles is a grand tactical set of rules however much of the terminology is tactical.  A good example of this is unit formations: March Column, Column, Limbered, Line, Unlimbered and Square.

I think of these formations as representing the "posture" of the unit and, along with the facing of the unit, determines what the higher echelon commanders want the unit to do.

March (nee March Column) - move as quickly as possible towards an objective.  May even force march.  Takes full benefit of roads both for command and crossing terrain.  Do not engage the enemy!

Manoeuvre (nee Column and Limbered) - move ready to engage the enemy in long range combat (not artillery), or even go into close range combat if necessary, but realizing it will be a hasty attack.

Deployed (nee Line and Unlimbered) - be prepared to engage enemy in long and close range combat in this location.  Movement is limited.  [Aside: I would use the new optional rule 12.6 which gives a plus one for a unit in line firing and a minus one for firing on a unit in line.  Considering the "line" representing the unit deployed and therefore maximising its fire power as well the defensive characteristics of its location is how I see this optional rule working in a grand tactical sense.]

Defend [against cavalry] (nee Square; "Defend" is the best one word descriptor I have come up with) - infantry be prepared to repulse cavalry.  Combat effectiveness and movement is significantly reduced (i.e. cavalry will just bounce off, attacking infantry will be at an advantage and it presents an attractive long range combat target.)

I have never seen the reason for the cavalry line and column formations.  Perhaps use the Line combat factor versus cavalry and Column combat factor against infantry in square and artillery.  Column movement could be the normal move distance and Line their react move distance.

I would allow an infantry unit in Manoeuvre posture to drop bases to better fit or avoid terrain and for cavalry I would allow them to freely change bases (from single to two or three ranks) as there is no cavalry Deployed posture (unless that is used to represent the cavalry being on react).

Applying this to the question of what factor for infantry to use against a square

Infantry use their column factor (-1) as they are manoeuvering and making a hasty attack.  The poor artillery is defending with a -3 and to make things worse the infantry get a +3 for mass.  One close combat casualty will eliminate the battery.  The Infantry have a 90% chance of dispersing the battery.

Infantry use their VS OT (-3) factor as their posture is defense against cavalry and not suited for attacking.  The artillery factor is -3 and the infantry 0 after accounting for mass.  A 79% chance for the infantry to disperse the battery, but at a 12% chance to themselves of becoming disordered and having to withdraw (and in what formation would that be?) and a 3% risk of rout (I guess the battery got a few guns turned round and delivered some telling fire - remember close combat ain't all hand to hand). 

Infantry use their VS OT factor (-3) as their posture is defense against cavalry, even though the threat is not apparent or may have passed.  Attacking infantry use their column factor (-1) as they are manoeuvering and making a hasty attack.

Infantry use their VS OT factor (-3) as their posture is defense against cavalry.  Attacking infantry use their LIN factor (2) as they are making a prepared attack.

Both infantry units use their VS OT factors (-3 for the British and -4 for the Nassau) as they are really focused on defending against cavalry.  Such combats with heavy negative modifiers may take a while to get a result which is what you'd expect.  The posture is not about attacking.  The units are still concerned about being attacked by cavalry, even though the immediate threat might have passed.

The infantry use SQ vs CAV (+8) which is what their posture is all about.  The cavalry use their LIN factor (+1), but big deal, they are not going to press the attack and will bounce taking no more than one casualty.

The infantry are caught unprepared to defend against cavalry and use their VS OT factor (-3) as do the cavalry (+4).  The situation gets interesting if the cavalry is not "attacking" cavalry in which case the infantry would use their COL factor (-1) and the cavalry their LIN factor (+1 in their best years), i.e. their current formation or as I like to imagine it - their posture..

This consideration of posture is also behind my thinking to not use the LIN factor for infantry in column attacking a BUA, a change to Napoleon's Battles brought in with the 4th Edition.

To answer the question about the formation of the withdrawing disordered square, the rules says that it is the current formation and the distance must be at least an inch which would be a problem for most disordered squares except they don't suffer the movement penalty for being disordered or for being in square.  I have some issues with unformed movement formation, but will keep them for another post.

Monday, October 12, 2015

Waterloo Take Two - Part 4

Only managed two turns, but it represented a parting of the ways...

16:30 and the French launch into the attack with Jerome's 6th Division hitting Clinton's 2nd.

Along the road to Brussels Napoleon unleashes the fresh 5th Cavalry Division lead by Subervie and Lobau.  The Young Guard also go on the attack against the 1st Nassau.

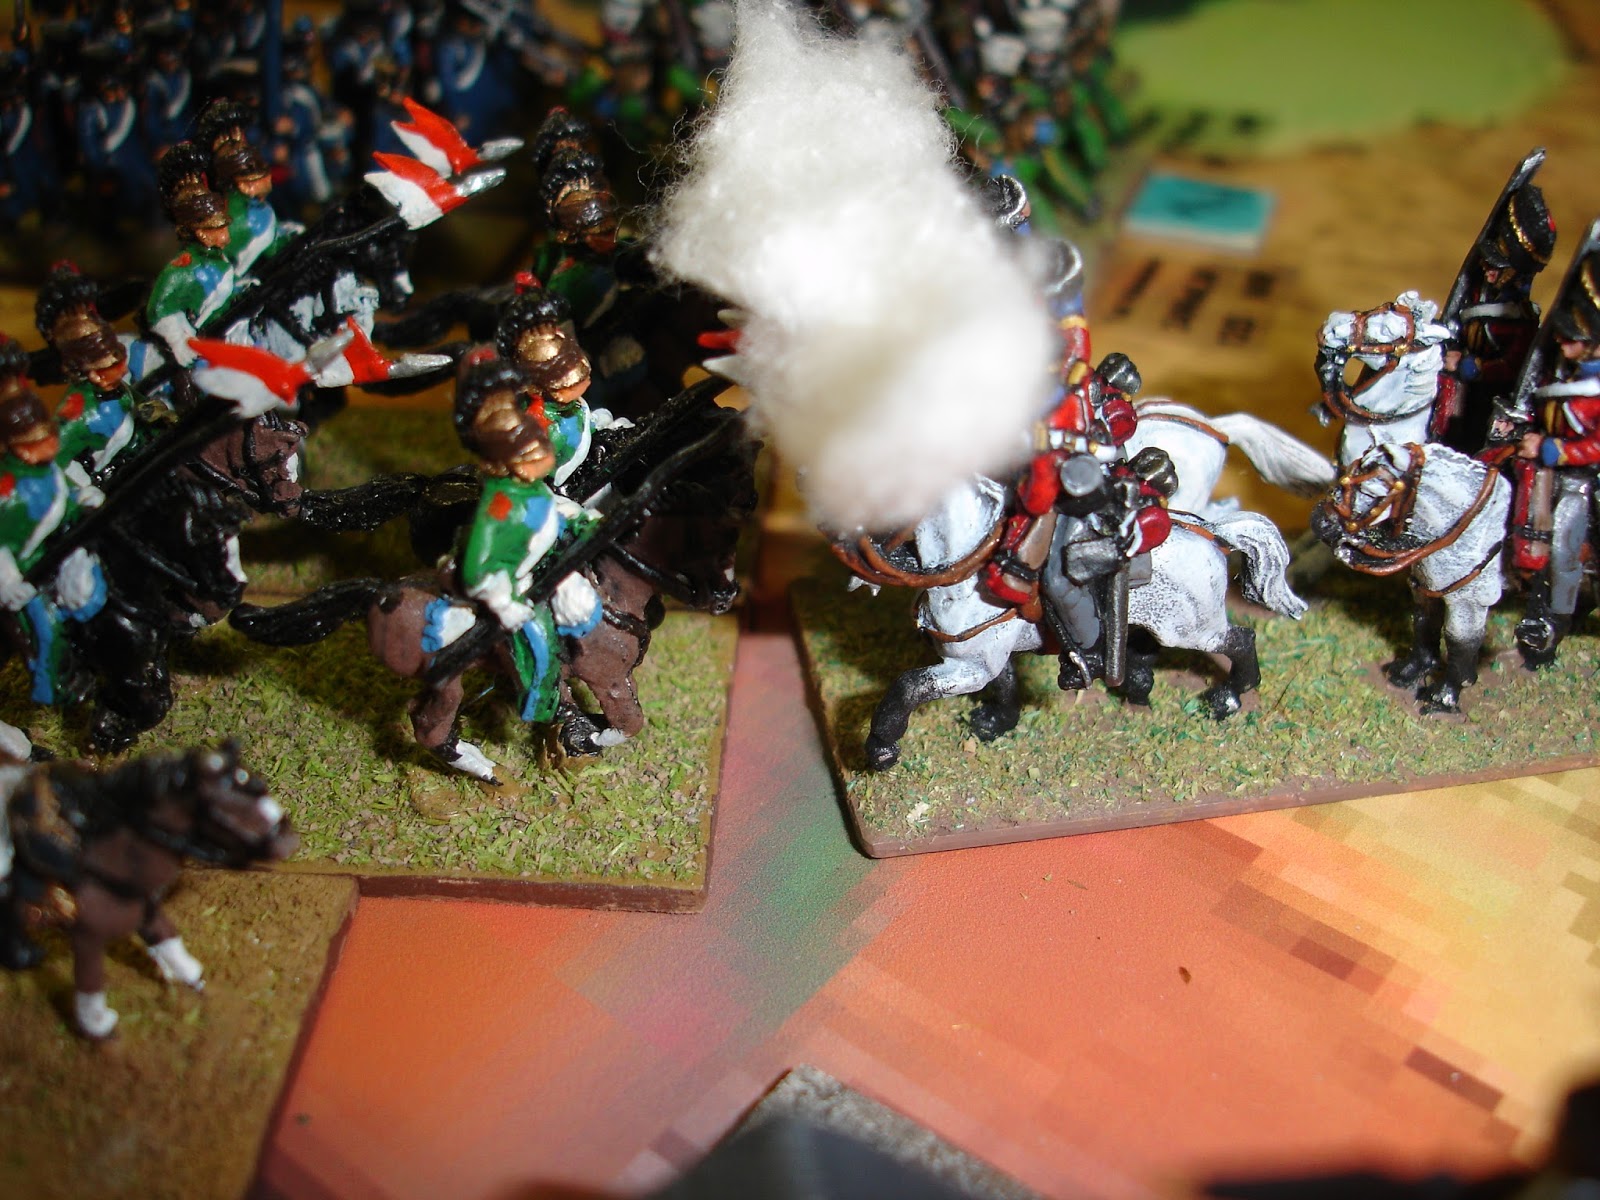
Subervie's lancers disperse the Dutch Belgian cavalry and carry on into the remains of the Scots Grey.  The exhausted Greys cannot take it any more...

The Prussians launch an attack with their cavalry.  The Uhlans, even with numbers, are no match for the Guard Chasseurs a Cheval while the Prussian Hussars succeed in dispersing what was left of Jacquinot's cavalry only to find themselves being cut off as they hopelessly carried on the charge to the French infantry. 

The Orange Nassau have been cleared from Smohain as the French 1st Division moves forward to occupy it and Papelotte.

What is left of the Anglo Allied position at the end of 16:30.  They lost 24 bases that turn, including six units dispersed.  With the addition of routed units they are now broken, but no hopelessly so.

Even the Prussians have now lost two units dispersed and find the French deployed in a strong position which includes a brigade of the Old Guard in line, on a hill, covered by four batteries.

What is left of Wellington's command is not in a good way.  Can the Brunswickers and Hanoverian Landwher hold off the Old Guard Chasseurs?

No.
The Brunswickers put up a hard fight, but are no match for the Guard.

The last charge of the British cavalry was met by what was left of Pire's 2nd Cavalry division while Ney lead Jerome's troops against the British Guards.  The Guards were two off dispersing and vanished in the fire fight.  The cavalry units were both one off dispersing so no matter what the outcome they were gone.

The Prussians try a combined arms attack on the Old Guard.  The Old Guard fail to form square and the French cuirassiers put in a final counter charge in support.  Blucher leads the 18th Infantry Regiment into the attack and is lucky to escape.  Maybe if the Guard had been in square... 

The end of the 17:00 turn and the Anglo Allied army is hopelessly broken having suffered another four units dispersed. The only fresh troops they have are a Division of Dutch Belgians who, one expects, are probably thinking of changing sides.

The Prussian attacks were repulsed, but they are now working around the flank of the French position.

The Prussian II Corps has also now arrived.

The Anglo Allies have fled.

The Anglo-Allies have parted ways and the battle will now be fought between the Prussians and French.  Blucher has to hope that the French have been fatally wounded.

The French have suffered the loss of twelve units, but their morale is still high (they would have to lose another 17 before it breaks - the Prussians will break if they lose another 15 units).  The two cavalry corps are effectively spent and the three infantry corps are at about half strength.  The Guard cavalry is in only slightly better shape than the rest of the French cavalry, but the Old Guard Grenadiers are fresh and the Young Guard still have some fight left in them.  They do have a lot of artillery.

It will now be a race for both sides to deploy their forces and fight a war of attrition.  

The French just need to defend and keep their spent units out of danger.  

Friday, October 9, 2015

Old Glory French Horse Artillery


These fill a gap as I found I was short a few French Horse Artillery batteries for the Waterloo game..


A bag of Old Glory provides plenty of figures, but not enough guns for my units.  These guns were ABs painted by Chris H when he was ten, which I happened to have spare.  When I showed the figures to my daughter she said she liked the guns...


Following from the previous post, I'm now feeling my basing style is rather bland.

The uniform is a bit difficult to bring to life at this scale, but I do find the Old Glory figures have a life all of their own once you get some paint on them.

For once I am very happy with the blue.  It is Vallejo Game Color 72.020 Azul Imperial - Imperial Blue.  Thanks Myron for bringing this to my attention.  For highlights I have used Vallejo 70.930 Azul Oscuro - Dark Blue.


28th of Foot

These are the British figures from my July acquisition now rebased for Napoleon's Battles.  The original basing was very good and I became loath to redo them, but needs must.  I tried to maintain the basing style as it will give the figures some individual style and prominence (and a bit of provenance too).  My basing style is rather bland as will be seen in the next post.

Apart from rebasing I added flags which are just prints from Warflags.

I also added a wash to the hands and faces.

And a wash to bring out the detail on the greatcoat roll's ends.

Thursday, October 8, 2015

Napoleon 1814 - The Defence of France


Napoleon 1814 - The Defence of France by Andrew Uffindell, came to me via the NWS as a review copy provided by Pen & Sword.  

This book brings to life this fascinating campaign in the twilight of the Napoleonic Wars, dealing with a wide range of factors, not just the military manoeuvres.  I found the chapters on the effect of the campaign on the civilian populations, particularly the spread of disease, very interesting and poignant.  While it is well known that disease was a major killer in this period, often well exceeding battle casualties, it is an aspect of the Napoleonic Wars, and wars in general, that is not often covered.  Likewise the predations suffered by the population, but also opportunities in areas touched by military campaigns.  Something I also found of modern relevance was the section on the administrative arrangements put in place by the Allies for the occupied areas.

The propaganda war waged by both sides is also covered reminding us that war is an extension of politics or the art of influencing people and that truth is the first casualty of war.  The diplomacy of the campaign is look at, not only as it affected operations against Napoleon, but also as it affected relationships between the allies.

The effect of the terrain and the weather on the operations is also explored as it had a direct bearing on the campaign: the poor quality of transverse roads, the importance of river crossings and bridging equipment all affected the ability to come to grips with the enemy as manoeuvring forces became bogged in mud.  All these things had to be overcome and often were by Napoleon as he conducted his campaign.

Perhaps the most telling aspect is the ultimate failure of Napoleon's final manÅ“uvre sur les derrières.  To quote "He simply did not have the resources to sustain what was becoming no more than an attritional struggle."

Andrew Uffindell's book is an excellent background to the campaign and its place in the Napoleonic panoply, particularly its effect on the 1815 campaign.  It is an easy and most enjoyable read.  The glossary, references and bibliography are extensive and give weight to this obviously well researched and considered book.


While I was reading this I was constantly fascinated about how one could bring this campaign to life as a wargame.  Inspiring stuff!  Highly recommended.  

It can currently be obtained via the Book Depository.