Thursday, October 2, 2014

Stalingrad Crossfire Scenario

Last night at the club I umpired the Stalingrad Crossfire Scenario.  It is the one that comes with the rules.  An abstract and some play aids can be found here:
https://drive.google.com/file/d/0B3O3fJlp-yozSGNscmRjdkJQZm8/edit?usp=sharing

Mark B arrived first so he got to be the Germans.  Stephen took the Russians.  It was their first time with the rules.  They had received the abstract prior to the game and I only provided minimal explanation as to the rule mechanics, concentrating more on the scenario.  They seemed to pick it up easy enough, although the hidden deployment did cause a bit of problem and based on feedback I have developed an additional player aid by way of a map that can be used to write the location of a the units, rather than recording the location on the OoB list.

The playing area.  
It is amazing what you can do with cardboard, kitty litter, PVA glue and some paint.

Just in case anyone was in doubt of the scenario/period.

Using Recon by Fire, the Soviets successfully reveal some of the Nazis.  Recon by Fire is a thankless task as you need to throw a six.  Seems Stephen has the skills.

It was the Soviet's lucky day as in the factory, not only did they again successfully conduct Recon by Fire they went on to close assault the Nazis and capture their first building segment.  The Soviet's had mastered the art of throwing a six on a single dice.

The third platoon of the first company pour fire into a Soviet held segment of the factory, but without the Soviet's ability to throw sixes they have a tough time getting a result.

Despite Mark B bringing out a special set of green dice, the Soviets continued to display superior die rolling and were able to capture all the buildings in the factory complex.

Great game, even if just to see the look of disbelief on Mark B's face as Stephen threw yet another six.

I suppose I should clarify that Stephen was using my dice.  Apart from the green dice I provided everything, including the eclectic mix of 1/72nd scale figures (mainly plastic, but with a few metal dudes as well).


Wednesday, October 1, 2014

Seven Pines to the slaughter

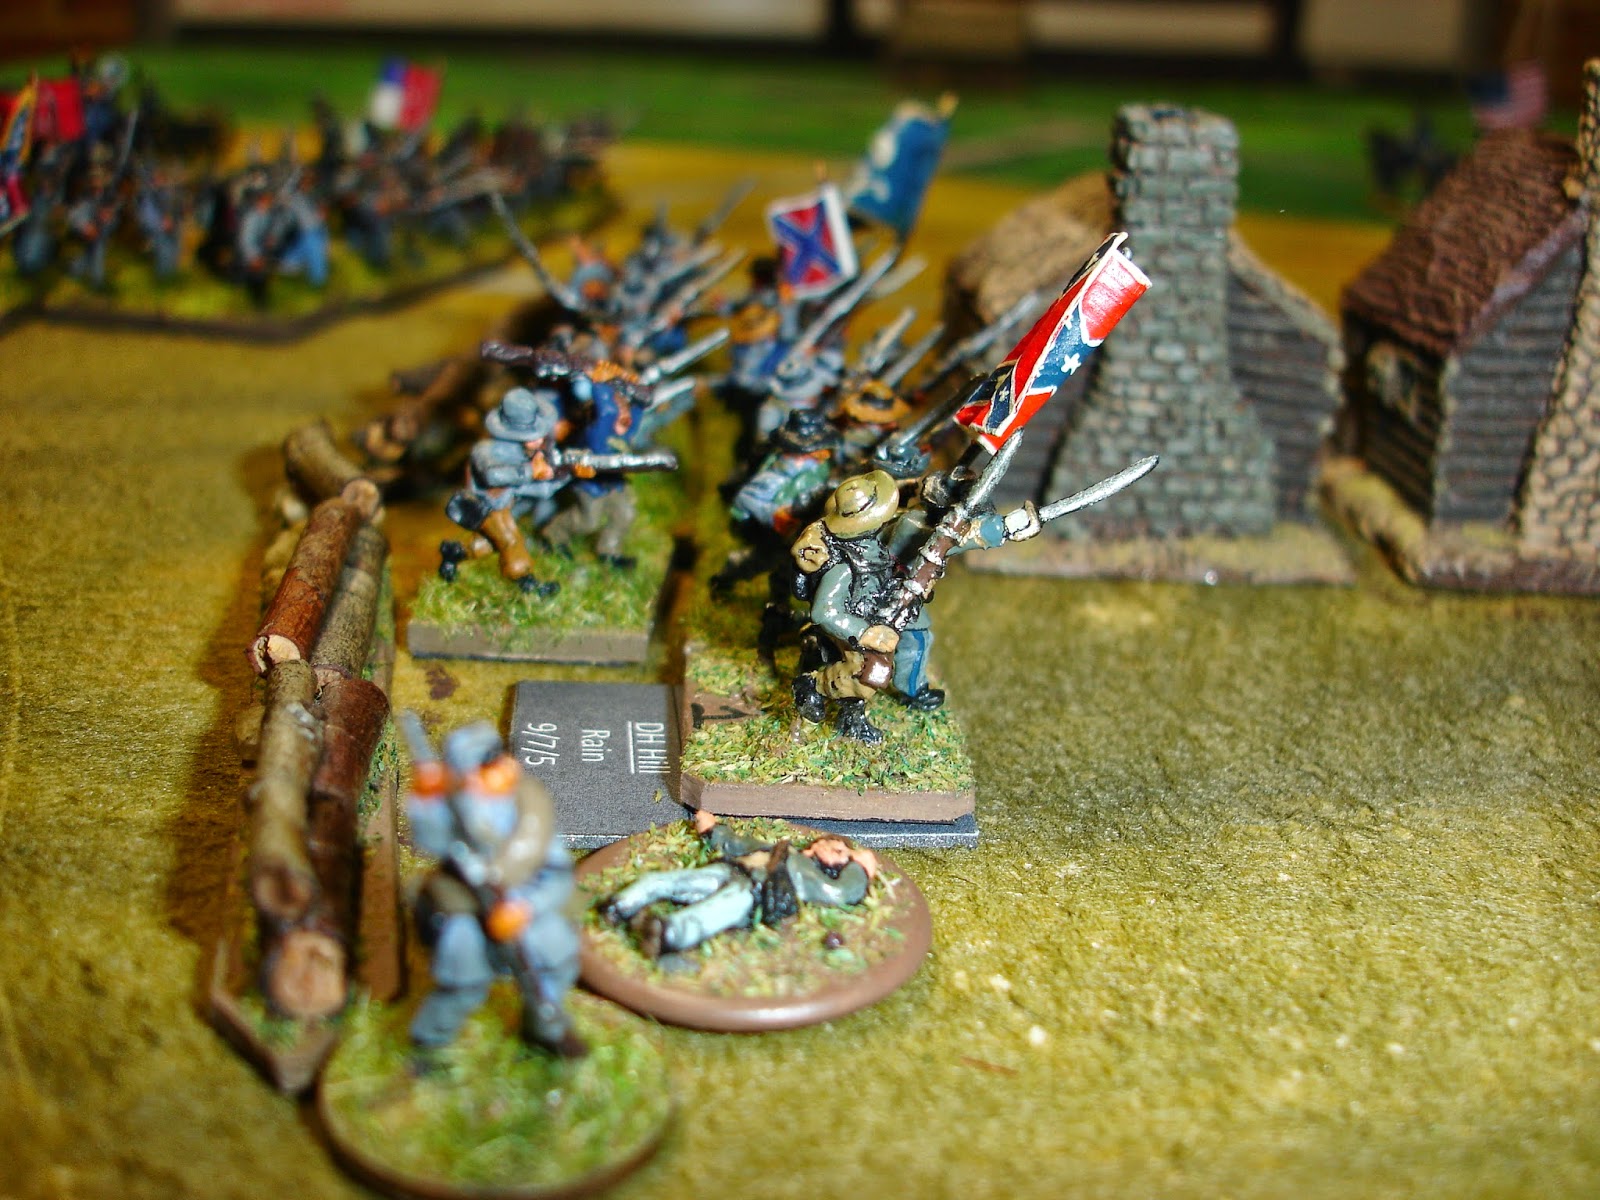
On Monday Mark W indulged me by playing the Seven Pines Fire and Fury scenario, even though ACW is not his cup of tea.  As it was his first game with the rules I suggested he take the Confederates and he played some music about "southern boys raising hell" to get himself suitably psyched up.

At 13:00 the leading reb brigades bashed against the Union.  Naglee stood firm, but Palmer was bundled back.  The rebs broke through and hit Naglee a second time, pushing  these brigades of Casey's Division back on the Twin House redoubt.

Naglee's and Palmer's brigades try to rally.

Wessells' brigade looks a little thin facing the rebel hordes.

Here they come!

The second wave of rebels had arrived at 13:30 and took the fight to the redoubt.

It took some fighting, but by 14:00 the Confederates had captured the Twin House redoubt.

Casey's division fell back behind the abatis. Both batteries had been damaged and all three brigades were now spent.  The remainder of Keyes' corps waits patiently behind the Seven Pines Crossroads redoubt.

Four rebel brigades and a battery are now on the field.

As 14:30 comes around General Casey must be feeling a bit nervous.

Here they come again!

By 15:00 the Confederates had broken through Casey's Division for a second time and taken the  crossroads redoubts.  The breakthrough outcome saved the Confederates of facing the Union guns. 
It is now up to the thin blue line of Deven's cavalry brigade to attempt to hold them.

Damaged artillery and routed Union infantry collect around the Williamsburg Road as Generals Keyes and  Crouch try and rally them.

Wessells' brigade still holds part of the abatis on the Union left. 

On the Union right, Naglee's brigade, though spent, has positioned themselves behind the rebels left flank.  The Confederates bring up artillery.

The Union cavalry held, but by 15:30 a second Rebel brigade had passed through the redoubts.  While spent, it matched the much reduced Union brigades that stood in its way.

Peck's brigade counterattacks.

Naglee's brigade is demolished.

This is the position Longstreet's Confederate corps was in at 15:30.

By 16:00 the Confederates had driven off Develin's brigade.  Both of their leading brigades were spent, but Jenkins has now arrived (top left hand corner in the photo) and is heading for the crossroads.

On the Confederate right the going is a little tougher.  Peck's brigade is still standing firm and Heintzlemann's corps has started to emerge out of the swamp.

16:30 and the Rebels are pressing on.  There is one good Union battery holding the Williamsburg Road.  The thin blue line has rallied, but is a very pale shade of blue now.

The Union reinforcements have the rebel right flank under pressure.

It took a while for Heintzlmann to clear the swamp, but they are well placed to attack.

By 17:00 Berry's brigade is threatening to retake the Twin House redoubt which the rebels have had to shift troops over to cover.

One damaged battery is now all that is holding the Williamsburg Road for the Union.  If it was just the two spent rebel brigades Generals Keyes and Crouch would not have been worried, but Confederates have Jenkins' fresh brigade right behind them.

Peck's second counterattack is repulsed.

At 17:30 Berry has a clear path to retake the Twin House redoubt having broken the Confederate force sent to protect it. 

Kearny's Brigade of Heintzlmann's Corps makes a counterattack, but is bloodily repulsed.

The Confederates have Jenkins (far left of the photo) facing Peck's and Kearny's brigades that are both spent.  General Crouch and General Casey's replacement have what is left of the Union artillery covering the Williamsburg Road.

Losses were staggering on both sides.

We had started at 10:00 and finished at 16:00 which was about twice as long as I had expected the game to take.

We were playing with a rule that a musketry cannonade combat result of just disorder on an already disordered unit resulted in a stand loss.  I thought this would speed things up.  Next time I would play it as an additional stand lost whenever a disordered unit receives another disorder outcome.

We were also playing with risk to generals, for when a unit contacts an unattached enemy general.  On a roll of 1-3 the general has to roll on the leader loss table.   General Casey fell this way.

Strategically the Union recapture of the Twin House redoubt might have saved the day.  The Confederates held the Seven Pine Crossroads redoubt, but had failed to take the Williamsburg Road (although they were damn close).  However the Union force was just about wiped out.  They had one fresh brigade remaining and two spent brigades.  The Rebels had one if not two fresh brigades, a worn brigade and two spent brigades on the field of battle.

Sunday, September 28, 2014

Slaughterloo

Just to give my club's blog and this disturbing game a bit more exposure:
 http://napoleonicwargamingsociety.blogspot.com.au/2014/09/slaughterloo-game-from-september-games.html

A field of green, a mass of figures, a pair of nameless backsides and yours truly as the bemused onlooker.

Saturday, September 27, 2014

Belgian Line Infantry

As part of my 1/72nd scale Waterloo project (one that I classify under "plastic nostalgia") I needed a 24 figure unit for my Napoleon's Battles OoB.  To give it the correct classification, a 24DBLN brigade.  I had already done the Dutch part and today finished the Belgian Line Infantry. Trying to maximise my options I created an 18 figure unit that can fill in as a battalion for Shako as well as being single figures I can use for Napoleonic skirmish or perhaps other rule systems.

The 18 figure unit lead by the grenadiers.  I like the pose of these HAT figures.

But they are not all HAT, spot the six Airfix figures if you can (well six figures, but just three poses, one of which is a conversion).

The mixed Dutch/Belgian Brigade for Napoleon's Battles.

I still have the artillery to finish and then I will do some of the light cavalry before tackling the militia.

In posting these photos I realize I am yet to finish the flag staffs which are still in their bare metal glory.  I used the same matt varnish that is anything but matt, something I might remedy in the future with a matt spray, but they can be glossy for now.

Thursday, September 25, 2014

Leaky boat can't stop the fire

Last night we had a four player game of Sails of Glory.  Stephen N in HMS Royal George (100), Mark B in HMS Goliath (74) fought a bruising battle against Greg in the Imperial (118) and myself in the Generaux (74).  It took three hours to get an outcome as the big ships can take a good deal of punishment.

HMS Goliath and the Imperial exchange opening broadsides.

It went bad for HMS Goliath when she caught fire and was subject a broadside from the Generaux.

HMS Royal George comes into range of the Imperial, while HMS Goliath gets some return fire against Generaux.

The British are running with the wind.

A murderous close in exchange of fire takes place between the Generaux and HMS Royal George (which is loaded with double shot).  Meanwhile HMS Goliath was able to put out its fire and do some other necessary repairs.

The two French boats give the George a flash of their sterns.  Not sure what the correct naval term for that maneuvre is...

Whatever the term maybe, the George was taken aback.

But it significantly out shot the Generaux, which ended up with two leaks and a fire.  With only three hull boxes left it was done for.  Pity as the game was going good until that round.

With my ship sunk I sulked around about a bit until returning for a final photo opportunity.

The end of the game saw the Goliath de-masted and de-crewed while the George had accumulated half damage and thought it was time for discretion.  The Imperial was still in good shape.

It is a pity that the design of the ships, which are pretty robust for gaming purposes, hadn't allowed for the interchange of different masts to show sail configurations and damage.

The game was accompanied by some semi nautical tunes from Billy Joel and Crowded House.


We used the gentle collision rules and when a ship with broken masts is taken aback we randomly selected the red movement card that was to apply.

Tuesday, September 23, 2014

NAPOLEON'S BATTLES IV (MARECHAL EDITION)

I am starting to get excited about the new edition of my favourite Napoleonic wargaming rules.

Some information can be found here: http://www.napoleonsbattles.org/

Sunday, September 21, 2014

GMT Games - The Caucasus Campaign Again


After Richard and I played this on 8 August I was keen to play again, this time as the Axis.

After five hours and some good rolls by me and some poor rolls by Richard at critical times (mainly associated with the attacks and determined defence of the big cities), the Soviets had run out of troops and the Axis were about to breakthrough in a big way.

It is funny that GMT label it as the German-Russian War as one of the fascinating things they point out in their background information is that there were so many different nationalities involved in the campaign, on both sides.