Wednesday, February 28, 2018

Persian Slingers

In under two days some figures off my lead mountain went from this in the morning:


To this in the afternoon:


And then today:


Yes, it's only three, but that is fine for a skirmisher unit for Impetus.  Suffice to say these poor chaps had been lost in the lead mountains for over two decades, possibly three.  How will they go tonight?

1805: Austerlitz by Robert Goetz

Robert Goetz
(Red letters on black background...)

I read this book after reading Scott Bowden's book.  I was just expecting a repeat and was very pleasantly surprised it that it covered the subject matter slightly differently so that the two books interleaved rather than overlapped.

This is all part of my research for the Austerlitz project.  I've done the Order of Battle more or less (one for Bowden and one for Goetz).  I still have the Osprey Campaign book(s) to read and F G Hourtoulle's Austerlitz - The Empire at its Zenith (although I bought that more for it's uniform pictures that I found irresistible), but my next challenge is to the play the boardgame of the battle that I have (Napoleon at Austerlitz that appeared in The Wargamer Number 17 - issued in 1981).  My current aim being to get a feel for the required terrain as that seems to be the next big challenge in order to progress the project.

Meanwhile I'm continuing to work on the figures required for the battle.

Goetz wrote his book in 2005 after Bowden's book (which was published in 1997) and as  a result he makes reference to it when discussing various aspects of the battle, particularly the number of troops engaged.

While very much focussed on the battle, I enjoyed his summary of the outcomes of this unique battle which had such a wide ranging impact on the politics of the day.

When it comes to the Austerlitz scenario I can see a need for two: one would commit the Allies very much to their plan, while a second would give them more freedom to react (such as if Alexander had better advice and acted on it).  Both could be challenging, but we will see.

My current thinking is to look at three depictions of the battlefield.  One is to shrink it to 9x5, the standard for Napoleon's Battles.  Another is to go to 12x5 which would seem based on my calculations so far to fit most of the battle in.  Finally, there is the option of breaking the battle into its various parts.  All of these options are attractive and I'm hoping that the work done on one will readily facilitate the others.


Sunday, February 25, 2018

Military Modelling Magazine Index 1974 to 1976

This post is inspired by this post at Tiny Tin Men which contains links to indexs of various wargame related magazines.

Recently, I picked up a whole lot of old Military Modelling magazines that take me right back to my teenage years and introduction wargaming.  Having neatly put them in boxes I feared that was going to be.  Just memories that are hard to access. 

Previously I had searched for an index to Military Modelling magazines, but without success.  So in the best traditions of the hobby I decided to start building one myself.

Rather than wait an eternity for me to finished and deny the good while seeking the best, I have decided to publish this first installment, covering 1974 to 1976.  I'm just missing one issue in this period and Murphy's Law states that is the one with the article you are looking for.  At least you are forewarned.

https://drive.google.com/open?id=1-yyhJHLXiVp-av4P5kDeroQfxeezaWtO

I hope that link works and that creating an Excel document allows ready access with a degree of sorting/searching capability inherent.

Feedback gratefully received.

Friday, February 23, 2018

Airfix French Hussar Conversions

A recent post by Carlo of a figure based on the classic painting of the French cavalryman on the rearing horse reminded me that I had a similar figure somewhere.

 Airfix British Hussar body, French Infantry head on a US Cavalry horse.

 These are very old.  The inspiration came from a Military Modelling Magazine article.
"Hussard's Jerome Napoleon" (C07)

 Sadly I only did six.  I recall I really liked how the Humbrol scarlet turned out.

 If I thought six was sad, I only did two of these 7th Hussards. (C06)

 They seem to have stood the test of time,
although that might be more nostalgia than anything.

At least together they make two bases for Napoleon's Battles,
not that they see any action.

Looking at that last photo I now surmise why I only did six.  I ran out of the scarlet paint I liked so much.  I did a good job on the plumes (would have been pins with probably plasticine, nail polish and/or lots of paint).


Three Vickers Light Tanks, Two Bofors Guns and a Quad

A few years in the making these models.  The tanks were a gift from Xmas a few years back IIRC.  But all done now, well, not quite, after the fiasco with the paint colour I couldn't decide on transfers, hand paint or no insignia.  For the moment it is the latter.

This little chap was a spare that Richard had and passed to me for use in my Western Desert Force.
I think it is a Quality Castings model - it is certainly all cast metal.

It was in a black undercoat and I painted it in VJ Desert Yellow.  
After I found out that was the wrong colour, I over painted in VJ Dark Sand.

I was happy with the colour and decided to try out some insignia.
The transfers I had were going to be too big so I had a go at hand painting them.

 I've gone back through my messages.  
These were indeed a Xmas present from my niece, Breeze, back in 2012.  
There are some Bren Carriers as well (almost finished, just need to repaint them Dark Sand).

 Like the Quad I'd painted these Desert Yellow (over a brown undercoat)
 and then corrected by overpainting Dark Sand. 

 I liked them in Desert Yellow and luckily I still like them with the Dark Sand overcoat.

 Again I couldn't decide on transfer or hand painting insignia, 
so they have gone without for now.
I do love the rivets!

 There is a bit of background to these next models that I posted a year ago and can be found here.

 They had been super glued and then reinforced with some careful layers of PVA glue, 
decoupage style.

 After thinking about making my own sandbags,
I went with two terrain features that I had picked up at the club.
Background to that can be read here.

 The other gun in the pair.  
The wheels are not fixed, but everything else is glued in place.

 The model base is sandstone over Tamiya Dark Earth (my stock standard for basing).
However the terrain piece is sandstone over red earth,
which is the same colours as used on the mat.

 I figure these will make nice objective markers,
AA batteries protecting supply dumps.

 It took some thought on how to get the best out of these two bits,
but then I hit on the idea of making a sabot.
The sandbags are VJ Buff over Tamiya red brown 
with a final wash of Nulon Oil (or some such silly named black wash)

I tried a few materials for the sabots until I settled on some cardboard.
It was the right thickness and easy to cut.
I coated it in PVA glue and then the red earth undercoat for protection.

Yippee!  Finally some closure on these projects.

Thursday, February 22, 2018

Burgundian Ordonnance versus 100 Years War English

Not quite an historical match, but close.

My Burgundians got to be the attackers against Dave's English.
This gave me an advantage at set up.
Note the Gascon, Breton and Irish skirmishers on the far left of the English army 
(top right hand corner of the photo).

 End of the second turn and my right flank continues its advance
The English knights are moving to intercept it.
My artillery is causing some casualties.

 End of turn three.
The bombards are working hard.

The skirmishers clash.  Each side causes one hit.
In what was to become a theme of this game,
my skirmishers fail their cohesion test,
my opponent's didn't.

 In goes my general.  

 What should have been destruction, the English hold with just an accumulated loss.
My knights threw a six for their Cohesion test. Grrr!

 End of turn four.
The charge of my knights has been disappointing.
Worse, my General seems stuck when really I need him to break off.
But my pikes are about to stick it to the English knights.

 Those English skirmishers are at it again.  
They only get one dice, but it was a hit.
My unit of Feudal crossbows fail their Cohesion test biggly.

 Just look at those hits!
Apologies for the blurry photo but it was an epic encounter.
But as can be seen in the next photo, my pike failed their Cohesion Test badly, unlike the knights.

 End of turn five and my General is still stuck fighting and sadly being attrited away.
My pike block has disintegrated.  One shot from the skirmishers did it.  

All over at the end of Turn Six.

 The victorious English knights 
who rode down a pike block while surviving repeated volleys of crossbows.

 The English skirmishers who never missed a shot.


Monday, February 19, 2018

Rome versus Carthage

Arranged at short notice to take advantage of the NWS Games Day we had an 800 point Impetus game using MarkWoods' magnificent 6mm armies.

1200 Roman figures deployed to face 1000 Carthaginian figures.  
Massive!

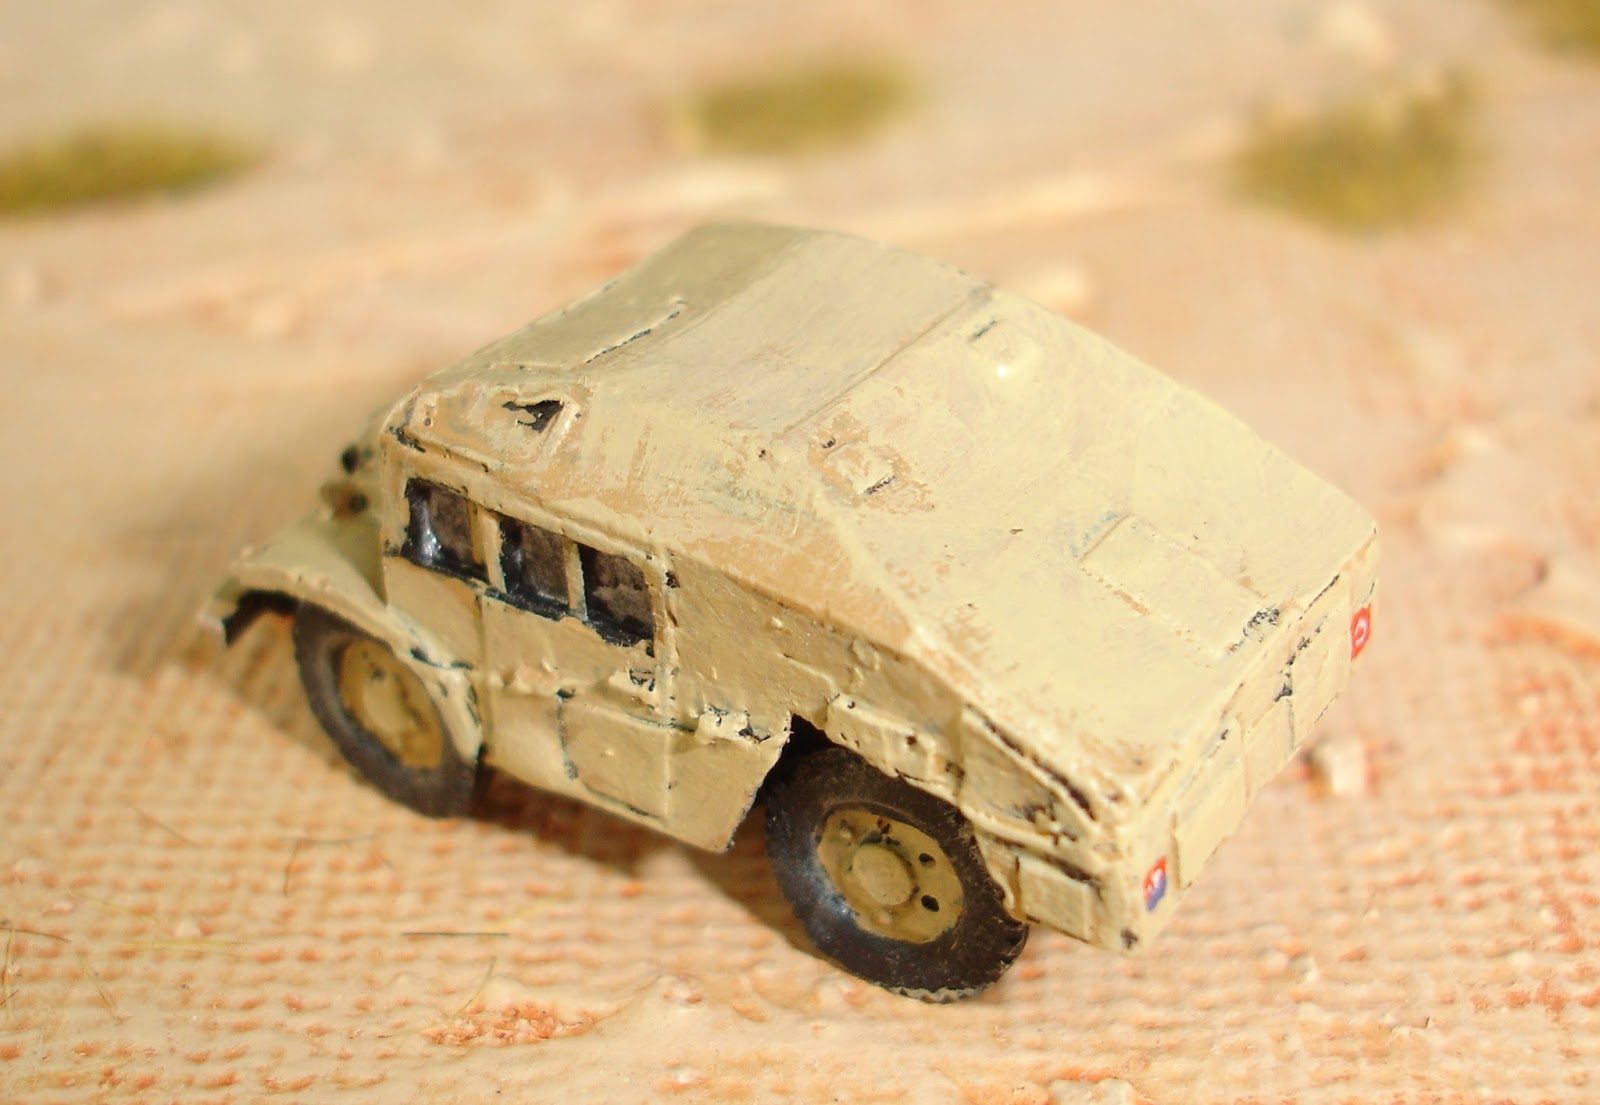
A bit of human inserted into the picture to provide some of contrast.

The Carthaginians get off to a good start when their CinC is upgraded.  
He was already a genius so the impact was negligible.  

End of the first turn.

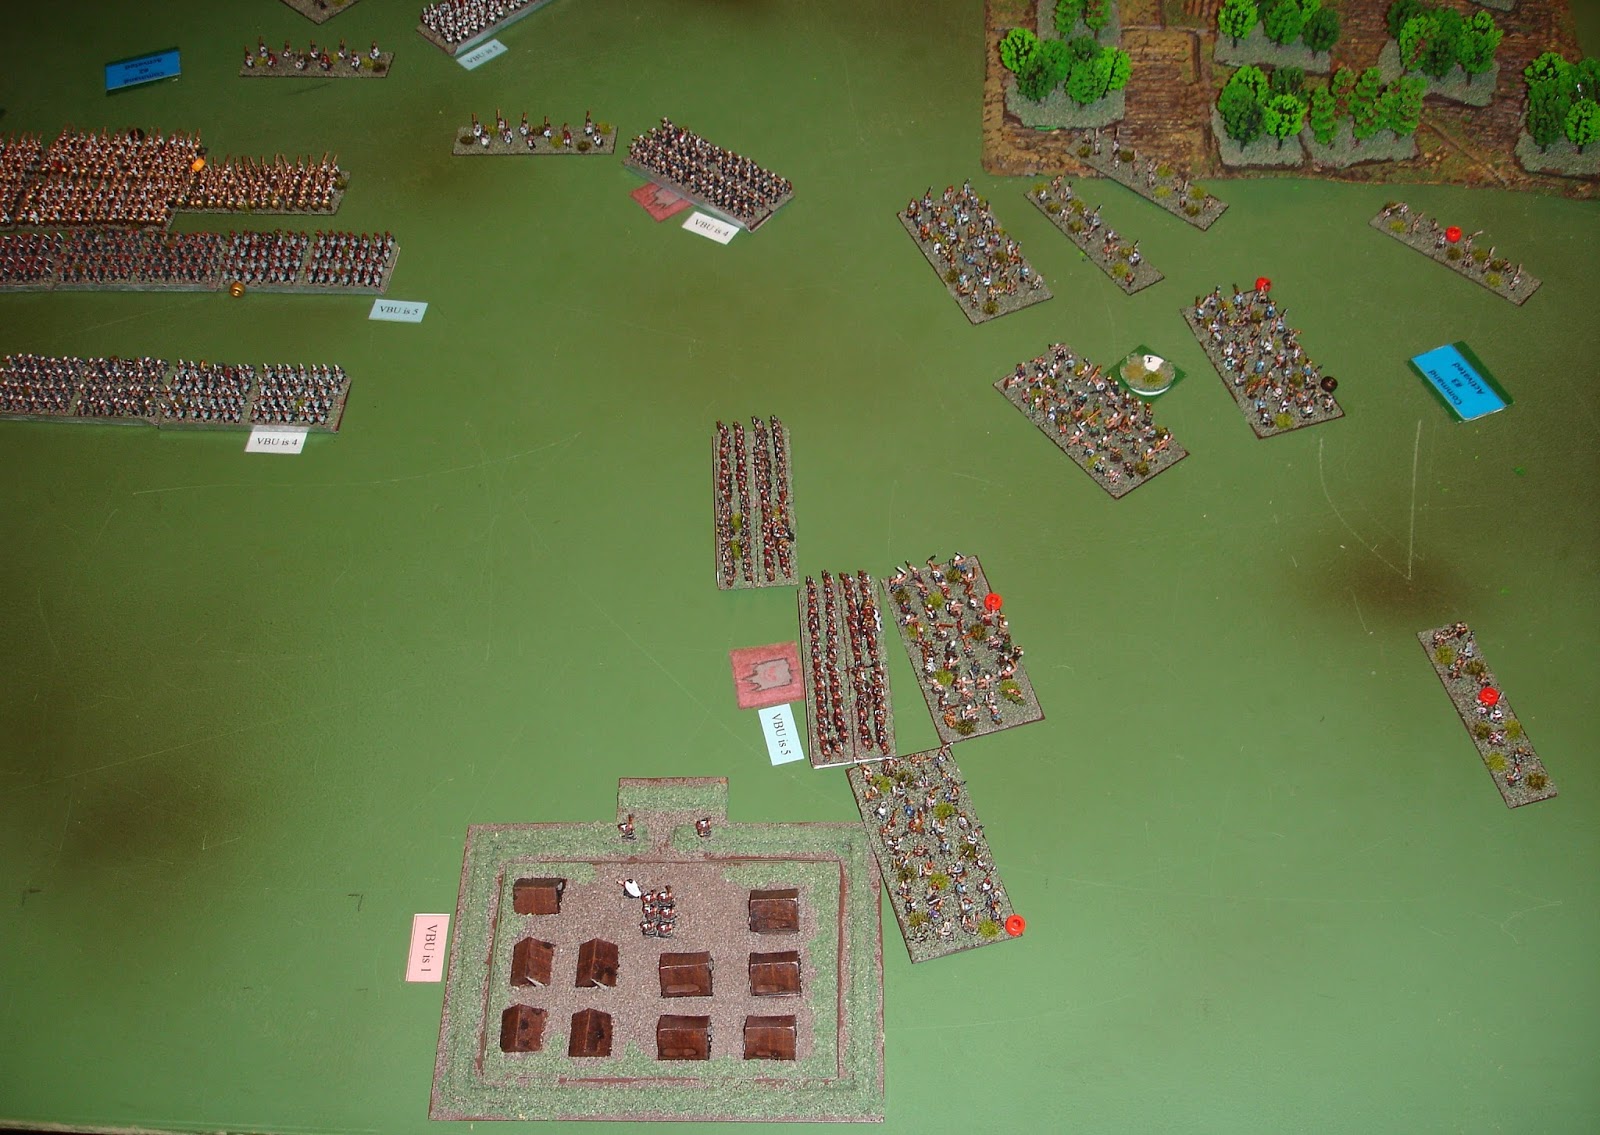
The Romans were in four commands.  The first three were Roman legions and the fourth Italian infantry (Light Foot), perfectly placed to contest the woods and protect the right flank.  The left was protected by an impassable water feature.  I had the two leftmost commands and Stephen N the right.  Annoyingly I had numbered them 1,3,2 and 4, but kept getting 3 and 2 mixed up.  The big white squares are just aide memoires to help denote when commands had been activated etc.

The Roman right flank commander gets upgraded from Fair to Expert.  
A great omen!

The Carthaginian Left Flank Commander gets downgraded to Fair.
Excellent omen!

End of the second turn.  
The Roman left has stopped while the right pushes on.

The Carthaginians were in four commands as well, from their left to right (or top to bottom in the above picture) there was a command of Elephants with the Genius CinC, then the infantry, the cavalry and finally the expendable Gauls.  A very different army composition to the Romans.

End of turn three.
A better picture of the Carthaginian cavalry, infantry and elephant commands.
The Gauls are off to the left.

End of turn four.
Both sides seem reluctant to come to contact,

But that is all about to change.

End of turn five.
The Gauls have entered the woods, but can hear, but not see the Italians.

The three Gualish warbands charge.
The first two (right and centre) don't accomplish much, but the third one (left)...

End of turn six.
That left hand unit of Italians was destroyed (threw a six on the Cohesion Test), but the Gauls (who also threw a six for their Cohesion Test) survived due to a timely Hand of Fate reroll.

Then the Italians just died enmass.

End of turn seven and the Roman left is in big trouble.
The cavalry charge and are initially successful...  

But it didn't last.

But still the omens were good as yet another Roman commander goes from Fair to Expert.

It is worth commenting that the Carthaginian commander of the Gauls repeatedly threw double ones for his command activation.  I lost count after six; of course only the first one counts.

End of turn eight.
The Roman Italian command has been removed
and the Gauls are powering through the wood: 
they can smell the bacon cooking in the Roman camp.

End of turn nine.
The Romans are rushing reinforcements (Triarii) to rebuild their left flank.
There has been some vicious fighting between Roman legionaries and the Carthaginian horse.

End of turn ten.
The cavalry battle on the left continues with the command being broken, but then restored after some unhelpful person pointed out that the otherwise destroyed light horse unit could have evaded and therefore reduced its risk when shot at.  

The Carthaginian infantry and elephants are now advancing.  The remaining Roman cavalry has been sent on a march round the impassable water feature to hopefully outflank them.

End of turn eleven.

The real battle has now started with the heavy infantry of both sides coming into contact.

And I thought the omens had been good???
The Romans get one hit against five by the Carthaginians.

Clearly the earlier good command rolls had provided fake omens.
In following up Carthaginians get another five hits.

We had made a few mistakes mainly due to there being a mix of FoG, Basic Impetus and Impetus rules swirling around in our heads.  But for heavy foot, only one should have pursued.

Then in come the elephants lead by the Carthaginian genius.

Well... The Gods move in mysterious ways, that's to be sure.
After destroying the elephants(which removes the Carthaginian genius CinC as well), 
the successful Roman CinC is downgraded to Fair.

End of Turn Twelve now.
The Carthaginian cavalry command has finally broken.  
The Romans have a line to defend their camp and left flank.  
There are still plenty of Romans to face the Carthaginian infantry.
The battle is close as both sides are just a few off from breaking.

And the Roman cavalry on the left are making progress, if a bit slowly.

The Carthaginian infantry commander is downgraded.
But by now we know not to read too much into this.
It is a capital F for fake omen.

The Gauls contact the camp 
(perhaps in contravention of the rules given the close proximity of the Roman infantry).
The camp survives.

End of turn thirteen on the Roman left...

And on the Roman right.

But at the end of this unlucky turn, a second Roman command had broken which tipped the Roman army well over its breaking point.


Just to unpack this a bit, Roman Command #1 was on the far left, Command #2 was on the right, Command #3 was on the left and Command #4 was the Italians on the far right.  Commands #4 and #2 were broken which took the level to 30 and the losses in the other commands meant the Romans were past their breakpoint.

The Carthaginians are a bit different.  Their Command #1 was the cavalry (which broke meaning a loss of 15 - the total VD for the command).  Command #2 was the infantry and Command #3 the Gauls.  The Carthaginian infantry, like the Romans, are worth 3 VD each, in contrast to the Gauls, expendable, worth only 1.  So Command #3 had lost four units while Command #2 had lost one plus a unit of skirmishers (1 point).  Command #4 was the elephants and the calculation is a bit off as a General was attached to one of the elephant units that would have taken its VD to 3, if such an attachment was allowed...

So a mighty Carthaginian win. 

The Italians where perhaps badly placed to fight the impetuous Gauls in the woods, but so it goes.  The legion fighting the cavalry had a close time of it, but the other fighting was a bit subdued (the Roman left), certainly in comparison with the fighting on the Carthaginian left.

Again Impetus gives a good game, although it is a challenge with the rule variations/similarities with Basic Impetus which I've been playing of late.

Some extra "close-up" photos can be found in this post.