The inspiration for this example was from a
post
by Archduke Piccolo.
I wanted a small scenario to show an Austrian column attacking a French line to see how it would play out using my favourite Napoleonic rules, Napoleon's Battles.
Page 110, Napoleon & The Archduke Charles by F Loraine Petre gave me a bit of context:
At 9am Stutterheim with the advance guard of the Austrian IV
corps found the edge of the wood east of Schneidhart occupied by 12e and 21e
Ligne commanded by Petit, part of Gudin's division. Stutterheim was unable to drive them out of
the wood after a long struggle.
Forces
The only Austrian troops I currently have are IR 29 Lindenau
(28 figures - it also masquerades as the
Prussian 29 IR) and IR 43 Graf Thum (16 figures). This gives some 5,000 muskets which is
probably representative of the force available (the woods would have negated
cavalry and some reinforcements could have been received from the remainder of
the IV Corps). Any attached artillery
can be considered integral to the depicted forces as per Napoleon's Battles
force structures.
Against these two large regiments (effectively brigade
equivalents) I have provided the French with one brigade of 24 figures, or
3,000 men (Napoleon's Battles scale is one infantry figure represents 120 men).
Petit is a 3"A(6)+0 general and Sutterheim is
3"G(5)+0 and so will not be a significant factor in the game. Both sides have fatigue and morale of 1.
|
French
|
Austrian
|
|
Petit 3"A(6)+0 1F 1M
|
Stutterhiem 3"G(5)+0 1F 1M
|
|
12 & 21 Ligne 24FrLN 12D
|
IR 29 28AsLN 14D
|
|
|
IR 43 16AsLN 8D
|
As the following table shows Line Infantry at this stage of
the wars are very similar in capabilities.
The French have 21 and the Austrians 35 points excluding
generals. The French general is worth 9 points and the Austrian general 10.
The absence of higher level commanders means both these
generals can be considered to be in command (otherwise the French would have a
60% chance of a half move and a 40% chance of no move each turn, for the
Austrians it would be 50:50 which might make for a dull game, but would benefit
the French as the defender). If command
was to be used it would be necessary to use Force March in order to change
formation.
Terrain
The area for the engagement has a road and some woods.
AAR
I have assumed some familiarity with Napoleon's Battles. One of the things I like is all combats
require competitive dice rolls. I've
included the details in the write-up; die roll is first and then the
modifiers).
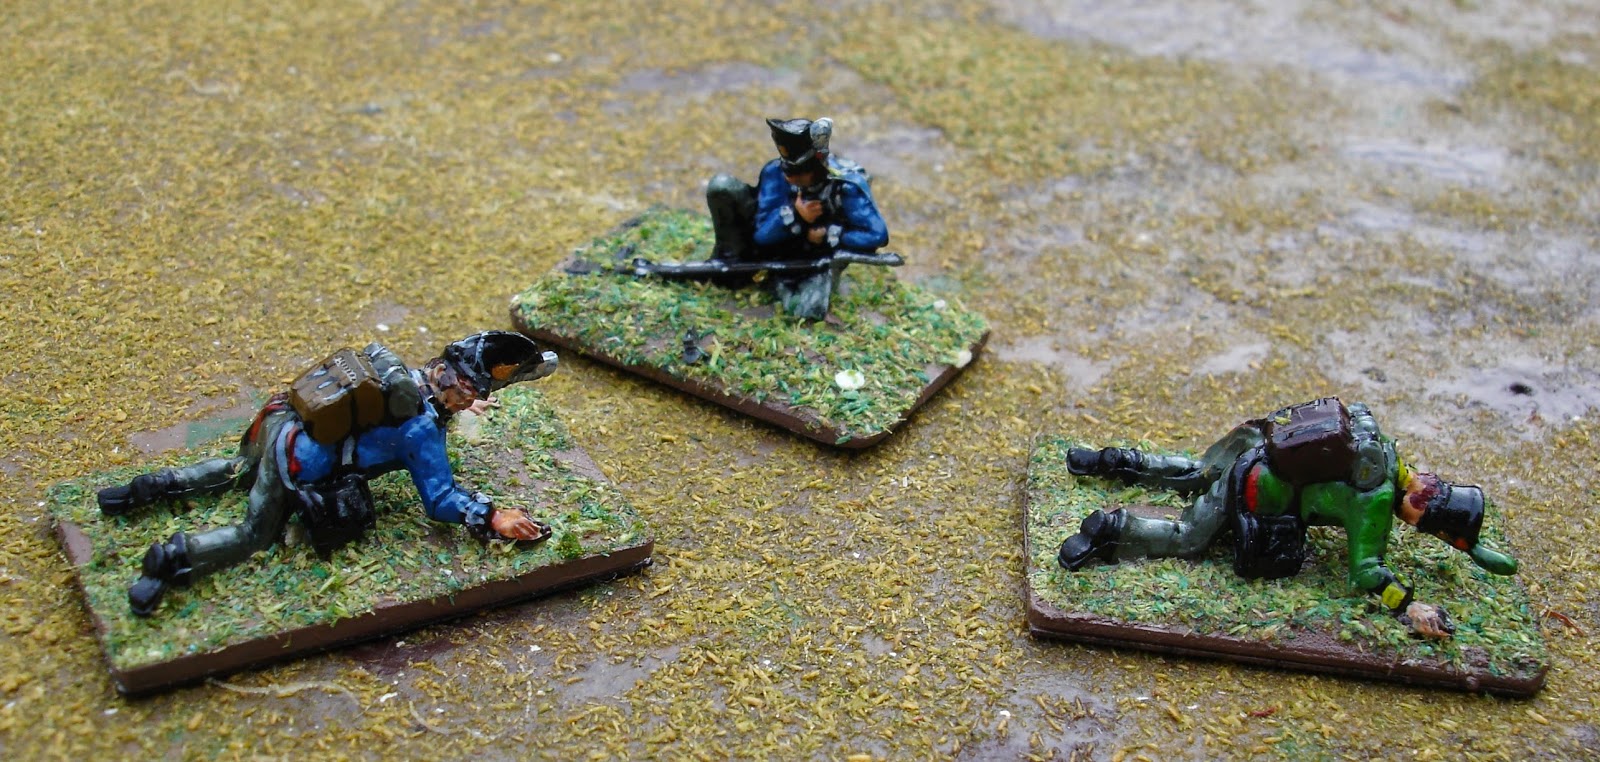
Bird's eye view of starting position.
Stutterheim is wearing the uniform of a Prussian general - figure shortages.
The Austrians advance.
The French are confident they can hold off the Austrians.
09:00 finds the Austrians 1,000 yards from the French. They make a full move closing to within 200 yards
and a long range fire fight ensues. With
a choice of two targets, the French focus on the largest Austrian column, the 29IR,
but to no effect (5+1 to 9). The Austrians
return fire with deadly effect (4+1 to 3 and 9 to 4 making for 3 casualties and
disorder).
The French hold their ground and recover their order. General Petit joins them. The Austrians fire disordering them again and
inflicting another two casualties. The
disorder means the French cannot return fire, they have also now lost a base
and will no longer get the +1 for have six stands firing.
The Austrians charge in.
09:30 and seeing the enemy disorder the Austrians
charge. Just 29IR as 43IR would not add
anything to the combat given its size (which I now see was a mistake as the
French were no longer six stands and so the Austrians would have been eleven
stands in total which would have given them a plus one for mass). Instead the 43IR forms line, just in case the
assault is repulsed. The French are
disordered so there is no defensive fire.
The 29IR fire without effect (2+1 to 6), but the 43IR get in a shot causing
another casualty (6 to 5).
The French fall back into the wood.
The close combat is evenly matched, the French in line are
disordered which makes their base factor the same as the Austrian column. The result favours the Austrians (6-1 to
5+2-3). If the French had been in good
order the single casualty would not have mattered, however being disorder they
had to withdraw, which they successfully did (9+6-3 to 3+5). The French retire 300 yards into the
woods. The Austrian column advances to
occupy the position.
A firefight ensues.
The French halt, recovering their order and welcoming the
cover provided by the wood. The Austrian
43IR is out of range. The Austrian 29IR
fires, but with no effect (9+1-2 to 8).
The French return fire with telling results, causing two casualties and
disordering the 29IR (10 to 2).
The French force is melting away and the Austrians prepare for another assault.
10:00 and the Austrian 29IR recovers its order while the
43IR advances. The French fire at the
29IR causing one casualty (8 to 7). The
29IR returns fire disordering the French and causing two casualties and another
base is removed (9+1-2 to 2). The 43IR
inflicts a further casualty (6-2 to 3).
The French are getting close to dispersing (they have received 10
casualties so far, they will disperse on 12 which is half strength for C class
troops).
The French recover order and brave the Austrian fire. 29IR fires without effect (2+1=2 to 7). 43IR fires without effect (6-2 to 10).The
French now fire and disorder the 29IR (8 to 4).
The Austrians attack in line this time.
10:30 and the Austrian commander orders the 43IR to
charge. The 29IR recover their order and
prepare to support their companions. The
French must fire on the 43IR and they sure do, causing two casualties and
disordering their attacker (6 to 2; there is no -2 cover modifier for the
Austrians as the whole of their unit is not in the woods, although even if it
was it would not affect the result). Now
only the Austrian 29IR can fire on the French, but they are unable to get a
result (9+1-2 to 9).
The Austrians are repulsed.
Close combat occurs.
It is a tie (French 3+2-2 to Austrian 7+2-3-2). One casualty each. As the Austrians are disordered they must
withdraw. It is a disaster (French 5+6
to Austrian 5+5-3) with the Austrians suffering three casualties, their feet
getting tangled in the trees as they fell back no doubt.
The French hold their position and fire at the retreating
Austrian 43IR. Their expert aim inflicts
a further two casualties and that is that for 43IR, they disperse (6 to
3). Prior to this fuselage the 29IR had
fired, but to no effect (1+1=2 to 1).
The Austrians are fatigued, but the French are close to ceasing to be an effective force.
11:00 and it is looking bad for the Austrians as they are
now fatigued (calculated at the start of the Austrian impulse). However the French are one casualty away from
dispersing.
The 29IR cannot advance.
The French fire. No effect (4 to
7). The Austrians take careful aim. They just need one more casualty...
Nothing (3+1-2 to 2, damn close, the French are saved by the
woods).
The French consider withdrawing out of range, but being in the
woods slows them down too much and so they abandon that idea and stand their
ground.
The Austrians take aim again...
Their aim is off and no casualties are inflicted (4+1-2 to 8). The French fire half heartedly (2 to 2) and breathe a sigh of relief as the end of turn clicks over and morale is calculated. The Austrians break.
Stutterheim looks at his options, but with his demoralised troops will have to pull back and report to the Archduke.
Wow!
I wasn't expecting such an exciting game.
But bugger, in doing the write up I realise I stuffed up the
close combat calculation for the 43IR.
It would not have been a tie, but a single casualty on the French and
then the 43IR would have withdrawn. This
would mean that they wouldn't have dispersed.
The Austrian commander could have pulled them back out of range (they
would have withdrawn 300 yards, but disordered backwards movement in line would
only get them 75 yards, leaving them still within range). The two fire phases the French had during the
11:00 turn would therefore have been directed against the 43IR, but as we saw
they had no effect with their rolls. The
Austrians could have deployed the 29IR into line. Come the 12:00 turn the 43IR would have
withdrawn out of range and the 29IR advanced to contact. Assuming the 29IR was
not able to inflict a casualty during fire combat (there is a 25% chance they
would have become disordered due to French fire, if they avoided that then they
had a 20% chance of inflicting at least one casualty), the close combat result
would have been at equal factors (assuming the French had not disordered the
Austrians) so anything could have happened.
If the French had won (routed their attackers, which would have required
a 5 differential on the dice outcomes) they would have suffered a winner's
loss. They would have to hope to just
best the Austrians and cause them to become disordered and therefore withdraw. At the start of the 12:00 turn the 29IR had
only taken five casualties (its dispersal number is 14 and so could have
survived anything but an extreme outcome, such as losing two casualties in the
fire phase, four casualties in combat - which would certainly disorder them,
but given their size, not rout them - and then a further three or more casualties
withdrawing).
Commentary
Withdraw rule
I cut my teeth on the first edition of Napoleon's Battles
and withdrawing during combat due to disorder was an optional rule I didn't
use. With the second edition it became
part of the standard rule set. In a
normal combat the maximum casualties would be the unit's rout number (4 with the troops is this action, although increased by one for units with six or more stands). With withdraw you could suffer one less than
your rout number in combat and then your rout number withdrawing. This really hurts the Russians. It should be an option that the commander can
invoke based on how critical the combat is and how well they know their troops.
Fire Modifier
There was some recent discussion in the Yahoo Napoleon's Battles forum about the mass
modifier for firing being based on the frontage of the unit. It's not something I'd ever considered, but
in this little game it would have dented the Austrians a bit and given them
further reason to form line once they were close. Then I got to thinking about the six stands
of French in line, maybe they should be getting two shots, one for each arc,
but at -1 for 2-3 stands firing. This
then lead me to what if the end of the line weren't in range... I stopped thinking about this, deciding that
the rules as written were good and represented the brigade's (or large
regiment's) skirmisher cloud and integral artillery without complexity.
Aesthetics
I went to a bit more trouble with the terrain and even
played outdoors so I could get a (slightly) better back drop. All my units are constructed around
battalions (the two levels down approach, not that I appreciated that was what
I was doing). Did they look like
brigades a few 100 yards apart? What
about the pose of the figures?
Well, they looked nice, but the answer is of course no in
both cases. Good thing we have
imaginations. The Austrians were a job lot
and the firing pose is not my preferred figure type. If they were a marching pose like the French things
would look better, but it is a mute point.
The important thing was I had fun and I was very happy how
the rules played out with this small scale engagement (which is a battle size
they are not meant for).
Variations
I originally thought I have two scenarios, the first where
the French defend outside the woods and the second where they defend within the
woods. As my game played out both these
strategies were covered.
The other variation I consider was using the command ratings This would make for a longer game and would
aid the defenders. My style of playing
is to avoid being out of command if at all possible, so using this option would
be interesting and something I should try out.
.JPG)
.JPG)

.JPG)