Sunday, August 31, 2014

The Imperial versus the Royal George

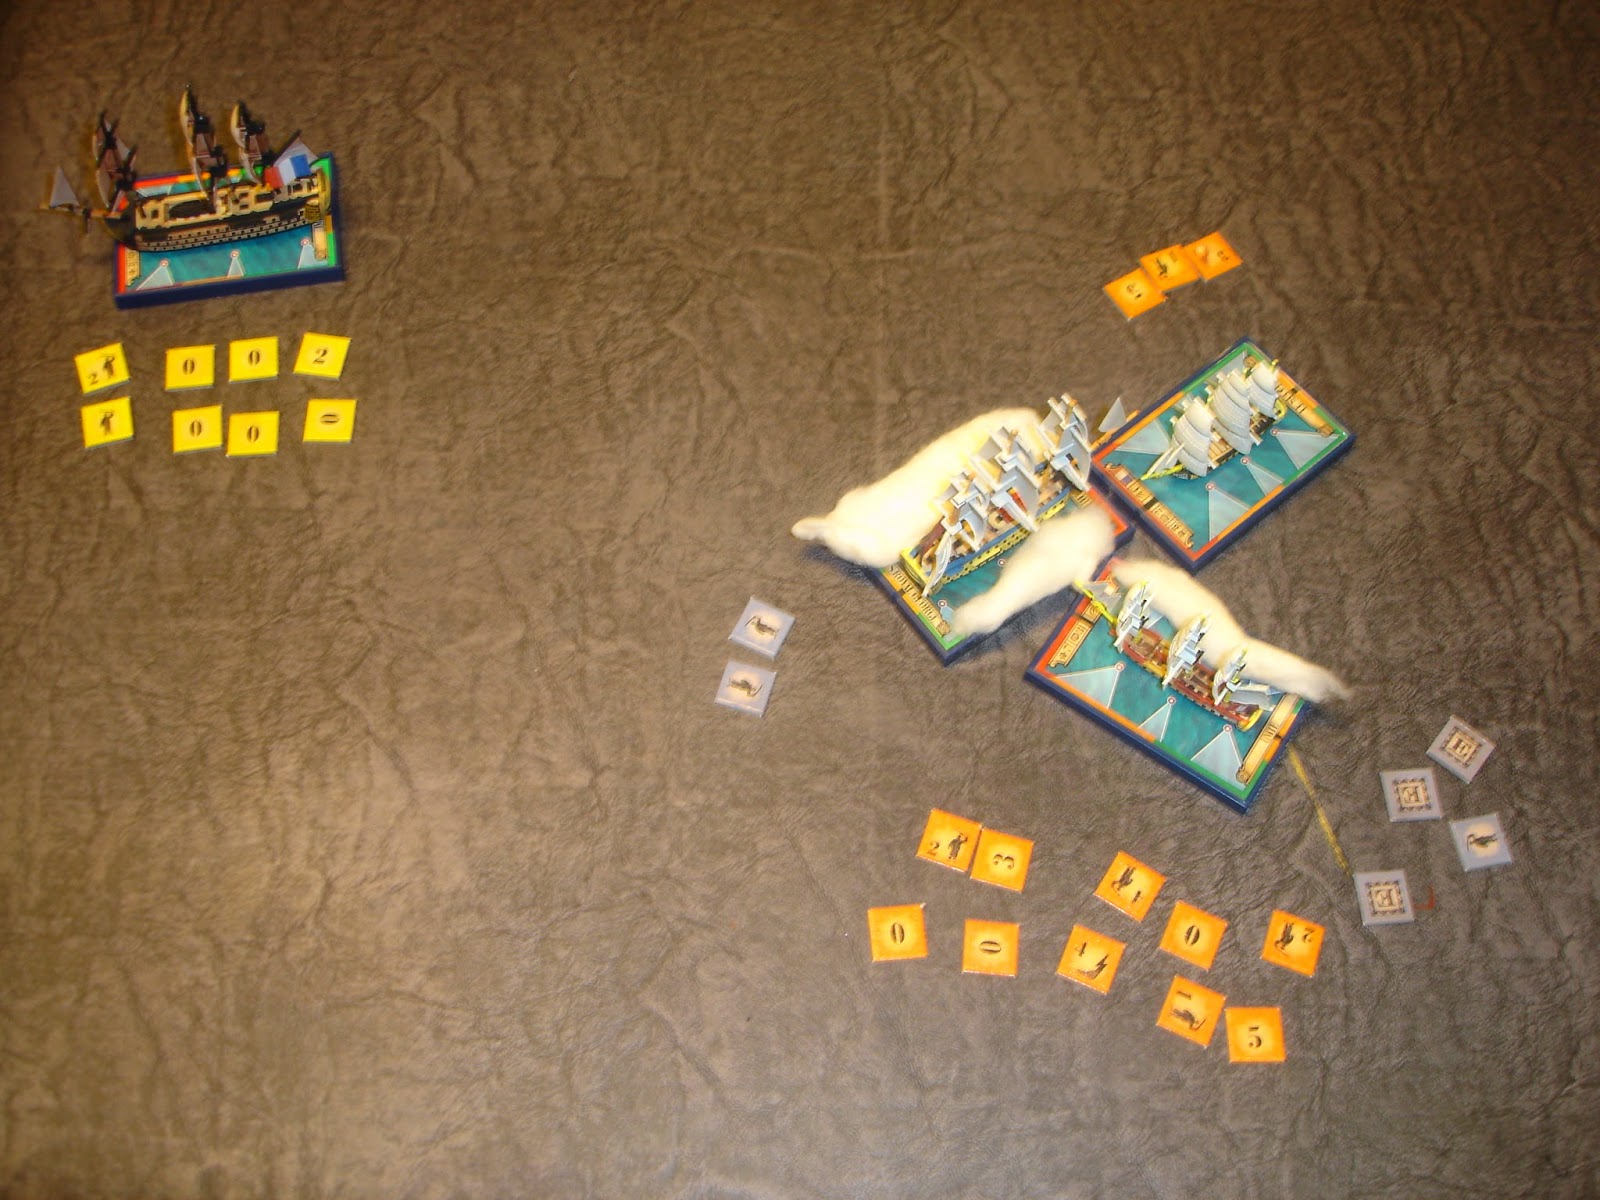
Wednesday night at the NWS I had a game of Sails of Glory, my first rate Imperial and a frigate versus Stephen's Royal George and a frigate captained by Greg who was having his first of what is hoped are many games (the understanding being that he has the Sails of Glory starter set coming for Father's Day - nice one, I'm expecting aftershave).

In a first, the Imperial gets to fire both broadsides at once, well, foresides as we weren't square on the foe.  The newly captained British frigate fared badly, but the bow raked Royal George got off lightly.

The double shotted Royal George returns fire.  Ouch!

Collision time.  Using the modified rules - the three ships have now struck sails and risk entanglement.  Some close range musketry ensures.

The Royal George might be entangled with its companion frigate, but it has reloaded and blasts away at both the Imperial (which is busy trying to comeabout) and the French frigate, destroying the latter, but not before it in turn put paid to the British frigate.

The Imperial gets in a long range shot, taking out more of the Royal George's crew and creating problems for her ability to perform actions.

Another long range blast and more of the Royal George's crew are hit.

And again, more long range fire from the Imperial hits the George, breaking a mast and causing what crew she has left to start manning the pumps least she sink.

A close range volley this time.  The Royal George has again loaded with double shot.

Back to long range and the Imperial scores more crew hits.

Ineffectual fire from the now seriously compromised Royal George.

The killing blow.  A final close range blast from the Imperial wipes out the George's crew ability to continue the fight and she is forced to strike her colours.

It was an epic struggle with lots of moves required to turn the big ships about so they could reengage.  The above pictures only capture the intermittent bombardments that occurred during the game.

Also note the new flag on the Imperial.  It is made from printed paper and wire and replaces the original "thick" molded flag.


Thursday, August 21, 2014

Down in Flames

Last night at the club I took part in a four player game of Wings of Glory.  It was basically a repeat of last weeks game, but with different players.  I took a trusty Sopwith Camel and was joined by Stephen N who took two Camels as we attempted to stop a reconnaissance mission by Steve B and Marty flying a pair of Halberstadts.

That's my Camel in the foreground, left hand side.  We are circling around Marty's Halberstadt.  As it is Stephen's collection I suppose it is okay for his hand to appear

Same shot, different focus.

They might only have single guns, but they've got one front and rear and that makes the Halberstadt tough to engage.  After getting off lightly in previous flybys this time I coped a short range burst.  One of the other Camels got the same from the observer.

My Camel caught fire.

And that was it.

Down I go.

Not all bad as I have a cold and an early night was appreciated.  I wonder what happened?  When I left the Germans had not yet accomplished their mission.

Apart from the altitude rules being a hindrance and collisions being all to common, another thing that I think is flawed is that there is no opportunity fire.  Planes just didn't move and fire they flew and fired continuously.

Sunday, August 17, 2014

Waterloo Dutch Belgian Artillery

Typical.  I paint up a few of the Waterloo 1815 Dutch Belgian artillery as what I think will pass as horse artillery and a day later find this great uniform reference: http://centjours.mont-saint-jean.com/uniformes_uniteBR.php?uniformes=59&nation=3.


It is worth reproducing the uniform plate here as encouragement to go and visit the site: http://centjours.mont-saint-jean.com/images/liens/banniere.png

The site is a challenge to navigate, especially with my limited (and failure to improve) French language skills.  I only stumbled across it because I was researching the Dutch-Belgian Carabiniers and then through following what turned out to be some kind of reenactment group forum.

Anyway, until this set back I was really pleased with these guys, but now...

This guy actually is a horse artillery officer.  I did him to be a stand in staff officer for Shako.  The uniform including whiskers is based on the Uniforms of Waterloo plate 35.

Well, these guys look like foot artillery now.  Only things wrong are the absence of a red tip to their plume and the presence of the red stripe on their pants, easily fixed, but I did such a good job on the stripe plus the grey of the pants was a mix.

Animation is great and they were a treat to paint.

Being out of focus only makes them more animated.

Just look at that lovely red stripe.

I just need to paint the blue grenades on his coat tails and he is as perfect as I would want.

So, instead of four horse artillery gunners which would have given me the two horse artillery batteries I want for my Napoleon's Battles OOB, I now have four foot gunners which I don't want.  I have plenty of spares so I might have a go at converting, which would be good practice before I tackle the carabiniers.

Friday, August 15, 2014

53 Player Sails of Glory Game

Further to my previous post (as well as attempting to liberate this information from the Facebook ghetto), they did it ... 53 players on a very long table.


No more information at this stage that I can see, but here is the link to their Facebook page:


Not sure this is the type of big Sails of Glory game I had in mind.

Thursday, August 14, 2014

Things of Glory

Last night at the NWS presented a chance it demonstrate Sails of Glory to Julian of the ANF.  I tried to go easy on him as it was his first time, but look where it got me:


After this insult I showed no mercy, particularly when Julian sailed HMS Defence into the wind losing control of his ship while I sailed the Generaux around and blasted away, filling him full of holes which is not a good thing for a boat when it is out and about on the high seas.

I hope I haven't put him off.  Julian is very keen to fight a big Napoleonic naval battle.  I'm not convinced Sails of Glory is the right set, but today I came across this post in Facbook:


Hopefully there will be a write up of this event as it will be interesting to see how a 50 player game goes.

Then it was time to take to the air.  At this stage I must confess I have been playing Wings of Glory by email (purely as a participant, not the host/adjudicator - and hats off to them as it is a lot of work).  This extra play may have sharpened my skills somewhat, if not my luck.


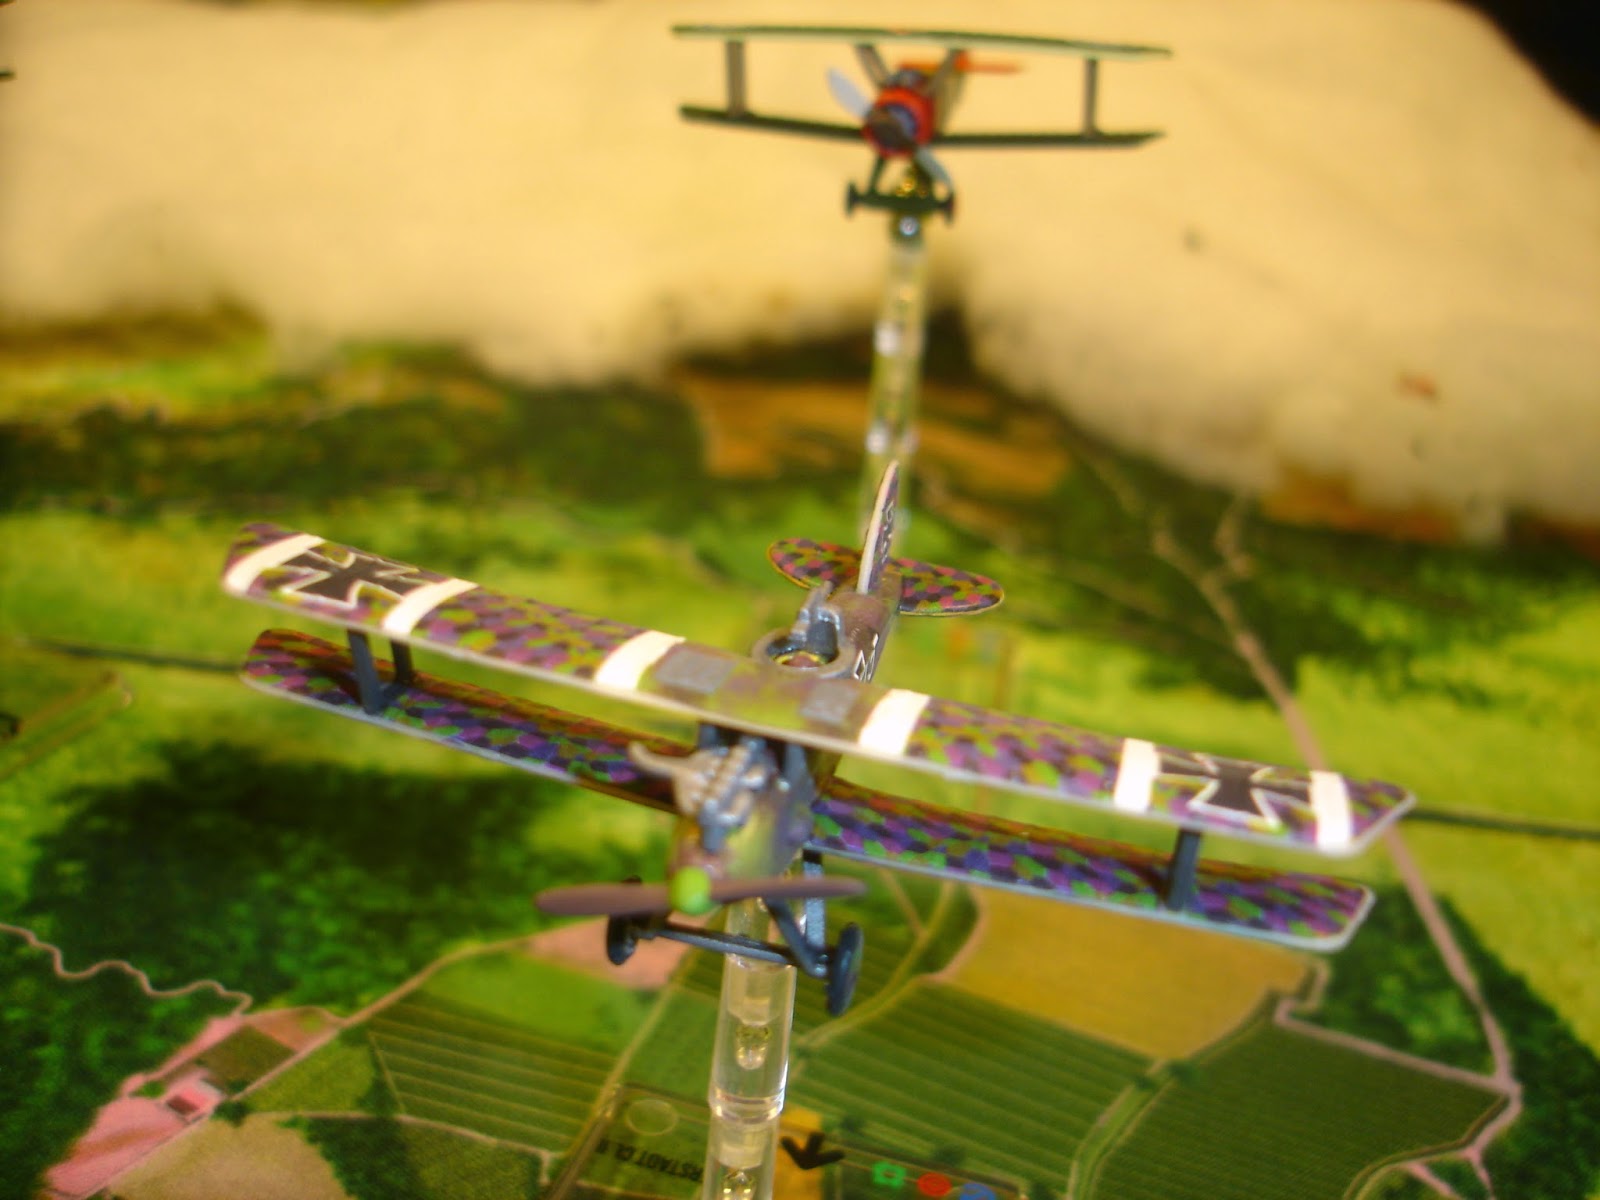
Somewhere in there are supposed to be three Sopwith Camels trying to take down a Halberstadt.  For the life of me I can't see the third Camel although I am sure it was there when I took the photo.  The plane on the tail of the Hun is mine, while the other one is Mark B.  Julian's is the one that is missing; he would insist on using altitude and so my guess is that he is above the picture :-)

Stephen N is in the Halberstadt and he was a lucky so and so as it seemed every time we closed our guns would jam.

These photos are just testing my limited camera skills and also the cloudy terrain piece in order to get some front on photos rather than the usual top down ones.

We flew round and round.  Getting repeated 0 hit and guns jammed results (on both sides).  I'm not sure Julian ever got a shot in.  My opinion of the altitude rules are that whatever real life advantage being above your target might have had, it is not replicated by the game.  It is hard enough getting in long range never mind short range and when you do get in short range you find your bases are overlapping and you are too close!   

Eventually Mark B got in a shot that set the Halberstadt on fire (he does carry a lighter), but it didn't burn very much...

More circling around and I was getting closer when the Halberstadt started to dive.  I dived too.  Even Julian dived, but once a plane has the drop on you, you are not going to catch it until you are at ground level.  The Halberstadt went into a spin and looked as if it was going to get clean away, but its luck ran out as it spun down into the ground.  I am sure that Stephen jumped out just before it crashed and ran to safety.

All planes and associated aerial terrain is from Stephen's collection.

Friday, August 8, 2014

Terrain Mat for Seven Pines

When my mother-in-law had lino put down in her kitchen there was a good bit left over which I snaffled.  I had a plan.

For a while now I've been wanting to get some terrain for games reflecting historical battles.  Getting decent maps often is not a problem, but getting table top terrain that matches is.  In the past I have tried a painted cloth for Borodino with mixed results.  This time I wanted to try out something more like a canvas.

The underneath of the lino is like a felt and it cuts easy enough and is light and strong.  A few test samples proved it would take paint.  So, felt pens in hand I drew out the terrain for the Battle of Seven Pines which I am determined to do this year with my ACW figures.  The scenario is good in that it matches my figures well, just needs four foot by four foot of table space and should be playable in three hours (essential for playing at the club).

Painting it has been fun.


The battle field is heavily wooded part of which is also swampy; plenty of roads, a railway and a stream as well as fields.  Whether what I have come up with is practical time will tell.

Next is to check I have the necessary fieldworks and make up some of the distinctive fences that really make a visual impact with ACW games.

My source for this small Fire and Fury scenario is:


and


Waterloo Dutch Line Infantry

This is a companion unit to the Dutch 27th Jagers.  A generic Dutch unit of the Netherlands force at Waterloo.  Again I have gone for 18 singly based figures to maximise potential for use with various rulesets (just need metal movement trays or plenty of patience/time and I'm good to go).

Marching figures gotta march.

Right round the bend.

Deployed for Shako.

Half of the Dutch Belgian Line Infantry brigade I plan to do for Napoleon's Battles.


These HAT figures were a delight to paint.  I went for British backpacks as that is what the molding seemed to be, but I have seen pictures of them with the more French style.  When I come to do the militia I will paint a mix, but for the line I went for a regular look.

No particular regiment.  My research had them all with white facings in 1815 and that was good enough for me.

I have been using a spray estapol varnish for years, but for these figures I tried something different and painted on the same varnish I used for my zombie hunter.  Says matt on the bottle, but it is more gloss than the satin I normally use, although it seems to lose its gloss over time (I am hoping).

As James posted his list of activities for Waterloo I thought I would post my 1/72nd scale "plan" for Waterloo as well.  The aim is to do the Netherlands army that was at Waterloo scaled for Napoleon's Battles (1 infantry figure represent 120 men, 1 cavalry figure represent 80 troopers, only Divisional and Corps commanders and only horse artillery and heavy foot batteries).  This is what I have come up with (in NB speak):

Ne Cav16DbLC12DbLC12DbLCDb6#
2N16DbMI20NsLN16NsLN
3N24DbMI24DbLN16DbJGDb6#
Kruse24NsLN

In more friendly language and as part of a plan to be able to potentially participate with the ANF here is what I am doing along with progress so far:

Corps Commander Prince of Orange (2 figures) - yet to source figures
Netherlands Cavalry Division Commander (1 figure) - yet to source figure
Carabiniers (16 figures) - current idea is to convert from Revell British Lifeguard figures
Light Dragoons (12 figures) - have half the figures from HAT, untouched
Hussar Brigade (12 figures) - have half the figures from HAT, untouched
Horse Artillery Battery (1 gun 2 figures) - undercoated and painting commenced
2nd Netherlands Division Commander (1 figure) - yet to source figure
Militia (16 figures) - yet to source, but will use HAT
2nd Nassau (20 figures) - have the figures from HAT, untouched
Orange-Nassau (16 figures) - have the figures from HAT, untouched
3rd Netherlands Division Commander (1 figure) - yet to source figure
Militia (24 figures) - yet to source, but will use HAT
Line (24 figures) - completed 18 figures representing a generic Dutch regiment, yet to source figures for Belguim regiment but plan to paint 18 figures
Jager (16 figures) - completed 18 figures representing the 27th Jagers (although could be any Dutch Jagers)
Horse Artillery Battery (1 gun 2 figures) - undercoated and painting commenced
Kruse's Independent Nassau Brigade (24 figures) - have the figures from HAT, untouched

So I need one box of HAT DB Light Cavalry, one box of Revell British Lifeguards (subject to further consideration of feasibility), one box of HAT DB Militia and some commanders (I want the Waterloo 1815 set - I have their artillery set and the quality is the best I have ever seen for 1/72nd scale plastic).

If all goes to plan I will have in ANF terms or 18 figure infantry units the following:
18 Jagers - done
18 Dutch Line - done
18 Belgium Line
18 Militia
18 Militia
18 Nassau
18 Nassau
18 Nassau

The Nassau are low priority (except that the HAT figures are so nice I want to start them now).


Thursday, August 7, 2014

Imperial vs Royal George

Last night at the club we had a game of Sails of Glory, my new French First Rate "Imperial" took on Stephen N's "Royal George".  Both sides had a frigate accompanying the main battleship and Steve B captained the British frigate.  We used the advanced rules and any optional rules that applied.  Collisions were changed as follows: ships that collide have the wind knocked out of their sails and are set to "struck sails"; entanglement is checked for.

No running from this fight, the ships head straight towards each other.

The French frigate gets the first shot in against the British frigate.  Little damage is inflicted.  The British do not return fire...

Deafening cannonades as the two British ships, each loaded with double shot, unload into the French frigate.  The French return fire on the Royal George.

Telling musketry from the Royal George hurts the Imperial.  The French frigate is destroyed.  The Royal George sustains significant damage, receiving two hull breaches that start filling her with water.  Nothing like a rake to create devastation.  The Royal George also had a lot of crew killed...

And was ripe for boarding.  Not easy to pull off, but the Imperial's marines swarmed aboard the Royal George and finished off her crew just before it finished sinking.  The yellow dot is British frigate's attempt to launch a lifeboat in a bid to create a rule on the spot that would allow them to save their capital ship. Ha ha.

The British frigate sailed around getting in pop shots at the Imperial, but being murdered by the Imperial's heavier weight of fire.  The frigate suffered multiple mast damage and became uncontrollable as it was taken aback(*).

The Imperial puts the British frigate out of her misery.

I've now lost track of the number of games I've played of Sails of Glory, which is a good sign I've become comfortable with them.  I am still working on rebasing and detailing my models.  The next big step will be a game with more than two ships per side.  Even with just two or three players I find the game needs controlling and I tend to act between benevolent dictator and orchestral conductor as I wave my measuring stick around coordinating player actions.

(*) It wasn't clear what to do when taken aback when you have mast damage.  We settled on randomly selecting the taken aback card.

Wednesday, August 6, 2014

GMT Games - The Caucasus Campaign

Today Richard and I finished playing the Caucasus Campaign boardgame by GMT Games.  We had started Monday evening and all up put in about six hours.  It was a close run thing, but victory went to the German coalition played by Richard.

Certainly worth a replay.  It is also great that GMT publish the rules:
 http://www.gmtgames.com/CaucasusCamp/TCC_LivingRules.pdf

More can be found out about it here:
http://www.gmtgames.com/p-215-the-caucasus-campaign.aspx

and here:
http://boardgamegeek.com/boardgame/33003/caucasus-campaign


Romans vs Later Carthaginians

This was something of a return match after I had handled the Romans so badly against the Carthaginians in our previous game of Field of Glory.  This time the Romans were up against the Later Carthaginians, or as we liked to think, the soon to be Late Carthaginians.  To be precise 800 points of them from Hannibal's time in Italy, meaning I was facing seasoned, armoured and drilled opponents.

The view from the Roman camp.

The Carthaginians.  They out number the Romans four to one in cavalry.

I have my velites advanced on each flank.  There is no cover for them.  The veteran legions make up my centre and the Gallic cavalry and two units of Triarii are held in reserve in the centre.

Action opens on my right as the Numidian light cavalry advance on my velites who sensibly pull back.

I dispatch my cavalry to support my left.  One of the Carthaginian generals streaks across the field.  What's he up to?

On my left I pull back my velites as quickly as I can.  The Triarii have been sent to support this flank.  The Carthaginian centre hasn't moved, but then neither has mine.

The Carthaginians withdraw two units of cavalry from their left.  I have now committed five units on this flank and they are at risk of being pinned by the remaining Carthaginian skirmishers.

Meanwhile on my left one of my small units of legionnaires has got a bit enthused charging the enemy skirmishers.  I tried to hold them back, but they wanted in.

The Carthaginians launch their first cavalry charge and it is bloodily repulsed.

On my right flank the enemy are finding themselves surrounded.

It goes badly for them (seems they were adverse to javelin fire).

On my left that over eager legion has continued to push forward and I am forced to start advancing and sending in the last of my reserves to fill the gaps its impetuosity has created.  Doubly so as the additional Carthaginian cavalry from their left has now arrived.

The Triarri face off the cavalry on the hill.

The Carthaginian centre is now advancing and the impetuous legion is getting shot up.  Help is on its way, but it is a confused situation over there on my left.

See the little buggers run!  With their light cavalry support having scarpered the Balearic slingers pull back.

The velites can go after the slingers and that gives me three units I can now move to the centre.

The left wing general is trying to bolster the over eager legionnaires.

Disaster strikes.  One of my elite Triarii units is attrited to death after failing three death rolls in a row.  It didn't break so much as vanish.  A supporting unit of legionnaires (who had previously repulsed a cavalry charge) were being shot up bad as well.

The centre.  My two big veteran legions, with general are about to charge.

The troops from my right approach the enemies undefended left flank.

Things go bad for the over eager legion, but the veteran legion smashes its opponent.

My left collapses.  

On the right those pesky slingers are finally run down.

When my right hand troops hit the Carthaginians in the flank they disintegrate.  Hannibal is killed around the same time.

The Carthaginians have broken through on the left.

However it is too late as they watch in horror as one of their cavalry units is smothered in javelins and starts to fail.

The Roman centre pushes on as the Carthaginians take to their heels.

Epic battle.  We played about four hours on Monday and about another hour on Tuesday to finish it off.

All figures, dice and bright green terrain from Mark W's collection.  Crappy photos by me, mostly due to me forgetting to take off the macro setting.