With the 18th and 14th Tank Divisions respectively, Stephen and I tried to defend the Motherland from Simon's invaders (7th Panzer Division).
Last played in February although I was getting it mixed up with a previous scenario. That is my excuse for getting my tactics screwed. Previous games' AARs and explanatory notes can be found here and here. Recognition that this scenario came from the wonderful hexes and miniatures site.

The Soviets are counterattacking and Stephen throws his tanks into it straight away.
This is on the Soviet left.

This attack is in the centre.

The Germans immediately strike back in the centre.

The fighting continues on the left for the victory location,
the effect of the woods sadly overlooked.
Whoops.

The Germans continue the attack in the centre and Soviet left
(the left and right respectively in the above image).

Now the Germans attack on the Soviet right
where my tanks have emerged from the forest.

Soviet reinforcements, 1st Motor Rifle Division, arrive from their left flank.
We had mistakenly placed them in the centre as a welcome relief,
as nasty gap had appeared between the two tank formations.

More fighting on the Soviet left and actually making progress.

A doomed strike towards Senno in the centre.

And an attack on the right.
There is fighting all along the front!
On the left the Soviet newly arrived motorised force,
runs into the newly deployed German reserves.

The Germans pushing on in the centre,
where a sizeable gap now appears.

The Germans push very hard against the mauled Soviets in the centre.

The fighting on the left is now looking dangerous for the Germans.
If the Soviets succeed they will be in the German rear.

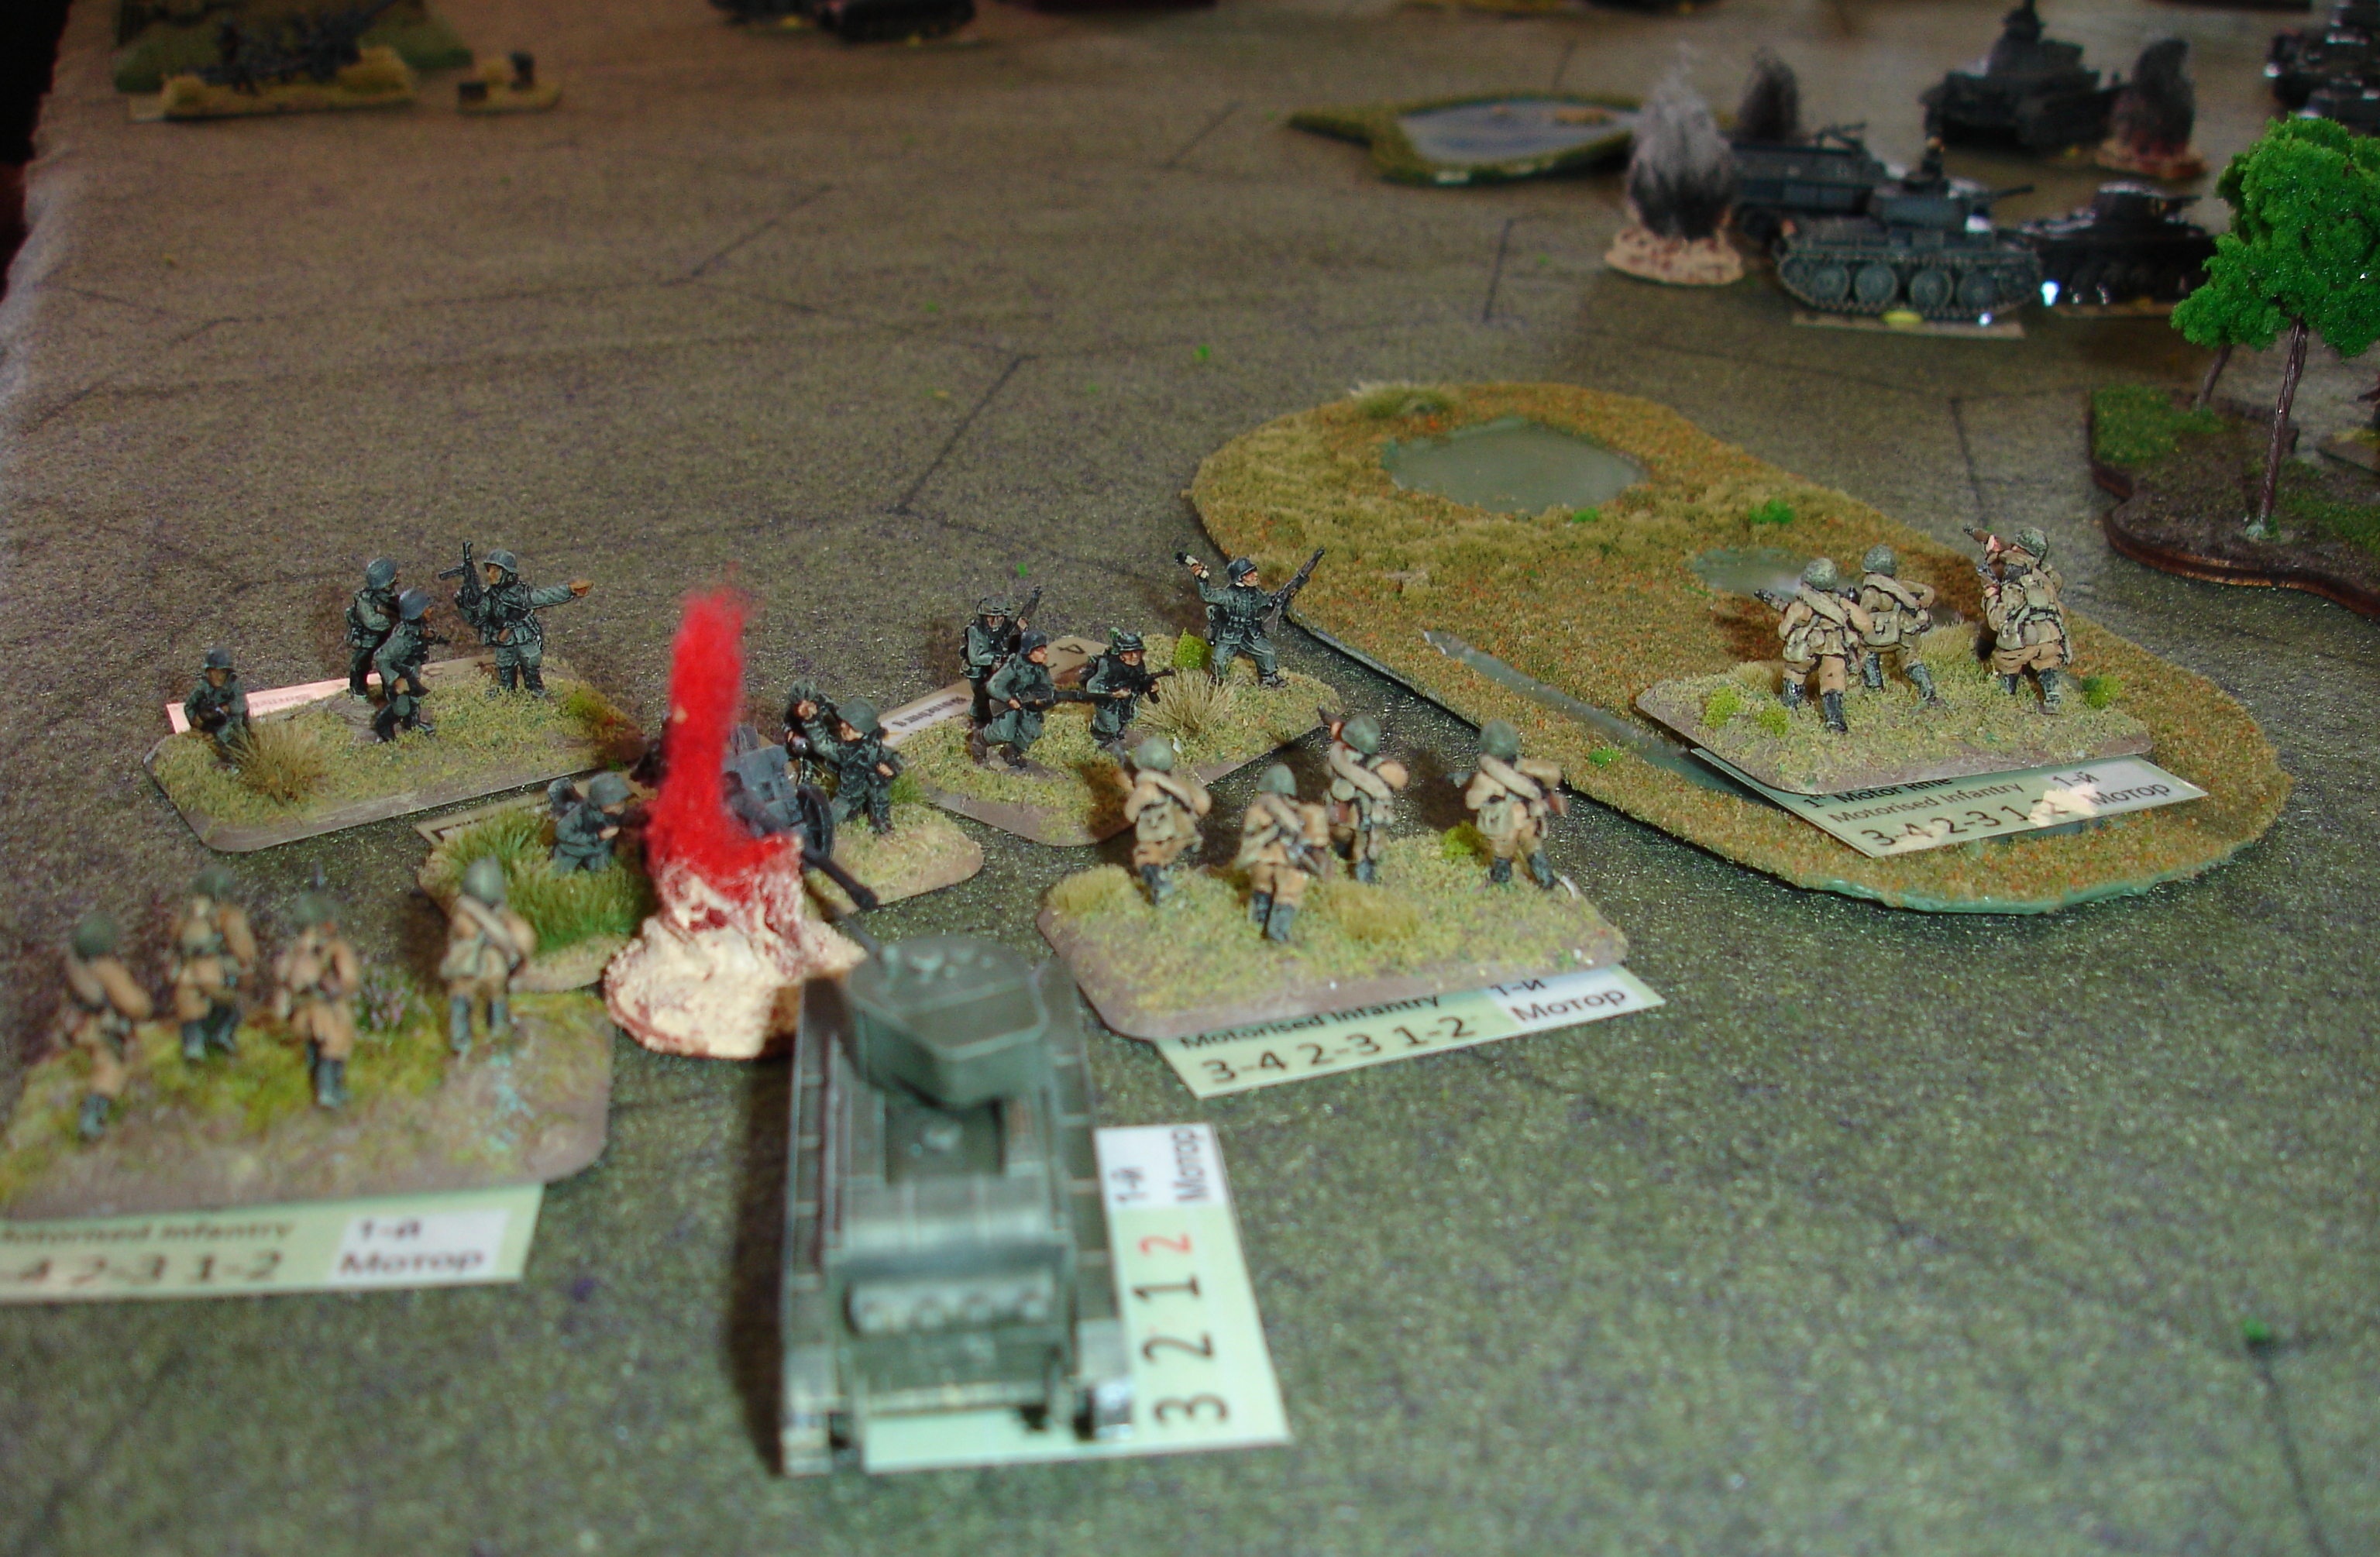
On the Soviet far right flank,
the Germans are counterattacking against some enemy infantry
that is attempting to infiltrate through a swamp.

They make sure to eliminate this risk.

Back in the centre and the Germans have almost broken through.
How much can one little car take?

This is the breakthrough.
The Germans have now reached the Soviet rear lines.

But the Soviets keep pushing their own advantage
on their left against the German rear.

The Soviets attack on their left in order to keep the pressure up.

The Germans mop up Soviet remnants in the centre.

The Germans intent on widening their penetration.

However the Soviet attack on the left is gathering strength,
but the armour finds it hard going in the soft ground.

And they push forward.

Final German attack fails in the centre/right.

The Soviet rear area was saved by the Germans diverting to seize the victory location on the left.
This gave the Germans victory by holding four of the six states,
they also had the majority of kills, but it was a bloody affair on both sides,
much like our referendum.
Looks very 'hammer and tongs' nicely presented.
ReplyDeleteThanks. A smaller scale would be an option, but I like seeing the detail and getting use out of the 15mm kit.
DeleteSeriously nice kit
ReplyDeleteThanks.
DeleteWe both forgot our previous game and it played entirely differently. Shows the value of these scenarios. They are relatively even though they may not appear so on first glance. Rommel can be played at any phase of the war and is always interesting. It allows all sorts of models to hit the table.
ReplyDeleteI must get the Stolberg Corridor mini campaign ready to try. That and Tinian will be taking it to the next level.
Delete