But to help with understanding the game play here is the map created for Rommel using hexes:
And just to help focus on the sector covered by this scenario, here is a snip of the relevant bit:
There is a limit to the magnification, but what I am attempting to show is this scenario is historically based, something that I really enjoy with Rommel and the scenarios provided for it, particularly on the Hexes and Miniatures web site (Note: I am using the scenario from WW2 Squares (Rommel), not the WW2 Hexes which uses different rule systems that I haven't considered).
This time Simon went US while I was the Germans. We had thought of adding in hidden set up, but ran out of time to perfect appropriate mechanics and tactics/events to reveal etc. We had also had a big gaming day the day before and needed to keep things simple.
The deployment looking towards the frontline from Stolberg.
There are seven objective locations.
To win the US need to capture five.
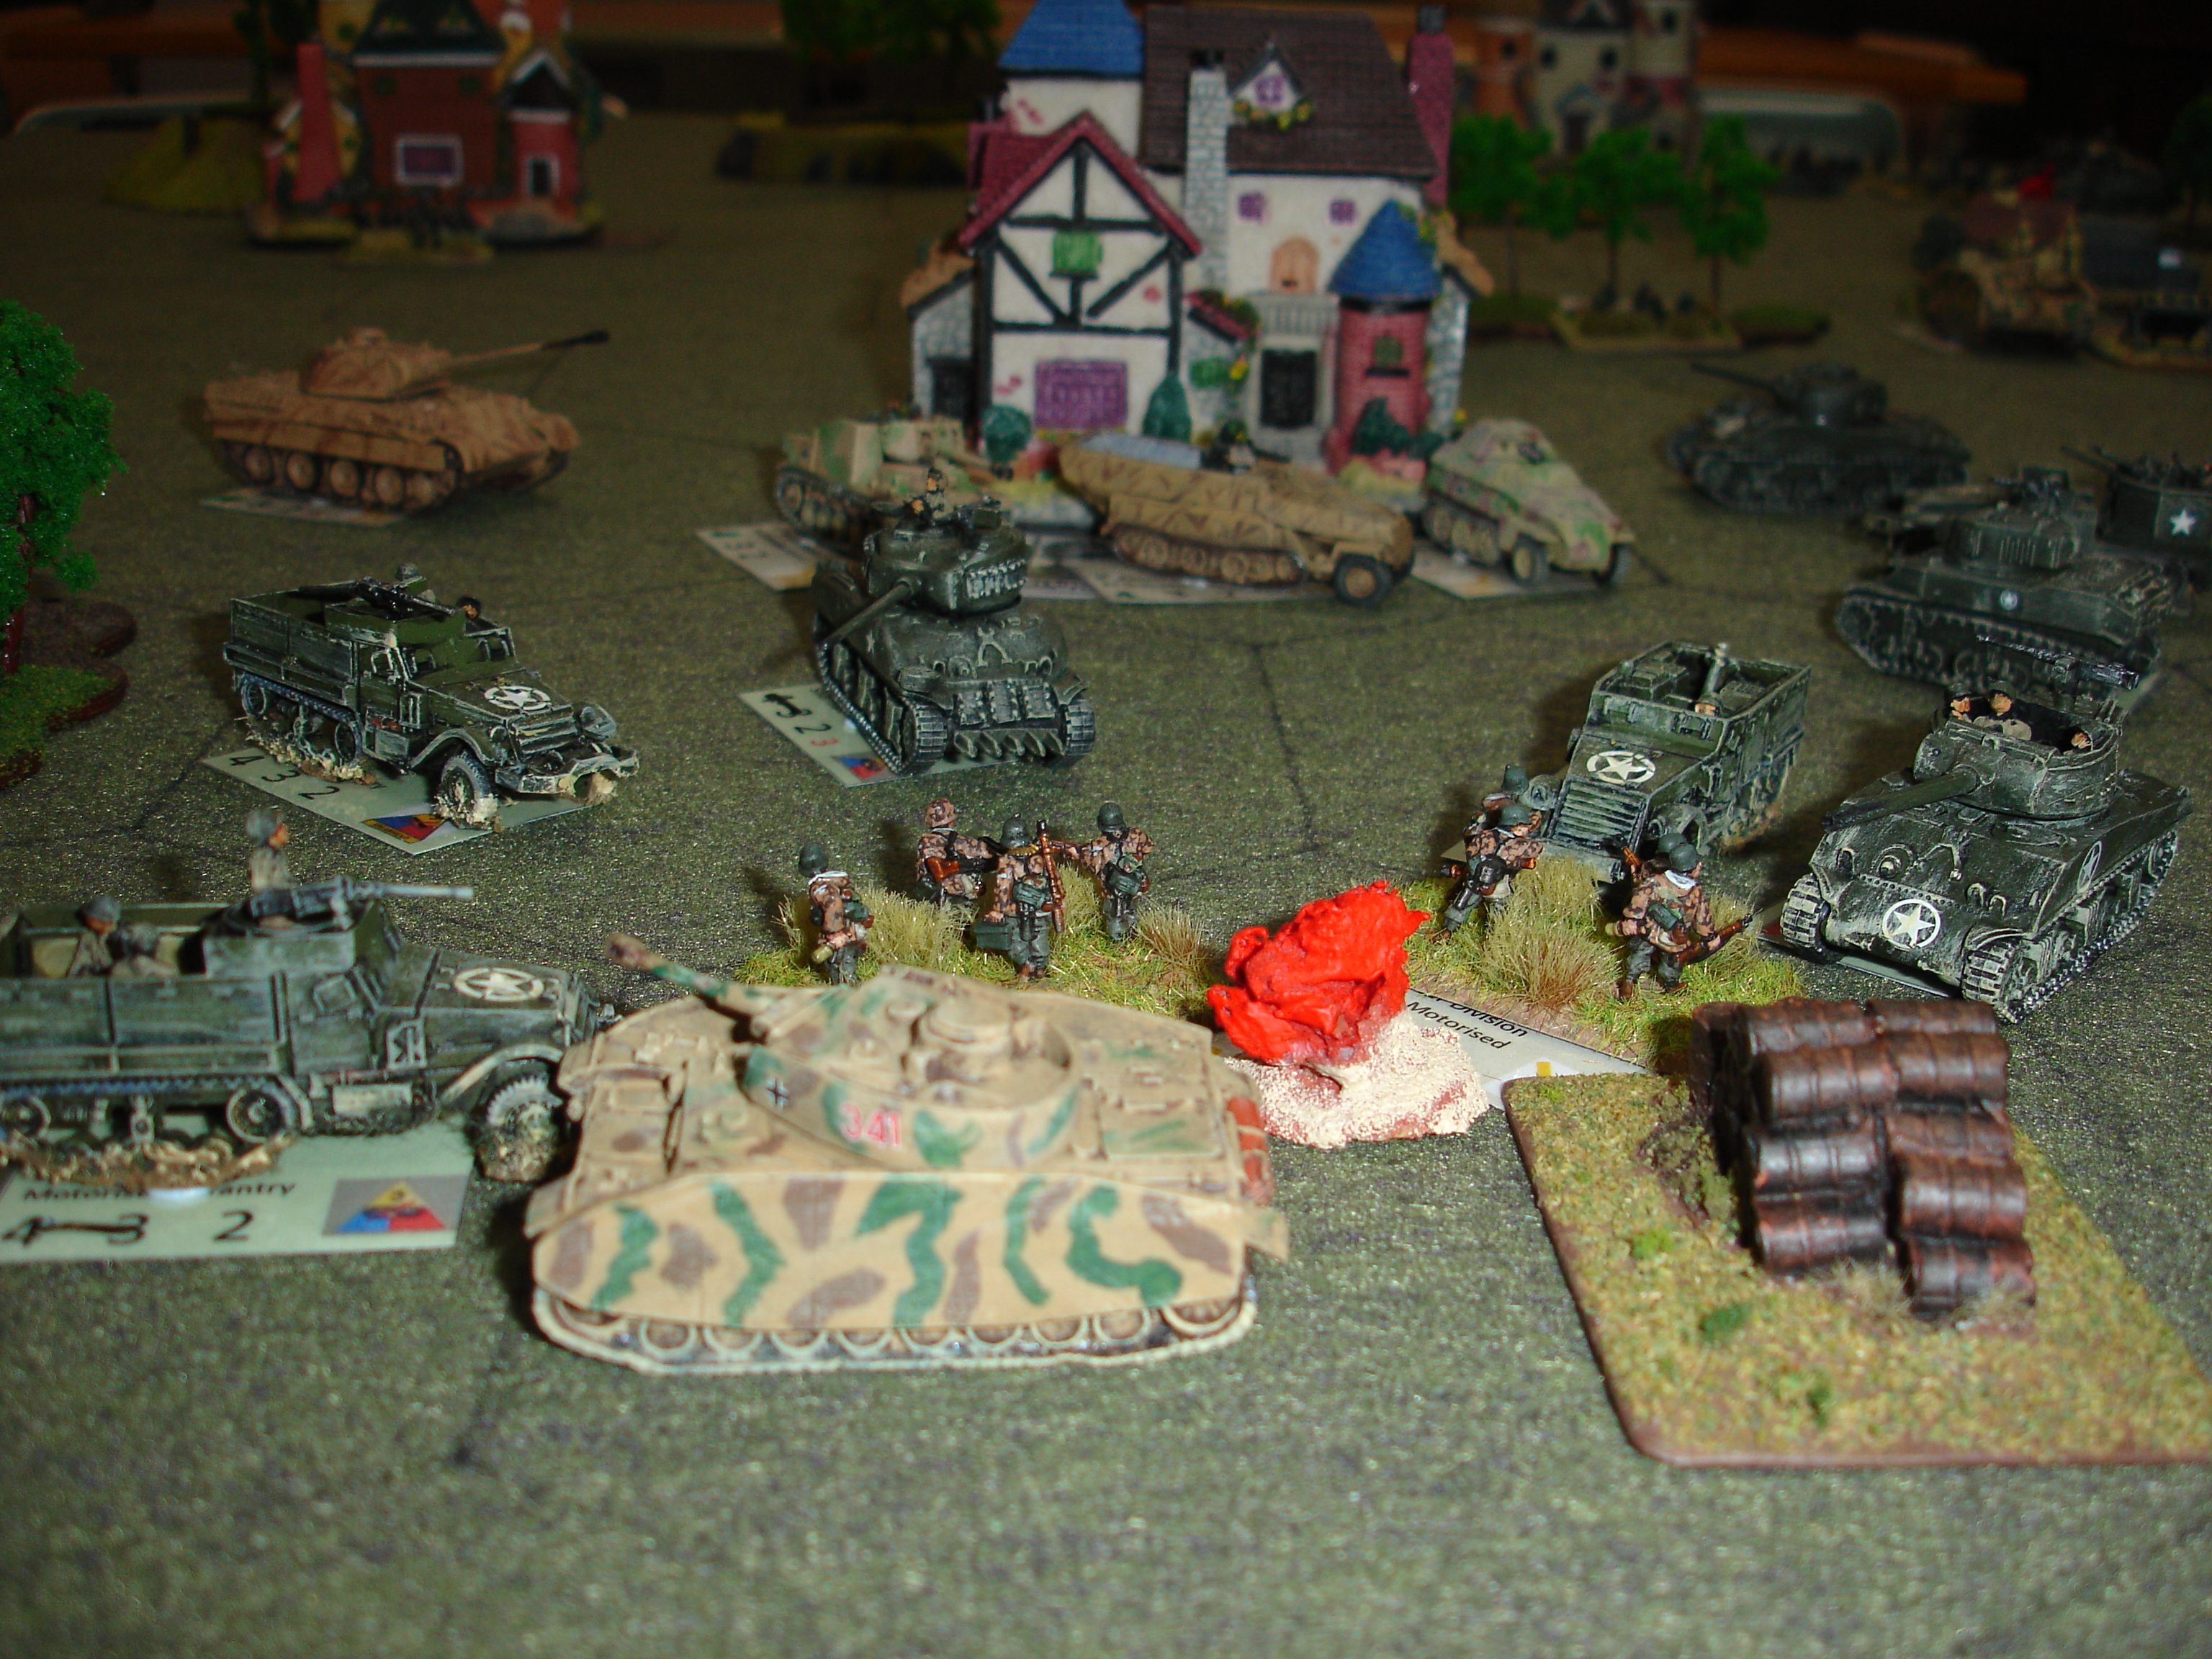
9th Pz had set up well forward and came under immediate attack from US 3rd Armoured.
Kornelimunster (an objective) was also attacked.
The 16th RCT was on the US right and made an attack on Zweifal
3rd Armoured pressed its attack on 9th Panzer on the outskirts of Brand.
While 16th RCT made a second assault on Zweifal.
But then the 9th Panzer Division attacked.
Its objective was the US supply dump.
The panzers and panzer grenadiers broke through and cut the US line of communications
But the US had a breakthrough of their own
and attacked Mausbach (another objective location)
3rd Armoured mill around Brand as a counterattack gets underway to reestablish line of communication
The 3rd Armoured now take their attack to the Germans who are busy enjoying the US logistics dump.
The 3rd Armoured also renew their attack on Kornelimunster
Other elements of the same division push home their attack on Mausbach.
Not to be out done, 16th RCT attack Vicht and Zweifal.
Revenge!
3rd Armoured over run the German logistics command
and the 353rd Infantry Division's artillery park
The Germans continue to hold on to the US logistics base.
The German hold on the US base is almost at an end.
The renewed confidence this gives the US allows them to tackle the Panther
which is on its way to strengthen the defences of Brusbach.
With their lines of communication now restored,
the US launches attacks on Vicht, Kornelimunster and Brand.
All objectives they must capture.
They even try mopping up some German infantry heading for Mausbach.
It's getting late in the day and the US again attack Brand and Vicht,
but switch their attack in the centre to Busbach.
US now try to bring overwhelming force to significant attacks.
While this provides almost guaranteed results it is limited to single attacks.
The US still need to capture four more objectives.
Their attack on Vicht is a success.
Another attack is made against Kornelimunster
this time from the rear as US troops return from successfully storming Busbach.
With three objectives captured, the US need to take two more.
Kornelimunster and Brand are their best chance,
but do they have enough strength?
Final attacks are made, but the US are too weak to take any more positions.
Phew!
What an exciting game.


No comments:
Post a Comment