
As per my scenario the French deploy first and I thought I would split the II Cavalry Corps to utilise the superior French command structure. The III Corps I strung out ready to move. I then pondered the Prussian deployment and went with something reasonably compact (in comparison).

The French go first and quickly move five of their six brigades on to the hill. Their cavalry stays on react, but the horse artillery is pushed forward. The fire phase sees the French artillery damage two of the Prussian batteries. Each side has one of their brigades disordered. Given that the Prussians fired first this is a very good outcome for the French.

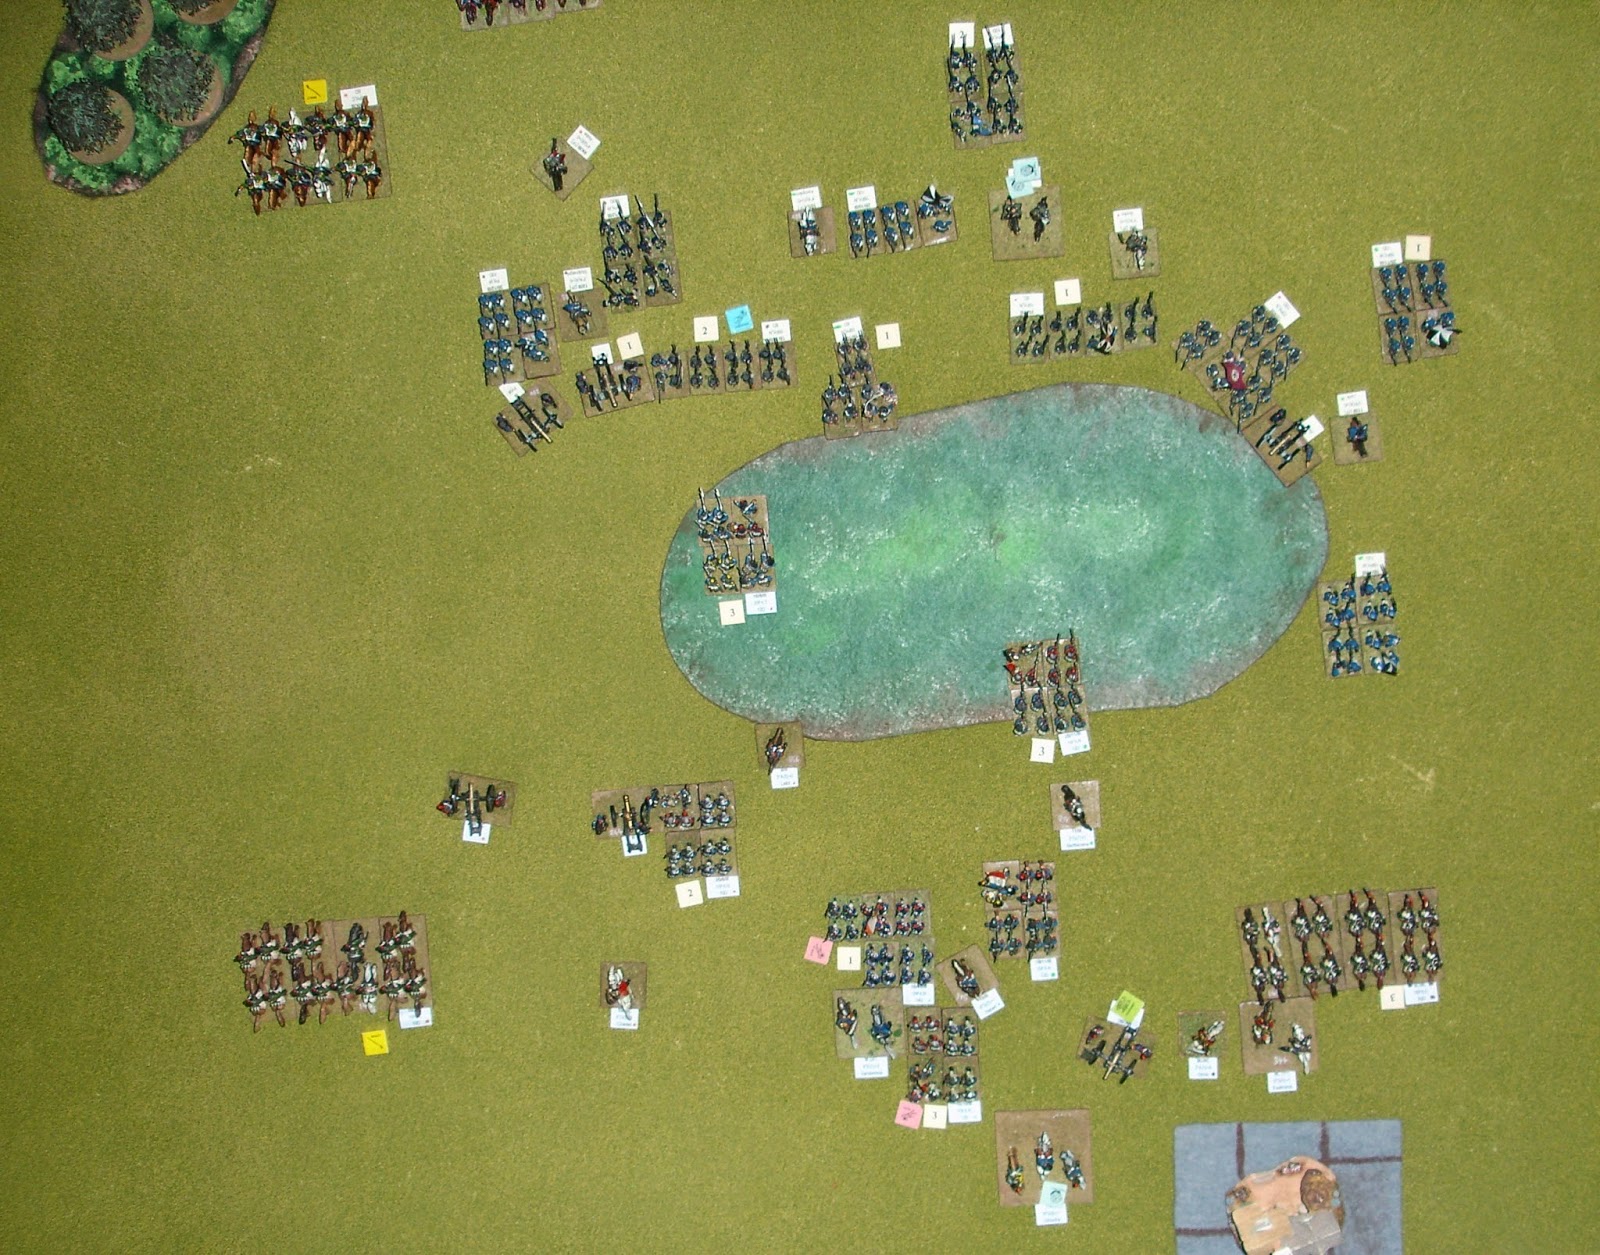
This is what it looks like from the Prussian side.

General von Luck und Witten doesn't like what he sees (and I had the devil of a job trying to get a photograph of him that was in focus, this was the best I could do after a dozen attempts).

Through his narrowed eyes this is what he sees.

The situation at the end of the Prussian's turn (half an hour in game time). An attack by one of their cavalry brigades has left a brigade of the French 10th Division exposed in square. Other French units have got the worst of the artillery and skirmish fire. A Prussian infantry assault further along the ridge was repulsed,

The French attack, but the almost 3,000 men (24FrLN) in the big brigade of the 10th Division are devastatingly repulsed, despite super human effort (the use of a Free Roll marker - it only turned a bad die roll result into a much worse die roll outcome). A brigade of the 11th Division is shot up so bad that it flees and Grouchy himself goes to rally them. An attack by the right flank cavalry is driven off in complete disorder by accurate fire from the two landwher regiments in von Luck's brigade. With three routed units the French now have to withstand the Prussian turn.

Well, the brigade stuck in square was asking for trouble. Vandamme, who is rated excellent, has an 80% chance of rallying each of the brigades that he is attached to. Von Luck has pushed forward and the defending French horse artillery battery decided to evade. At this stage (two turns or an hour) I thought it was all over for the French. However their army morale number is five and they should be able to rally the four routed units straight away.
Vandamme fails to rally his units. Luckily Grouchy and Excellmans get the units they were rallying reorganised, but the cost has been that most of the French were out of command while this was going on. Miraculously the French light infantry, the last brigade standing on the ridge, didn't get blasted away and lives to fight another day, eh, well, phase.

A French brigade of the 11th Division is dispersed by massed Prussian fire power as they roll up the hill. The French light infantry live a charmed life, but are now the sole remaining French presence on the rise. Von Luck pushes forward with his two landwher regiments drawing close to the village of Ottignies.

On the fourth turn the French have regrouped. The exposed brigade of the 8th Division (the one composed of legere) has been able to pull back. Vandamme has rallied his troops. However, in a valiant attempt to stop the Prussians, the French left wing cavalry have been destroyed in a hail of fire from von Luck's landwher.

Von Luck sweeps into the depleted French position. The other Prussian brigades more cautiously cover the rise, aiming to mass their fire to take out the seriously weakened remaining French brigades. This tactic successfully removes what is left of the legere.

A French brigade is annihilated in driving off von Luck's leading regiment (you have to hate those "winner's losses"). The remaining brigade of the 8th Division forms square when it is attacked by Prussian cavalry. In a repeat of what happened to the French cavalry, deadly accurate fire drives off the Prussians in complete disarray.

At the end of the fifth turn (two and a half hours), the Prussians have dispersed a fifth French unit and irreparably broken the French army's morale. The only positive thing for the French is that the infantry in square survived thanks to Vandamme's personal involvement (and the use of a second free roll).

Vandamme can be seen waving his hat to encourage his troops. One of his generals has lost his hat while another is busily looking the other way. In the distance Grouchy can be seen with his last free roll marker while a Prussian landwher regiment heads for Ottignies.

Von Luck is not amused. His brigade, which was getting so close to the village of Ottignies, has halted and he must rally one of his regiments. His glory has been stolen and he is rated poorly.
A surprisingly exciting solo game. The French got lucky in their first turn, but then it all very quickly fell apart by their second turn. It might be better for them to play defensively. There was some fine shooting by the two regiments in von Luck's command. None of the cavalry met with much success, although the result of their actions was generally telling. I used line formation much more than I usually do and it was successful in stopping the French attacks (even when disordered, although they did have the help of Thielemann's free roll if I remember correctly.
I think hidden deployment and then competitive roll for who goes first would add some additional tension and possible balance to the scenario. Hidden deployment is reasonable as the two armies where advancing through wooded terrain before hand and then had the gentle hill between them which would have hampered visibility.
In response to a comment on my previous post, here is an annotated photo of what I considered to be the turning point in the game (the end of the Prussian's first turn).

The Prussian infantry attacked as it had a -2 to -4 advantage over the disordered French, unfortunately this went to -5 to -4 after they got shot up by one of the French brigades on their target's flank.
The cavalry attack was launched in the pursuit phase after the French had become disordered in the fire phase. A central unit was selected to avoid any interference from the supporting French cavalry. There was just a 40% chance for the French to form square which was too good an opportunity to miss especially as there would be no incoming fire.
Both checked assaults were able to withdraw back through a unit that had already been disordered in the fire phase and so no damage was done to the integrity of the Prussian line.
I have just realised I failed to give the French the up hill bonus when the Prussians attacked in turn 1. If I had remembered this during the game I probably wouldn't have attacked with the landwher. The cavalry were still on to a good thing, except the French formed square.
ReplyDeleteThis is becoming the most played game in 'history'!
ReplyDeletePleasing to see that even you could not win as the French. You made it a tough 'gig' for them to break-through, but then by the scenario, to keep this part of the Prussian army occupied and unavailable for Waterloo could be a win, perhaps?
Nice mix of aerial and close-up photos.
Maybe Gerard's IV Corps needs to be in the battle as well, but then who would be going to aid the Emperor?
ReplyDeleteAs it was Thielemann's Corps didn't head to Waterloo.
It would be interesting to try and do the whole of the pursuit and Warve as a game although table space and possible "special" rules would make it prohibitive. Still, there is SPI's Napoleon's Last Battles...