Tuesday, July 2, 2019

L6/40

Two little tanks to join my Italian WW2 forces.

 Dark times

 Flash

Hello Giovanni, got new motor?

Byzantine Skirmishers

My Byzantine army has been using skirmishers from the Tin Soldier Hellenistic range, Persians to be precise.  This will change now I have recruited these Old Glory figures that are perhaps more fit for purpose.

 Seven bases good to go.

 Slingers (converted from javelinmen)

 Archers

Javelinmen


In Impetus skirmishers are brittle, but very flexible and if you get lucky they can work like a charm.

Saturday, June 29, 2019

Ardennes'44 Take 2 via Vassal - On to the Eight Turn Scenario

Morning, December 19th


Artillery resupply goes to the 6th Pz Army with a bit trickling through to 7th Army.  Fuel shortages affect the 116th Panzer Division. In the previous edition, being OOS gave a negative combat shift, in the 3rd Edition that I am using for this game the effect is to halve the attack strength.

No attacks by the 7th Army.

The action is with the 5th Pz Army, which is now covering a broad front.

 The 116th Pz out of fuel, but elements of the 1st SS have broken through.

The 6th Pz Army can make only one attack.

Afternoon, December 19th

There has been a significant pause between turns.  Each time I came back to the game I couldn't decide whether the Germans should consolidate or push on.  A bit silly really, they have no option but to push on.

Each German army gets one artillery unit resupplied.  Fuel shortages hit the Pz Lehr (which is now west of the Ourthe River) and the 12th SS (the 1st SS took its fuel).  So much for pushing on...

The Germans currently hold thirteen Victory Locations.  They need fourteen to win the Eight Turn Scenario.  They risk losing St Hubert, so really need to try and capture two.

The German 7th Army makes one attack in the south.

 The spearhead might be low on fuel, but attacks are still going in.
An SS unit was able to capture Aywaille (far right hand side in above image).
There are critical battles in this sector around the Ourthe River.
(Another three victory locations are in play).

On the northern flank things have hotted up.
The 2nd SS Pz Division has arrived and gone straight into the attack.
The 9th SS Pz Division is using strategic movement to head west.
The 3rd Pz Gren Division is also heading west (currently passing through St Vith).

The US airborne forces launch a counter attack against St Hubert.


The US retook St Hubert, but lost another two Victory Locations, giving the eight turn scenario to the Germans.  A close outcome.

A few other things have happened, such as a breakthrough in the north east (bottom right hand corner of the image) and the surrender of the pocket that was tying up a German division (middle bottom of the image).  

Is this enough to propel the Germans to a campaign victory?  

I'll have to play on to find out...

Friday, June 28, 2019

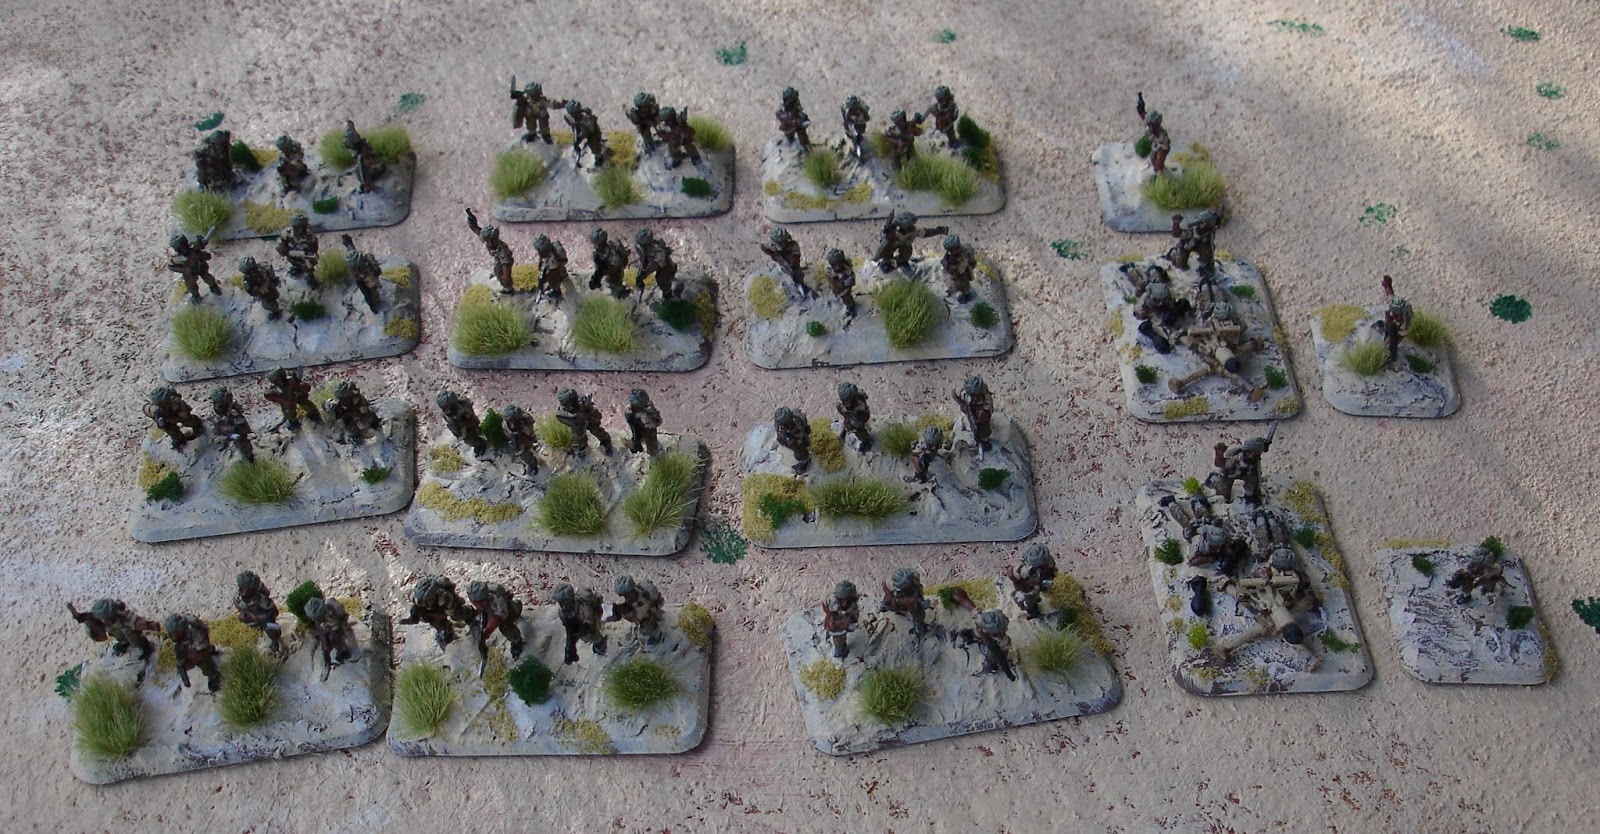
WW2 Indians

Something different.  Not sure which Indian units wore a turban (or if that is the correct word for the headdress), but as they were key fighting troops in North Africa and Italy I wanted some.

 The above image shows what I made up from the basic infantry and HQ packs.

 They painted up simply with most effort going into the flesh tones.

 I am sure I have constructed this weapon wrong.  
The firing mechanism is probably meant to be on the right hand side. 
But they are done now.

I also probably went overboard on the tufts.
But I wanted them to be for Italy as much as the Western Desert.

Paints Used

Undercoat - Tamiya XF64 Red Brown
Trousers - VJ 70921 English Uniform
Webbing - VJ 70884 Stone Grey
Turban - VJ70886 Green Grey
Rifle Stock - VJ70975 Beige Brown
Shirt - VJ70819 Iraqi Sand
Boots, Bayonet Hilt - Jo Sonja's Carbon Black
Flesh - Jo Sonja's Fawn
Rifle Barrel - VJ70863 Gunmetal

Dry brush - VJ70979 Buff
Flesh wash - One of Citadel Shade Nulon Oil (black) or Reikelan Fleashade (brown).  I also used a Citadel Marron ink for some of the figures.

Thursday, June 27, 2019

Athens versus New Kingdom Egyptian

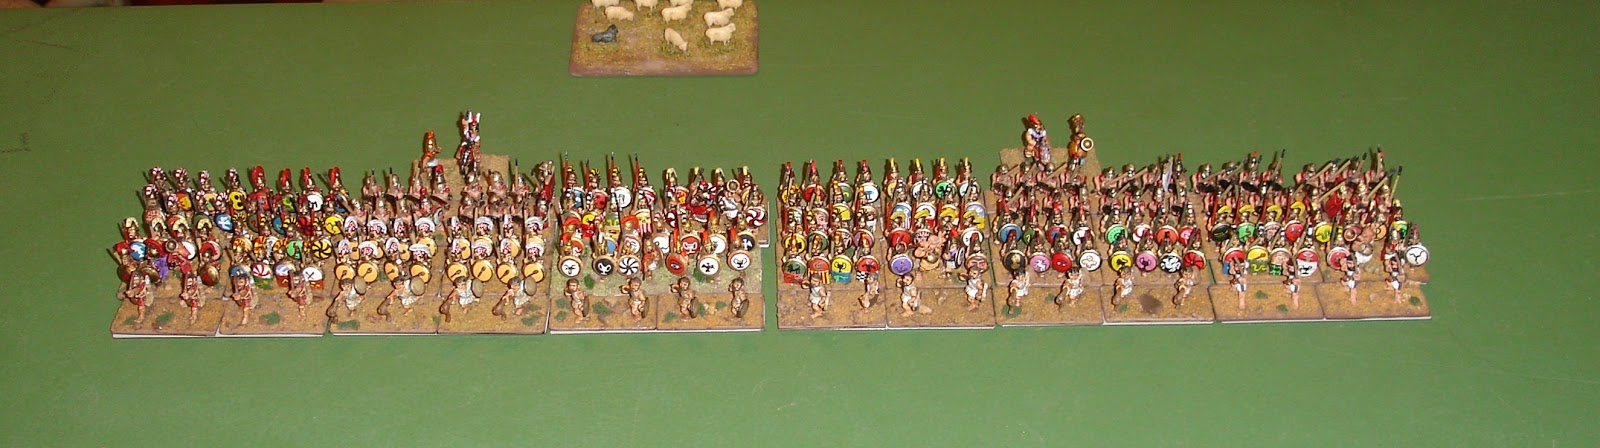
Gathering all the Hoplites I have, with some ringin Macedonians, I took on Dave's Egyptians.  It would be interesting to see how 400 points of pure infantry would perform.

 The enemy.  Lots of missile power and mobility.

 The Athenians with friends.

 End of Turn One and we are advancing.
Skirmishers to the front

 By the end of Turn Two my troops are closing in.
My skirmisher screen has been holding up well.

 Oh no!  My CinC is downgraded,

 Turn Three saw lots of fighting.
I've lost a lot of my skirmishers,
but a lot of damage has been inflicted on my opponents.

 We are grinding forward, the enemy is exhausted,
but my right wing phalanx routs and loses me the game.
(the points working out perfectly to break my army).

We was robbed!

Lessons from the game included that quality commanders add +2 to discipline tests and that exhausted troops can't react.

It was an excellent game with lots of action.

Wednesday, June 26, 2019

Hoplite Reinforcements

My Hellenistic army dates from the middle 1980s and was probably the first serious army I put together (as in being metal, based on an army list, with the expectation of taking it to competitions etc).  The figures are all Tin Soldier and don't really allow for other figure manufacturers to blend in well.  So it goes.  I have a large stockpile and a few years back added more.  So it has grown more than it has shrunk (in part because I've switched from DBA to Impetus and figures I sourced to make DBA armies are not sufficient for Impetus).

Tonight I plan to field my Hoplite army and in making up the list saw I was a few hoplites short so I thought I would paint up a base specifically for Impetus.

 Done!

Thursday, June 20, 2019

Nikephorian Byzantine verus Early Imperial Romans

Today my Byzantines took on Richard's Romans in what was his first game of Impetus Second Edition.  It was a quick game.

 Deployment.
The Romans deployed first which gave me a chance to position my forces to advantage.

 Oh no!
My CinC is downgraded on the first roll.

 End of Turn One.
My massed cavalry are raining down a storm of arrows 
on the exposed Roman cavalry on their right wing.

 By the end of Turn Two, 
the Roman right wing cavalry had been routed,
but their remaining troops are advancing fast.
My cavalry has made a bit of a dent.

 Not again!
My sub-commander gets downgraded.
At least my generals remain reliable.

But by the end of Turn Three it is all over.
My cavalry command was one off from breaking,
but they had done their job.

I'm still learning these rules.  Lesson for today was that cavalry fighting heavy foot is a bit risky, even when delivering a flank attack.  This is because of how the factors affect the Cohesion Test for melee.

I am sure my generals will roll better once I get some proper Byzantine command figures on the table.